fbpx

Denali Expedition

21 Days in Alaska / (Skill level: Advanced)

Price per person

$10,100

About this trip

Inquire for Dates: As one of the renown "7-Summits" and the tallest peak in North America, Denali (20,310'/6,190m) is a classic mountain and a crowning achievement for any alpinist who is fortunate enough to make its summit.

Overview

  • skill level

    Advanced

  • Duration

    21 Days

The North American Classic

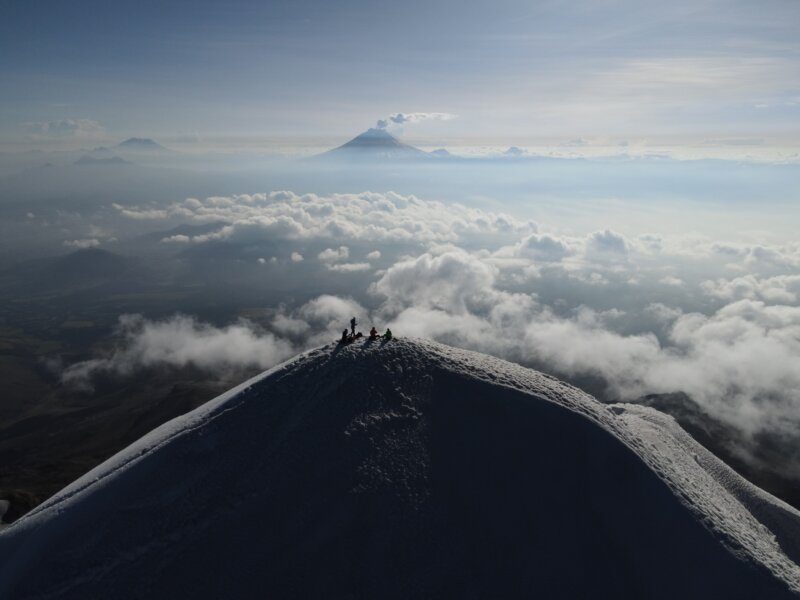
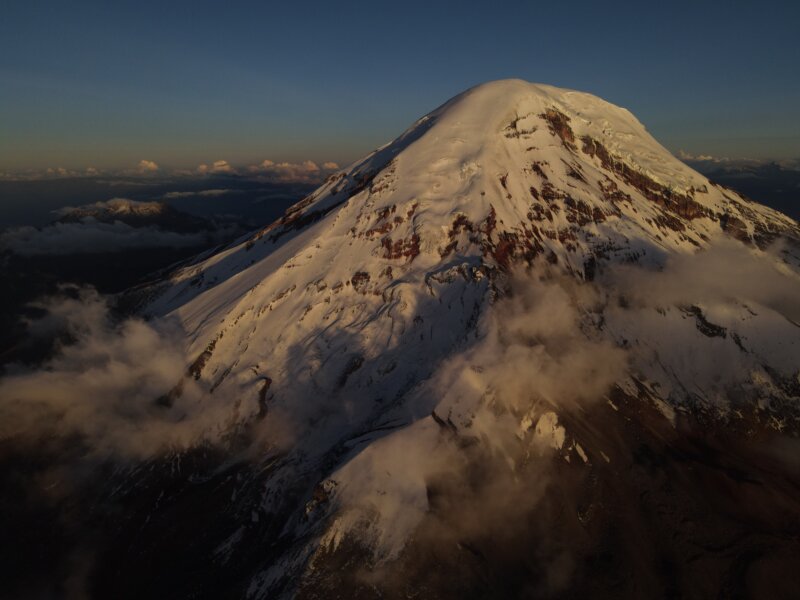
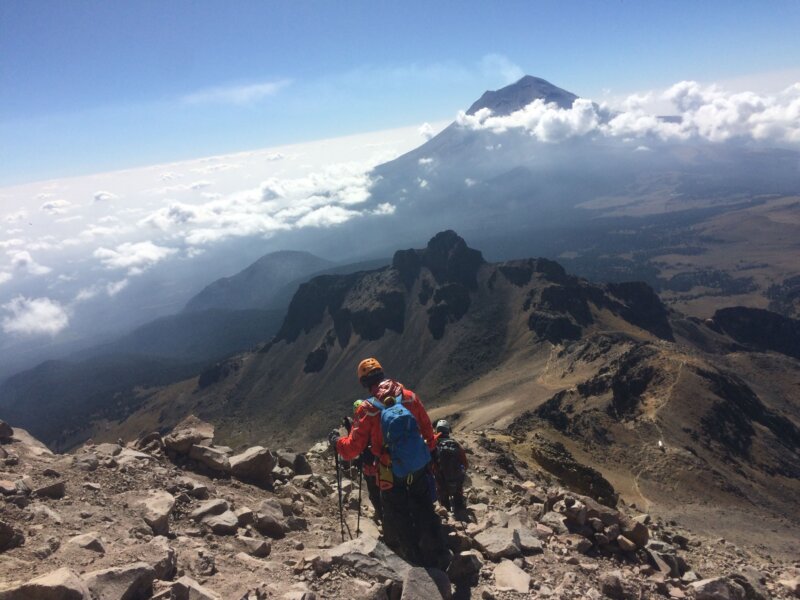
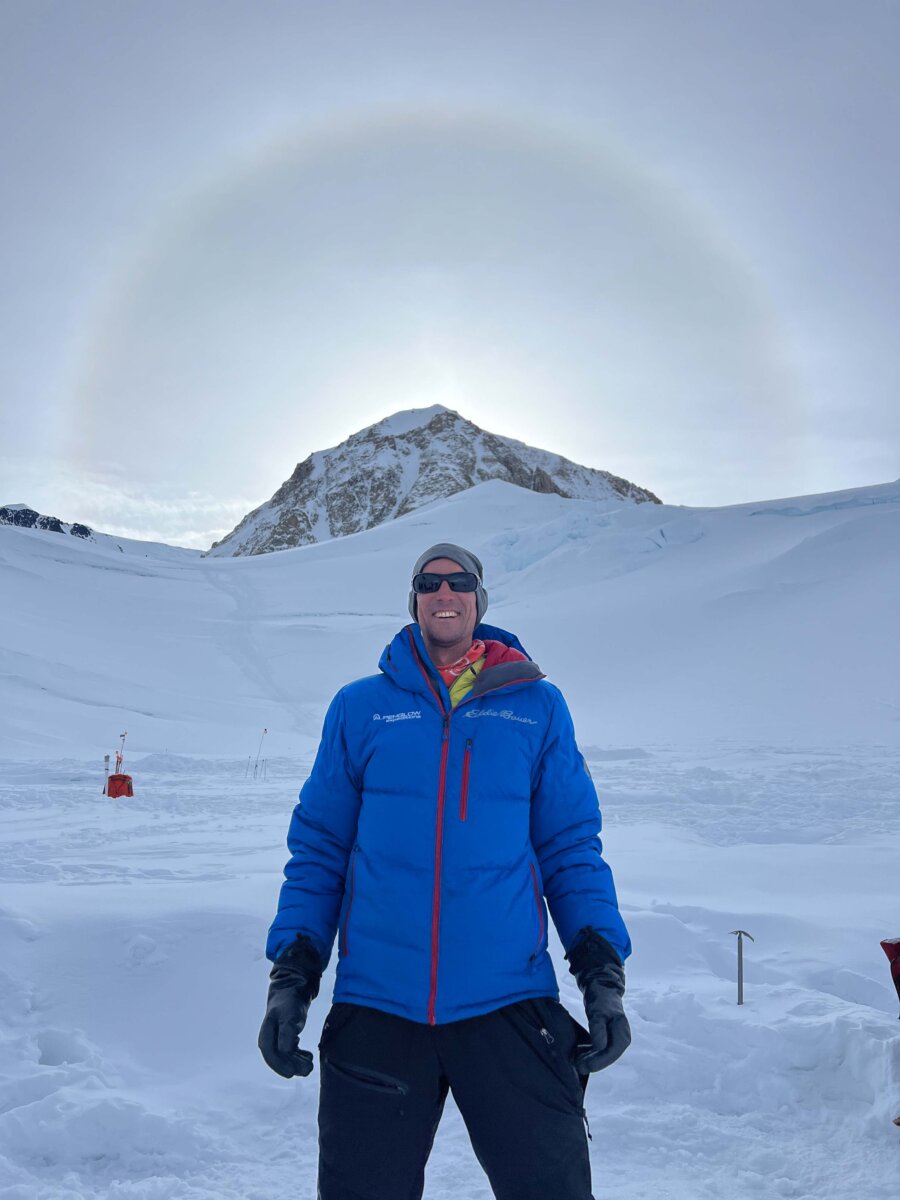
Towering above the Alaskan Range at 20,310’/6,190m, Denali is often thought of as the most classic climb in North America. Its beauty and grandeur has been capturing the imagination of climbers since the early 1950’s, and its difficulty and prestige continues to draw alpanists from all over the world. As the tallest peak in North America and one of the coveted “7-Summits”, making the summit of Denali takes skill, strength, and a resounding perseverance.

Route Description

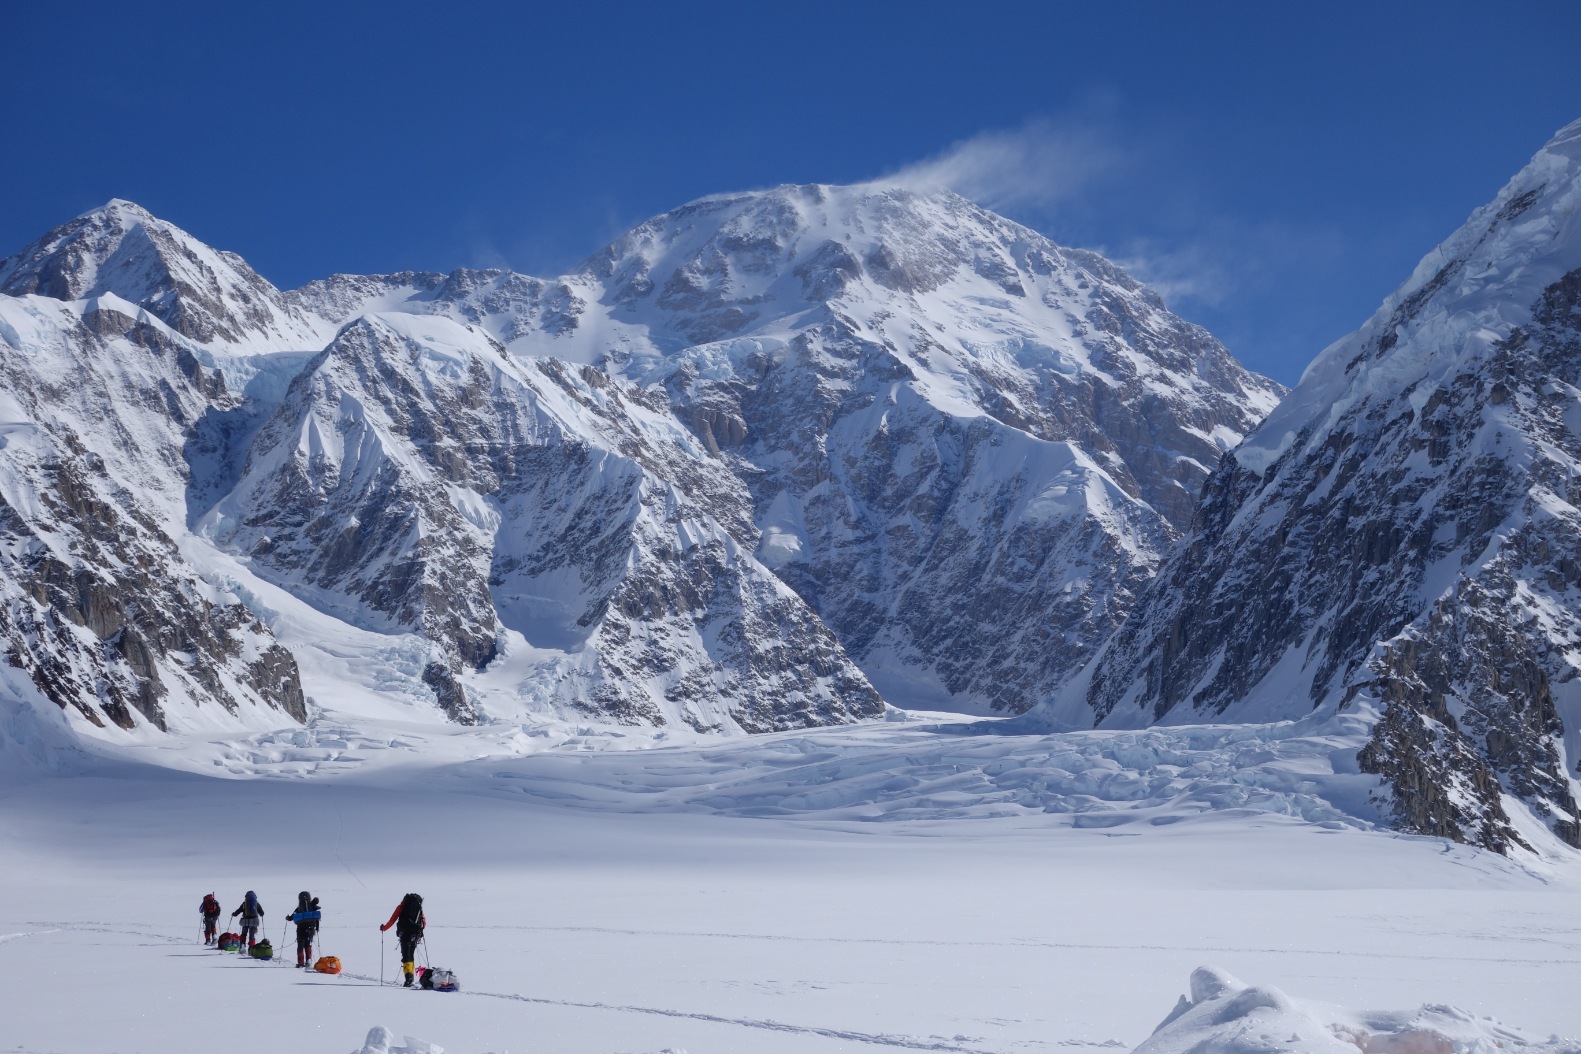
Making the summit of Denali is no small undertaking. It’s over 13,000’ of climbing from base camp to the summit. We’ll be climbing the West Buttress route, starting from the Southeast Fork of the Kahiltna Glacier. From the glacier, we’ll make our way to the foot of the mountain and Camp I. The next 10 days will see us work our way up the steep and rolling snow slopes as we make a series of gear shuttles, acclimatizing while we move higher up the mountain. Climbing Denali is a long and dedicated process that makes it one of the most difficult of the 7 Summits.

From Camp I, we’ll climb the “Ski Hill” to Camp II, drop our gear in a cache, and return to C1. The following day will see us return to our gear cache and either stay the night at 9,800’ or continue on to Camp III (11k Camp). We’ll then make our way up the Motorcycle and Squirrel Hill to the Windy Corner where we’ll drop another cache and head back down to C3. Retracing our steps the next day, we’ll return to our cache and finish the journey to Camp IV at 14,200’.

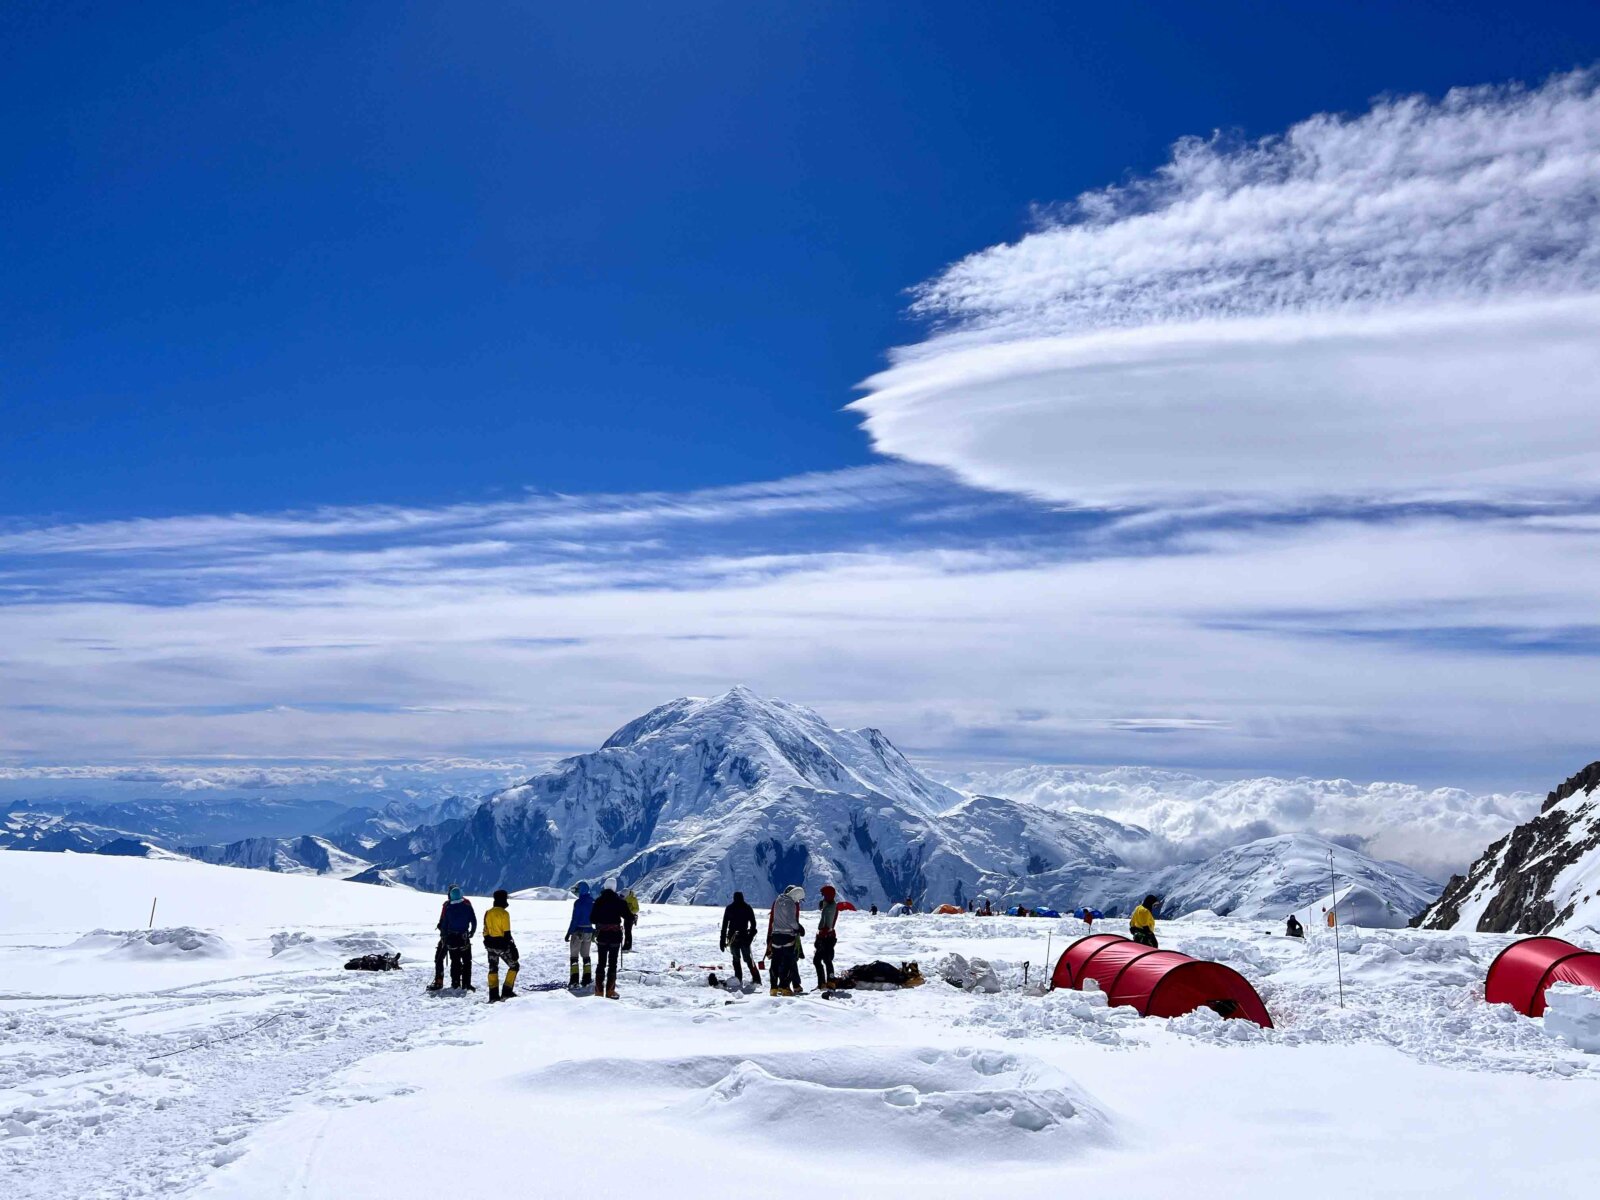
After an easy day of retrieving the rest of our gear from the Windy Corner cache the day before, we’ll start up the main headwall. Utilizing the fixed lines for the first time, we’ll ascend 900’ of 45-50 degree snow and ice to the ridge of the West Buttress. We’ll drop a cache a few hundred feet beyond the crest of the buttress, and return to C4. The next day we’ll ascend the fixed lines once more before we climb the exposed ridge the remaining 600’ to high camp (17k Camp). At 17,200’, Camp 5 will be our last stop before pushing for the summit. We’ll take a rest day before the final push to the summit.

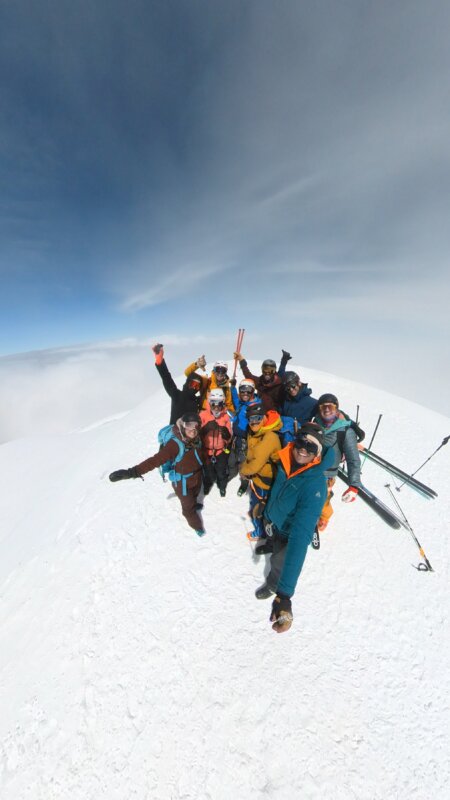
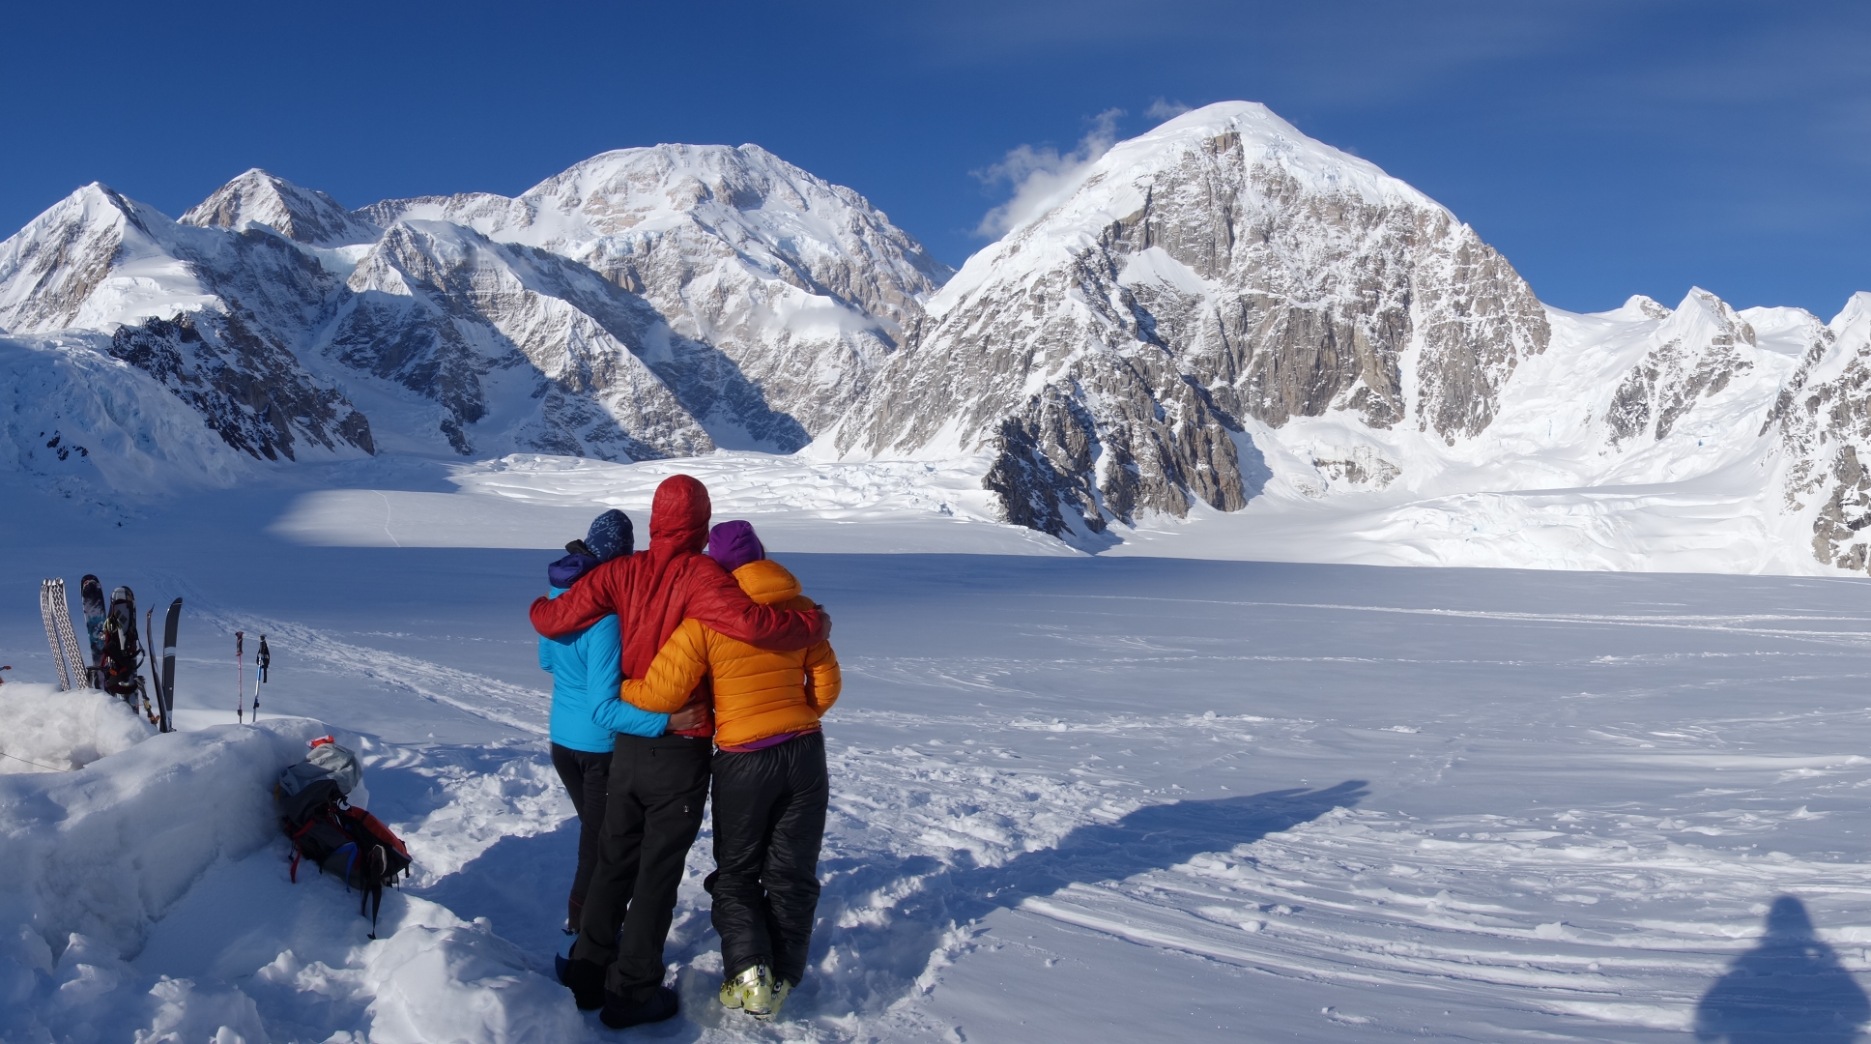
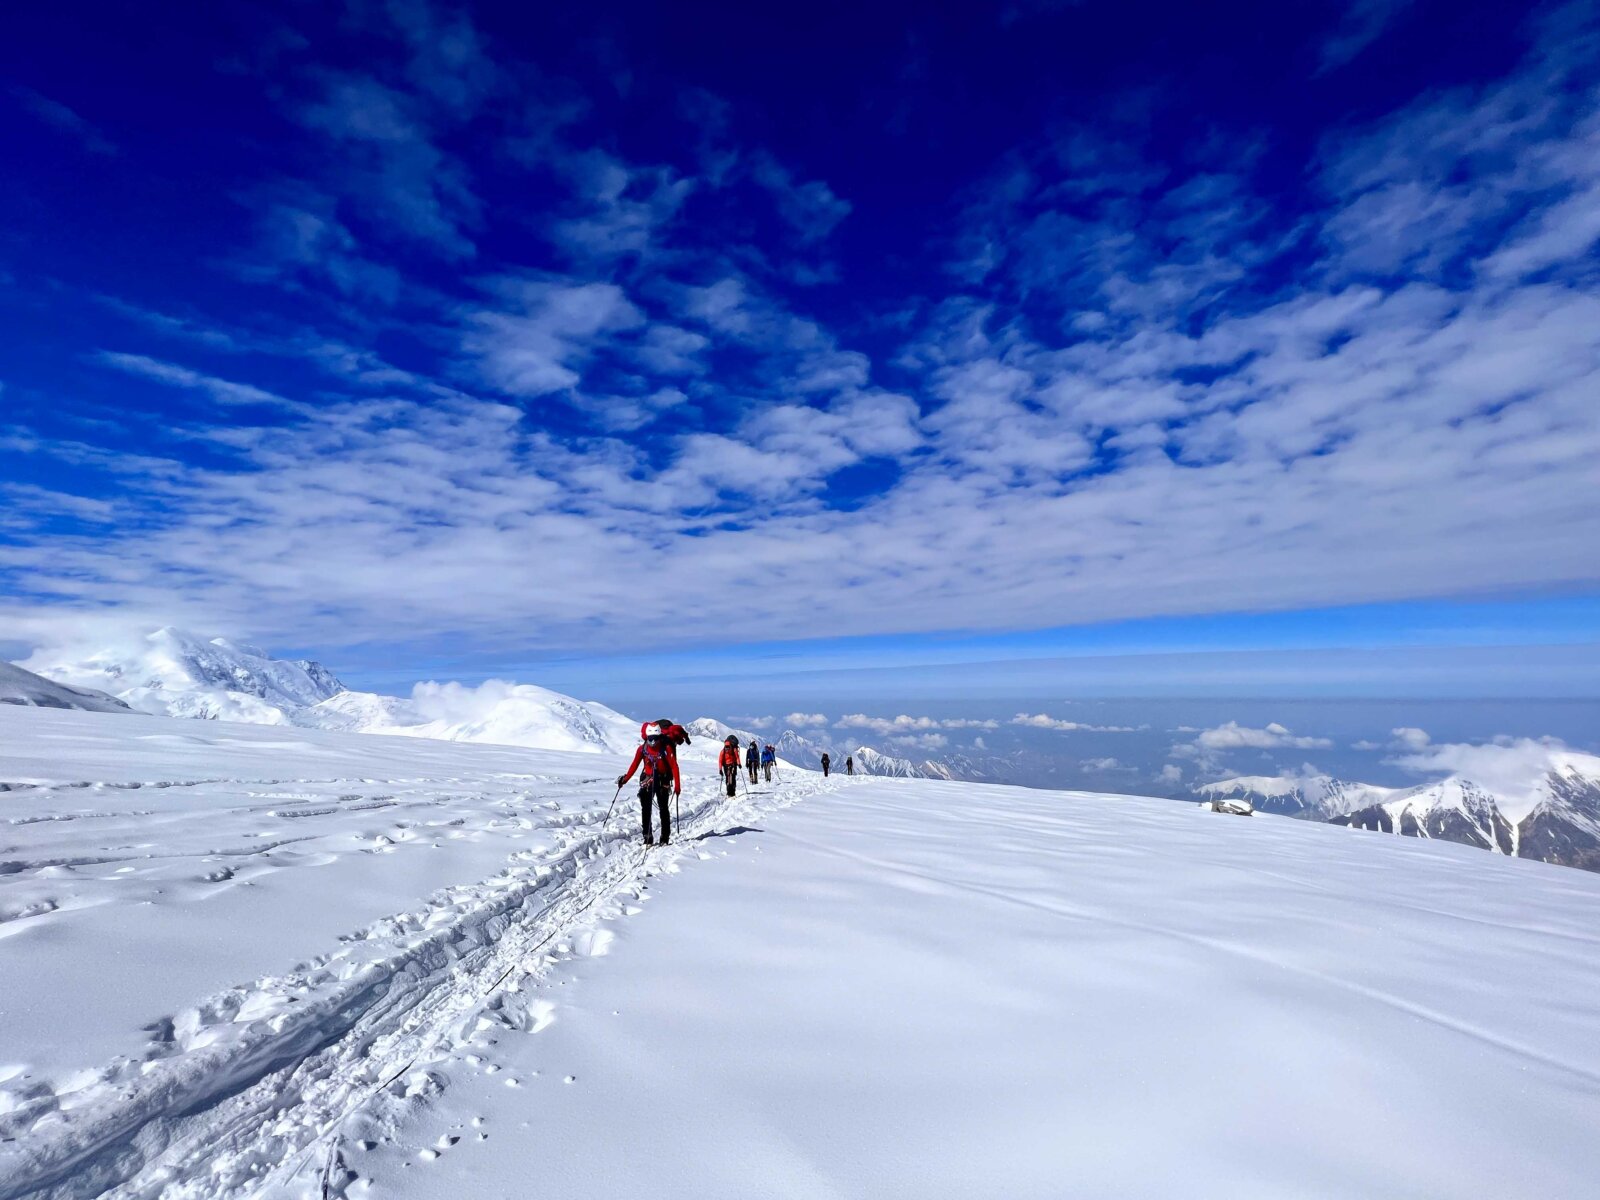
An alpine start will see us traverse across a steep face to Denali Pass, before continuing on rolling snow slopes to the Archdeacons Tower and a plateau known as the “football field”. We’ll cross the plateau at 19,400’ and ascend a moderate slope to the summit ridge. After making the ridge, we’ll climb the remaining 300’ to the summit of Denali and the highest point in North America. After a short celebration at 20,310’, 6,190m, we’ll make our way back down to High Camp.

The next few days will see us descend the mountain before catching a flight from base camp to Talkeetna, marking the end of our successful Denali expedition.

Quality Logistics and Certified Guides:

Alpenglow strives to provide the highest quality logistics, giving you the best climbing experience possible. For this expedition, we are working in partnership with Alpine Ascents International (AAI), an authorized concession of Denali National Park. AAI is a trusted partner, and we’re excited to offer this climb through them.

This Expedition will be lead by an AMGA/IFMGA certified guide with extensive experience on Denali. AMGA/IFMGA (American Mountain Guides Association/International Federation of Mountain Guides Association) certification is the highest possible training available to guides, and only the most experienced and dedicated attain it. Working in a 3:1 client ratio allows our team to move safely and efficiently up the mountain. From the plane ride into base camp to our high quality food, we’ll take care of everything for you so that you can focus on achieving the summit.

Preparation

  • Technical Experience

    Denali requires proficiency in basic mountaineering skills such as: Cramponing, walking on snow, crevasse rescue, self-arrest, glacier travel and rope skills, and winter camping experience. It is also important for clients to have experience carrying a heavy pack on glaciated terrain.

    Completing a mountaineering course and a Denali Prep Course (covering building wind-walls, pulling sleds, using fixed lines, etc.) are required unless you've gained equivalent skills and experience through training/climbing in a similar environment.

    Having completed 1-2 climbs before attempting Denali is also required; these could be other glaciated climbs here in the US or internationally.

    Denali is a unique and challenging mountain, the more experience you bring to the mountain, the better. All climbers will be be screened by our team to ensure that we are building a strong and qualified team.

  • Fitness

    Climbers must be in excellent physical shape to join this expedition. This is perhaps the most important aspect of high altitude climbing, and cannot be stressed enough. Regular, challenging exercise for many months in advance of departure is the only way to gain the necessary level of fitness that is needed on big peaks. We highly recommend a structured training regime with a gym or personal trainer to assist you in preparing for climbing at altitude. Please contact us for more information on physical training.

    • Day 0 — Arrive

      Today you'll arrive into Anchorage by 4:30pm. Upon arrival you'll need to arrange your own transport and book lodging at the Talkeetna Denali View Lodge just outside of Talkeetna. You'll rest and prepare to start the expedition in the morning.

    • Day 1 — Fly to Base Camp

      Starting first thing in the morning, we'll catch a ride to the Alpine Ascents Office at 8am. After introductions, orientation, and a final gear review, we'll board a ski plane and fly into Base Camp (7,300') on the SE fork of the Kahiltna Glacier. The flight into the Alaska Range is incredible, as we fly over peaks like Mt. Hunter, Mt. Foraker, and the Moose's Tooth. As we make our way closer to basecamp, the magnitude of the adventure that we are about to embark on will begin to set in and stoke will be high. After arriving, we'll finish setting up Base Camp and will settle into our new surroundings for the next two weeks.

    • Day 2 — Glacier Travel Review

      Today, the climbing begins. We'll start by shuttling our gear to our intermediary camp at the halfway point to the traditional Camp I. This easy day will give us an opportunity to dial in our gear and sled-pulling system; an important step as we'll be pulling heavy sleds for the next eight days.

    • Day 3 — Climb to Camp I

      This morning we’ll make our way to Camp I at 7,800’, carrying our gear with us as we make our way up the glacier to the base of “Ski Hill”. Depending on the snow conditions it may be necessary to use snowshoes between the camps on the lower mountain.

    • Day 4 — Shuttle Gear to Camp II

      The day will see us face our first real vertical gain, as we carry a load of gear up the “Ski Hill” to cache at Camp II between 9,800’ and 10,000’. After dropping off our gear at C2, we’ll return to C1

    • Day 5 — Climb to Camp II or Camp III

      The destination of today’s climb will be determined by mountain conditions and how our team is feeling. We’ll either ascend back up to C2 and our cache of gear to camp for the night, or push on to Camp III (11k Camp), which is located in the small cirque at the base of Motorcycle Hill.

    • Day 6 — Acclimatize/Climb to Camp III

      Depending on our push the day before, we’ll either spend the day acclimatizing or finish working our way to C3.

    • Day 7 — Shuttle Gear to Windy Corner Cache

      Today we’ll carry half of our gear up Motorcycle and Squirrel Hill before making the long traverse across the plateau to the Windy Corner. As we climb, we’ll be rewarded with incredible views of the Khalitna Glacier far below and peaks that surround Denali. After turning this narrow corner, we’ll continue on for a few hundred yards to store our cache at 13,500’ and then make our way back to C3.

    • Day 8 — Climb to Camp IV

      Retracing our steps from the day before, we’ll make our way back up to the Windy Corner and push past our cache up to 14,200’ and Camp IV (14k Camp) in the Genet Basin.

    • Day 9 — Grab Gear from Windy Corner Cache

      Today will be an easy day, as we descend 700’ to our cache at 13,500’ and carry the remaining gear back to C4.

    • Day 10 — Climb to Cache above the Headwall

      After our easy day yesterday, we’ll climb a moderate snow slope for 1,100’ until we reach the start of the fixed lines that will take us up the steep Headwall to the ridge of the West Buttress. From here, we’ll continue up the ridge for a short while until we reach 16,500’ where we will drop our cache. The ridge of the West Buttress greets us with dramatic views in all directions, as the mountain falls off either side of us for thousands of feet below. After dropping our cache, we’ll make our way back down to C4.

    • Day 11 — Rest Day

      Rest day in C4.

    • Day 12 — Climb to High Camp

      Ascending the fixed lines once more, we’ll continue along the exposed ridge, passing Washburn’s Tower on our way up to Camp 5 (17k Camp). Resting on a saddle just above the Rescue Gully, Camp 5 is the highest camp on the mountain and will serve our the starting point for our summit bid.

    • Day 13 — Rest Day

      Today we’ll rest and prepare for our summit attempt on Denali.

    • Day 14 — Summit Bid

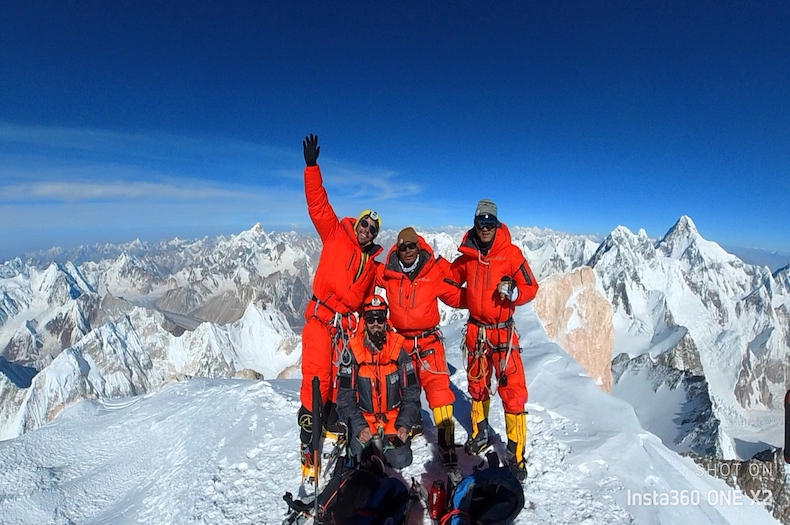
      The time has come for us to make our summit attempt. An early alpine start will see us traverse across a steep snow face to Denali Pass. Once here, a gradual slope will take us to the Archdeacons Tower and a large plateau known as the “football field” at 19,400’. After crossing the plateau, we’ll continue climbing on moderate terrain until we make the crest of the summit ridge. Looking down at the spralling 8,000’ South Face beneath us, we’ll have a magnificent view of Cassin Ridge and the South Buttress. After reaching the summit ridge, we’ll climb the remaining 300’ to the summit of the tallest peak in North America. At 20,310’, 6,190m, the summit of Denali gives us the grand finale as we’re greeted with a 360 degree view of the Alaska Range. Mt. Huntington and Mt. Hunter loom to the south as Mt. Foraker rises to the west. After a short celebration atop the summit of North America, we’ll make our descent back to C5.

    • Days 15-16 — Descend

      We spend the next two days descending the mountain and making our way back to Base Camp where we will board our fight back to Talkeetna.

    • Days 17-20 — Extra Days

      We’ll use these days as needed for inclement weather, rest, and acclimatization.
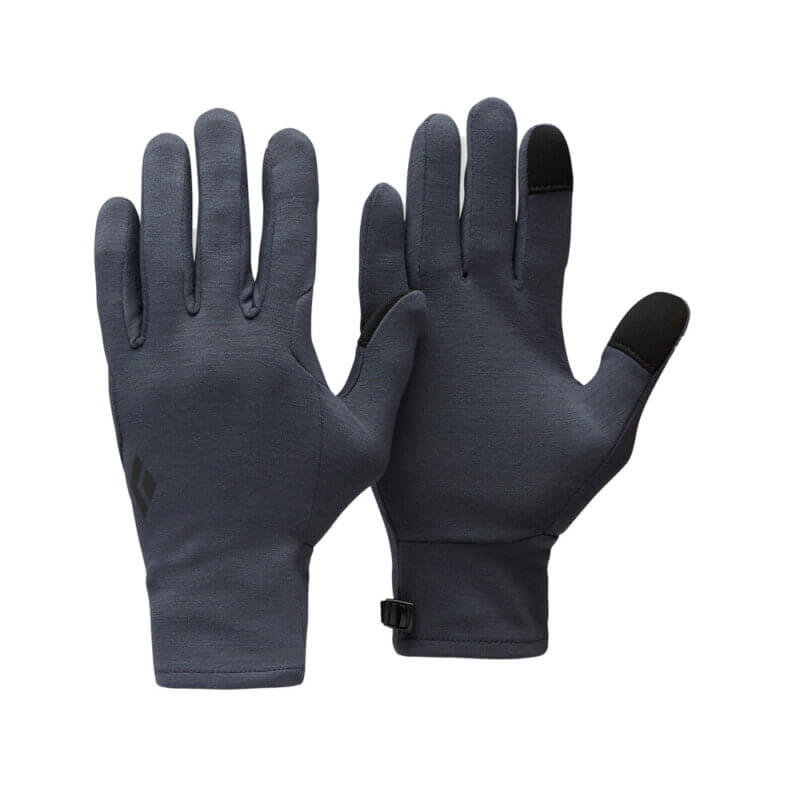
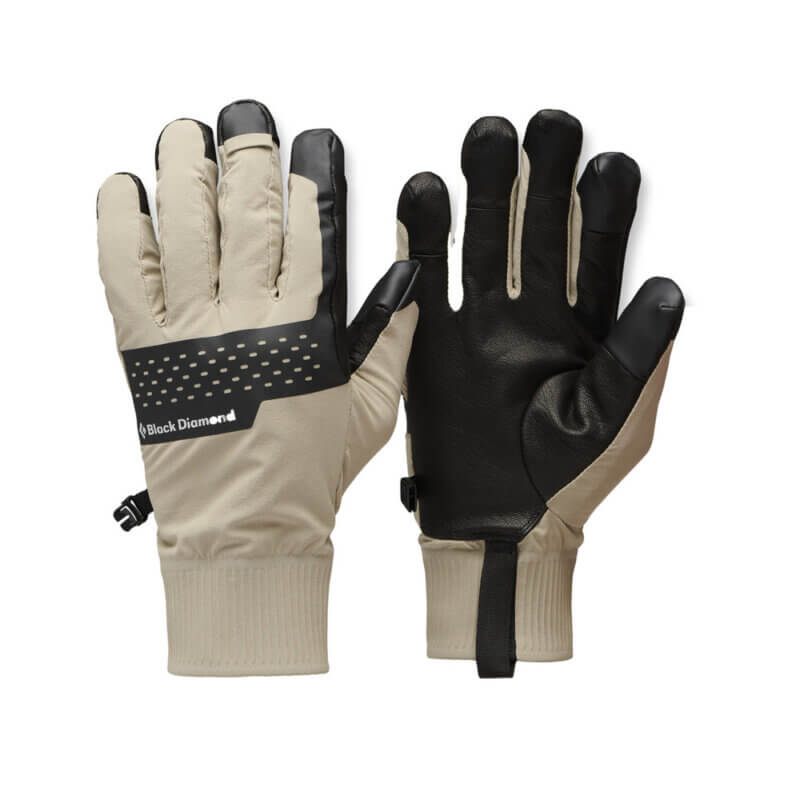
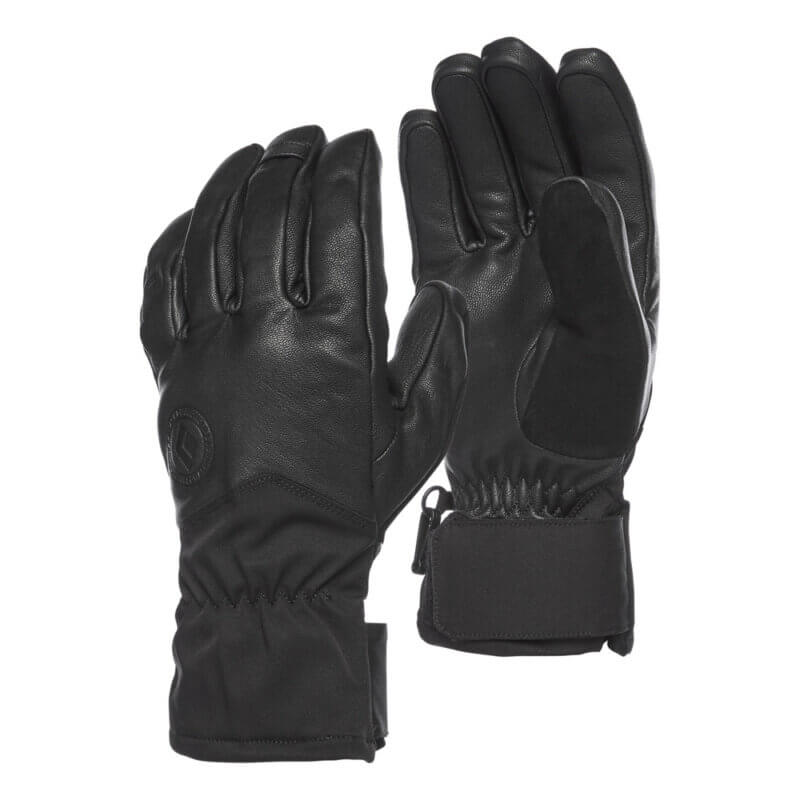
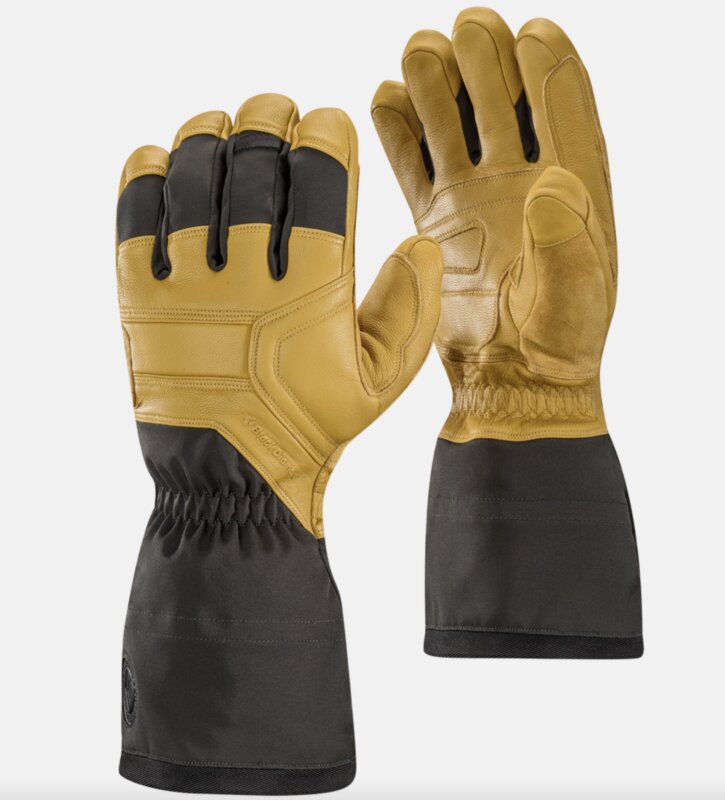
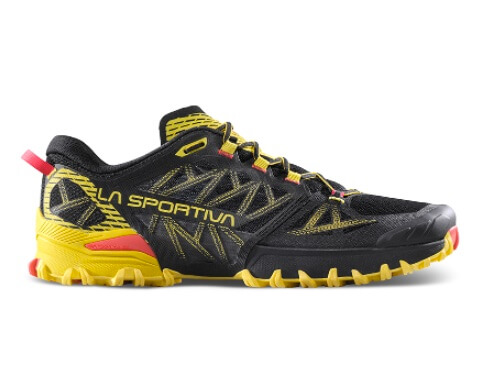
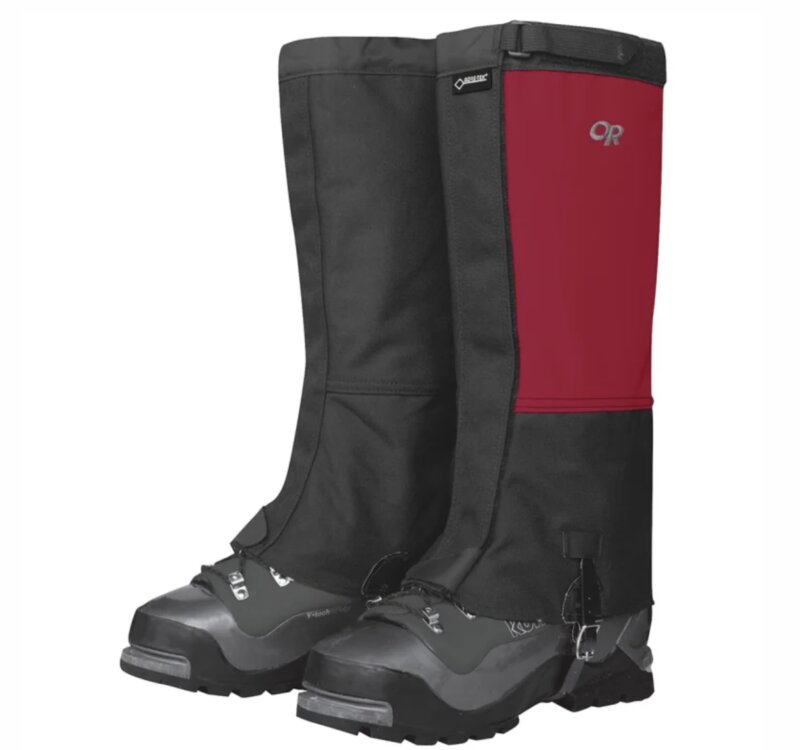
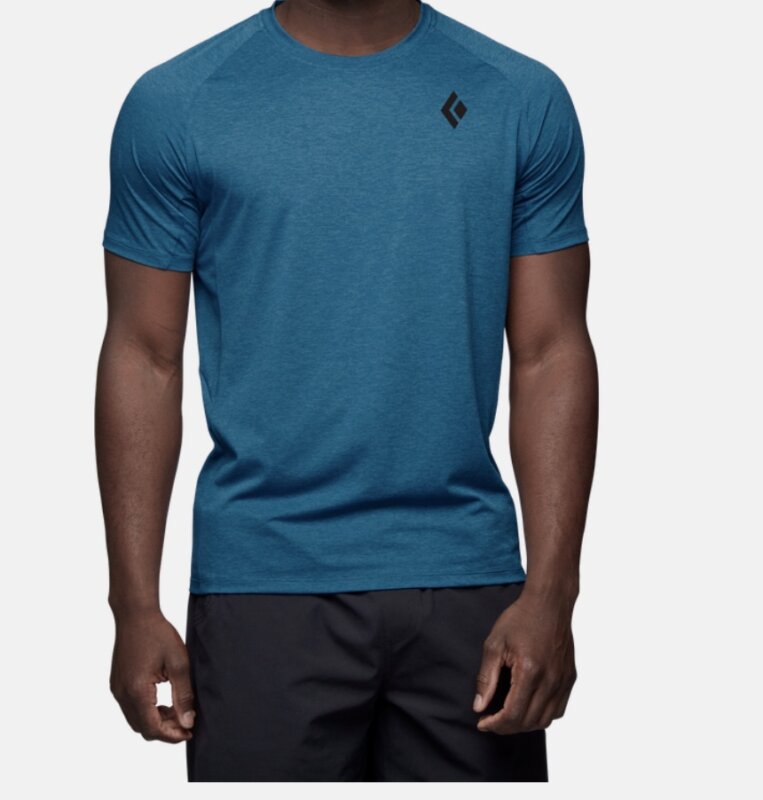
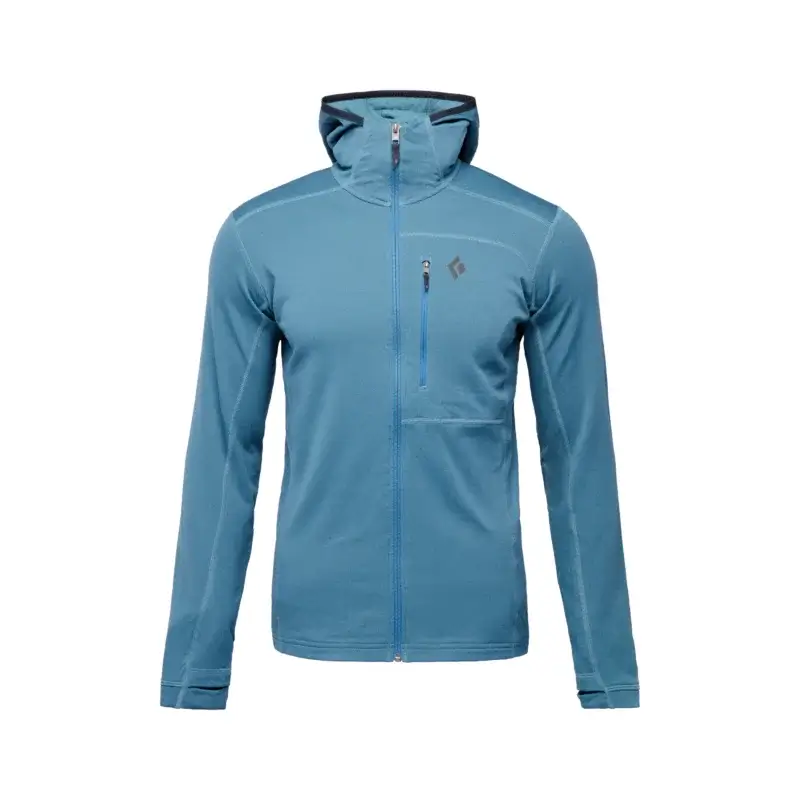
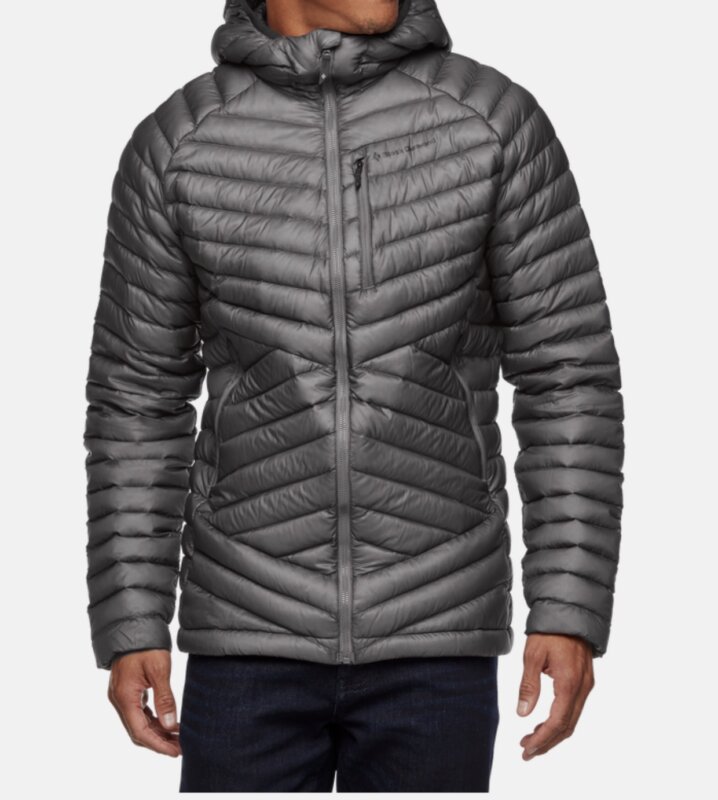
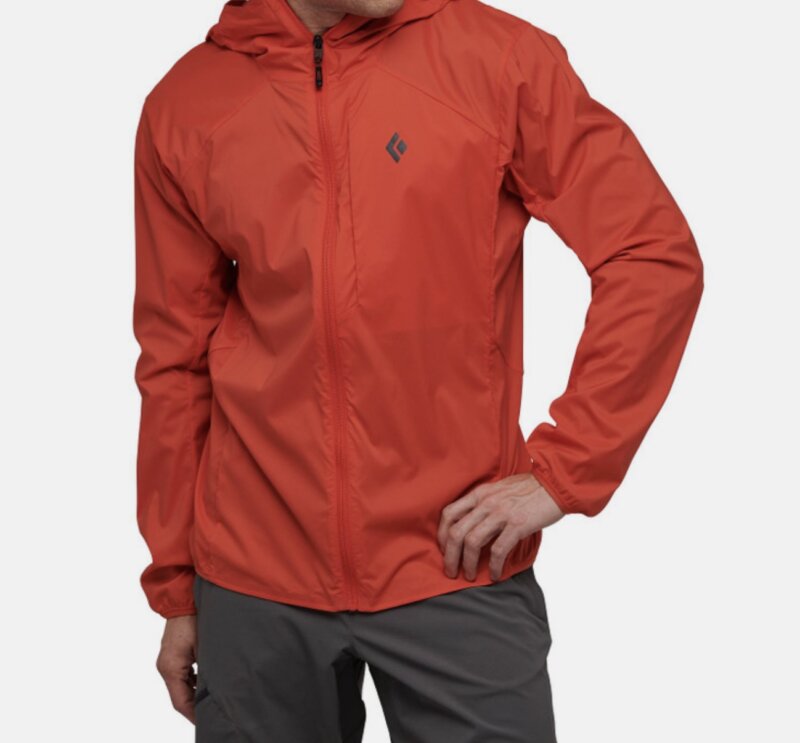
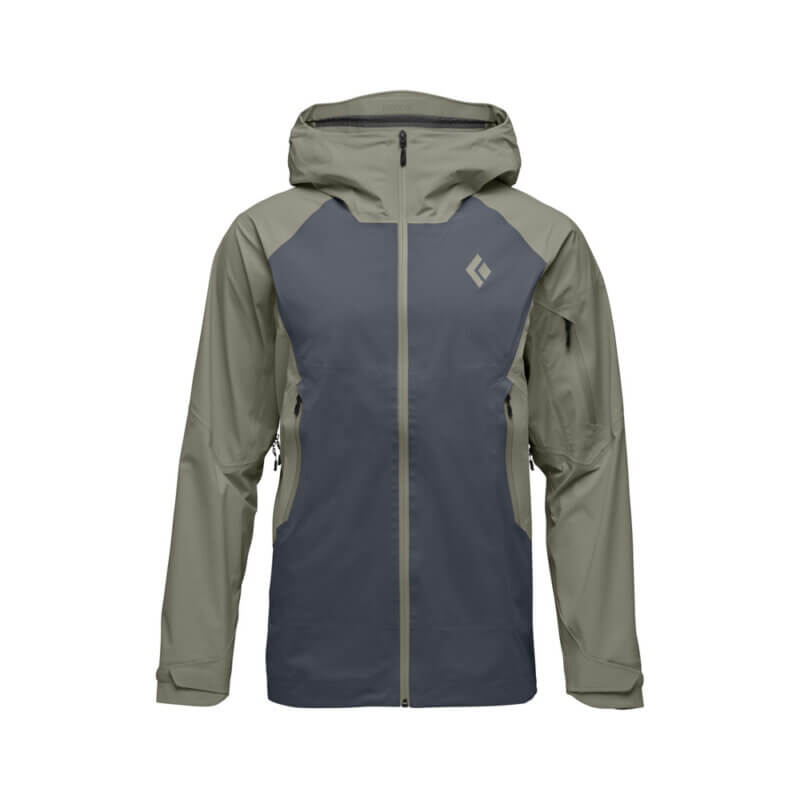
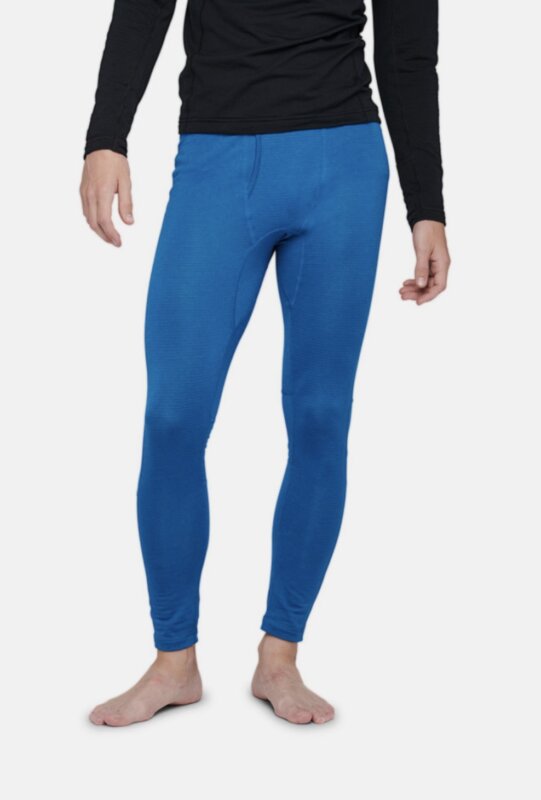
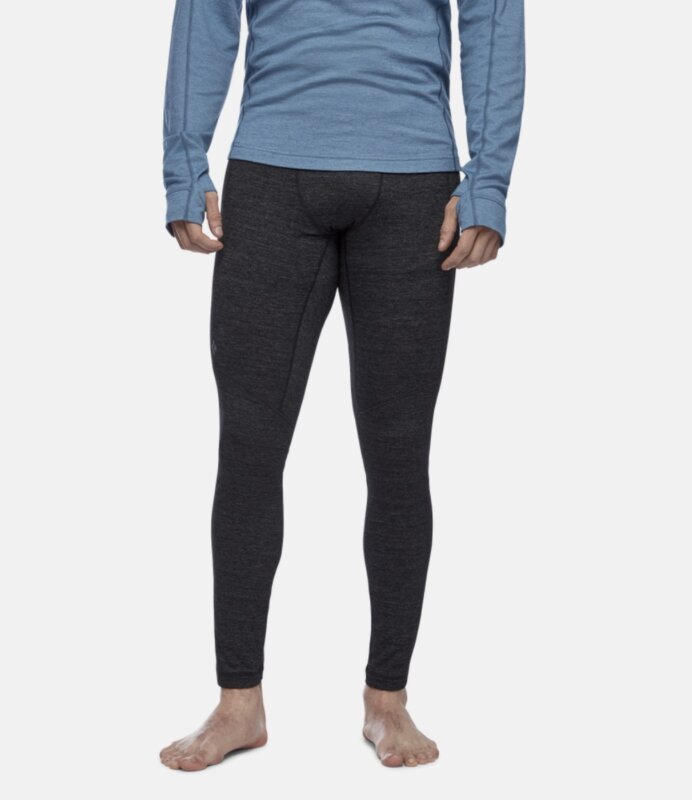
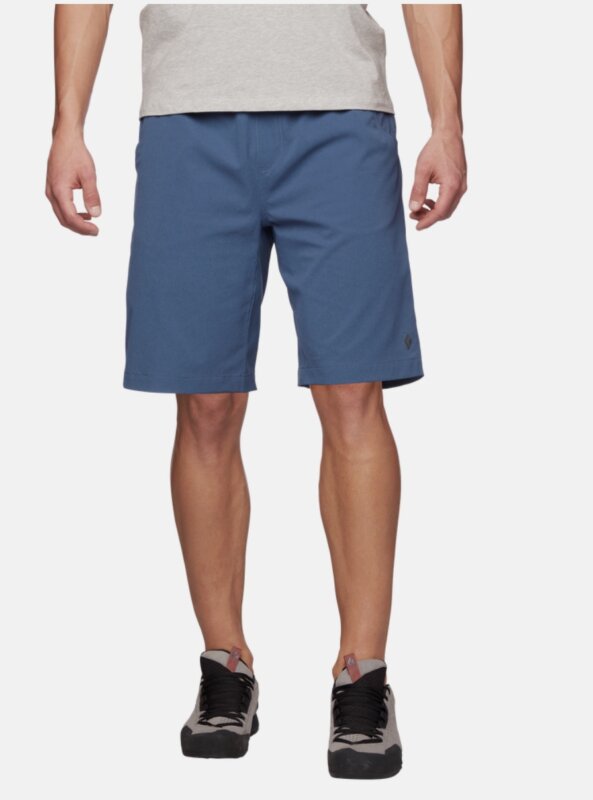
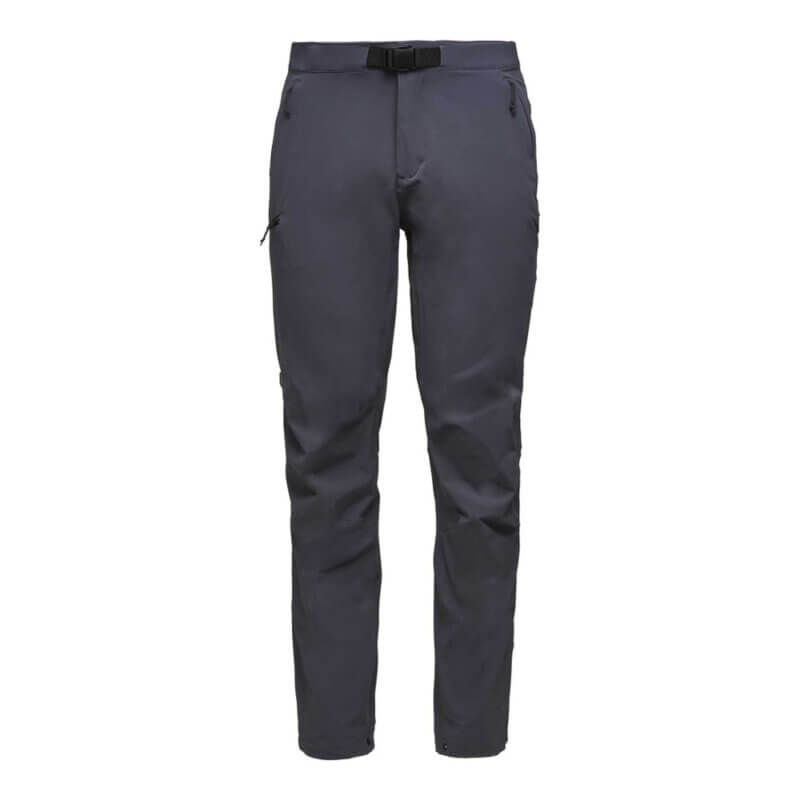
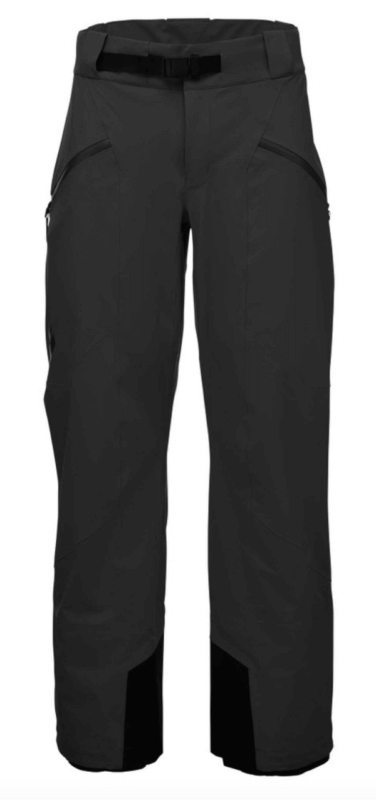
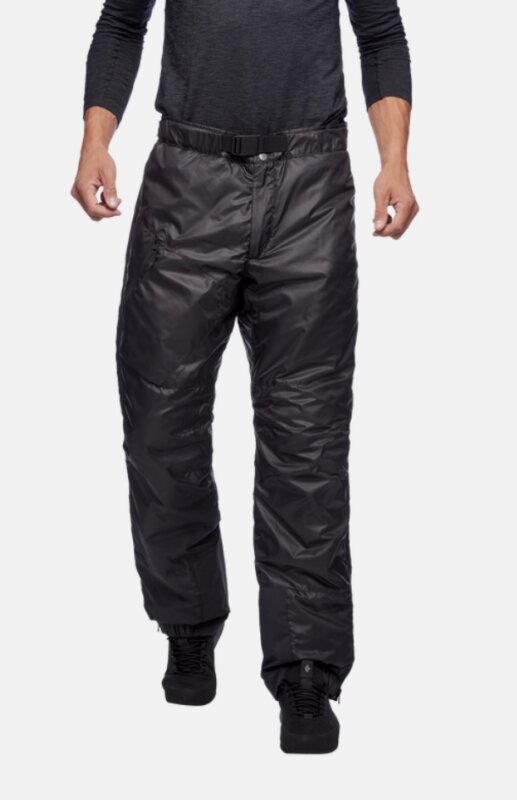
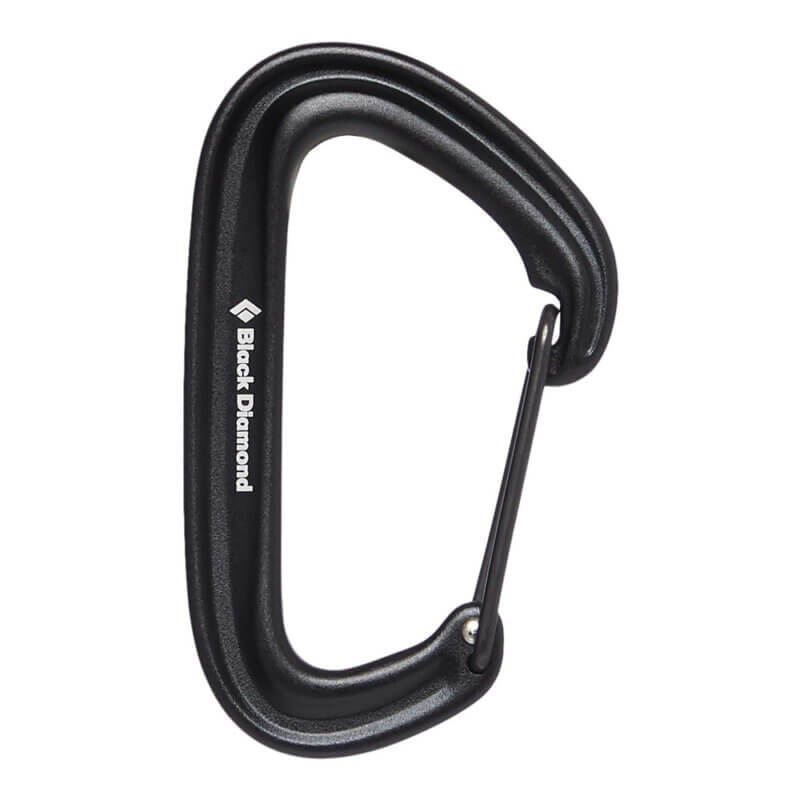
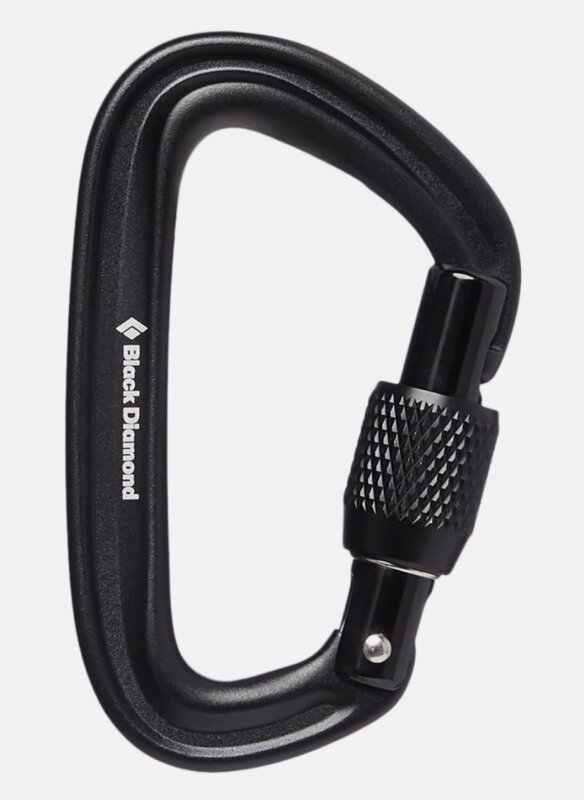
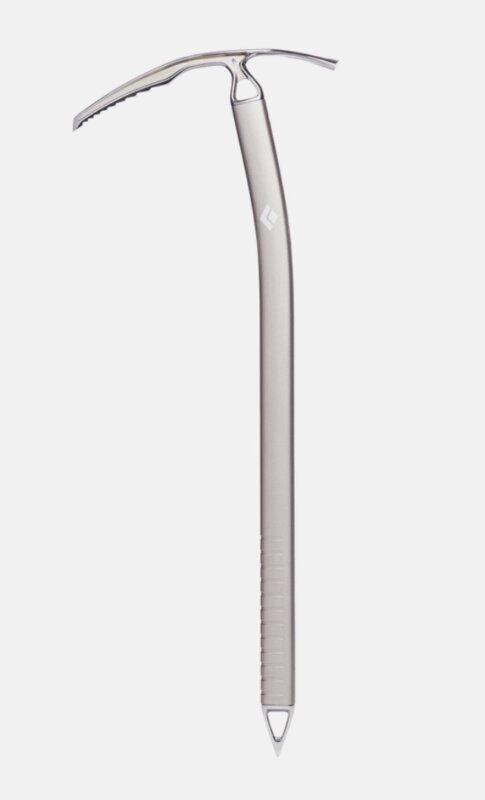
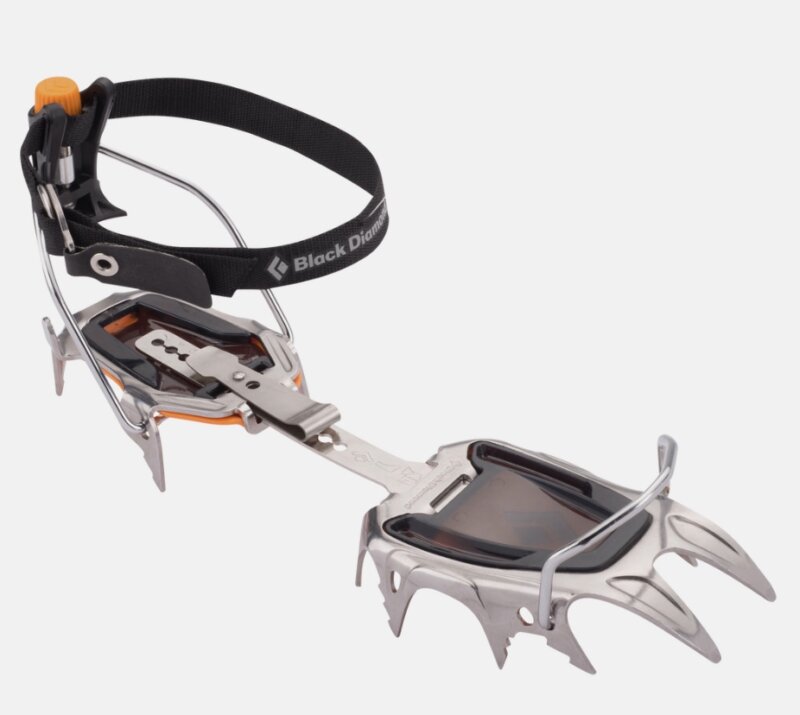
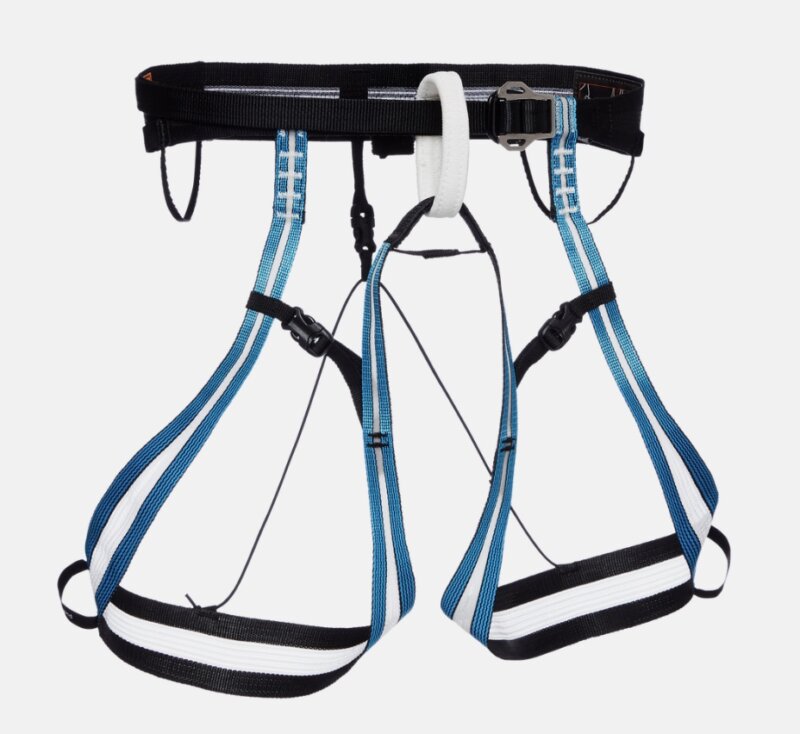
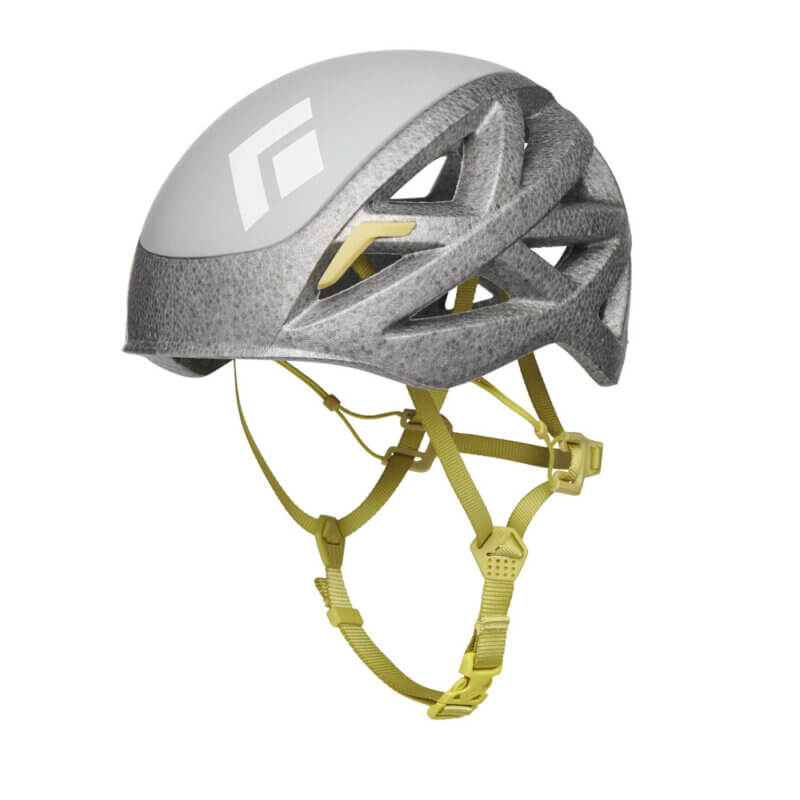
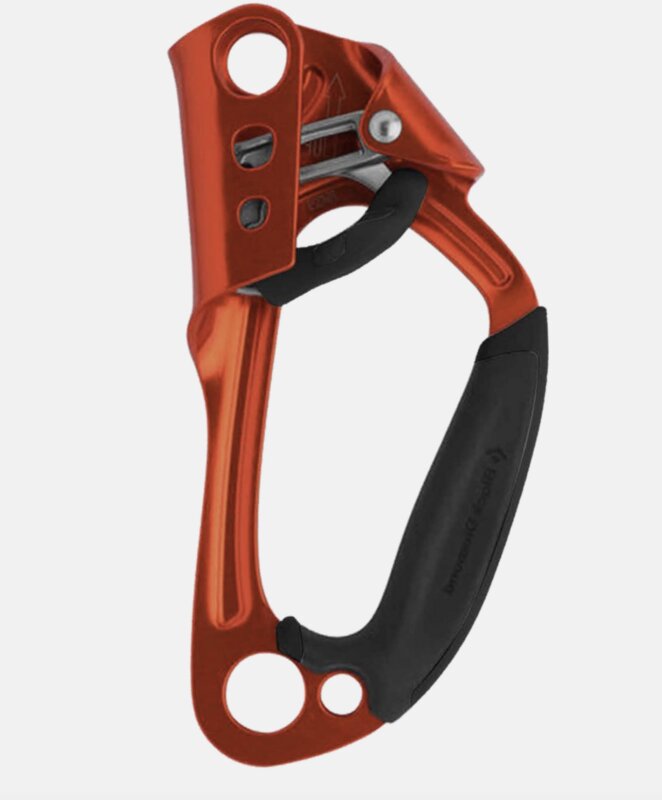
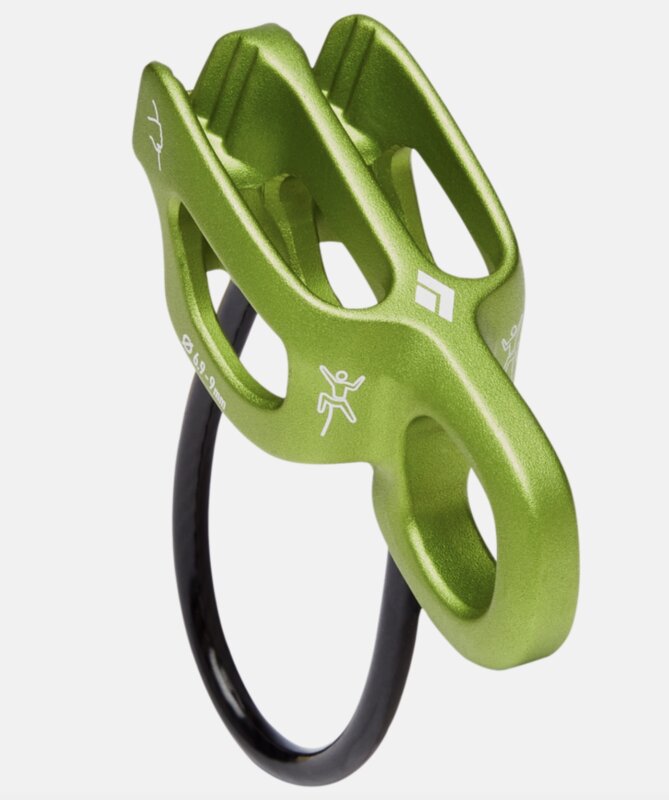
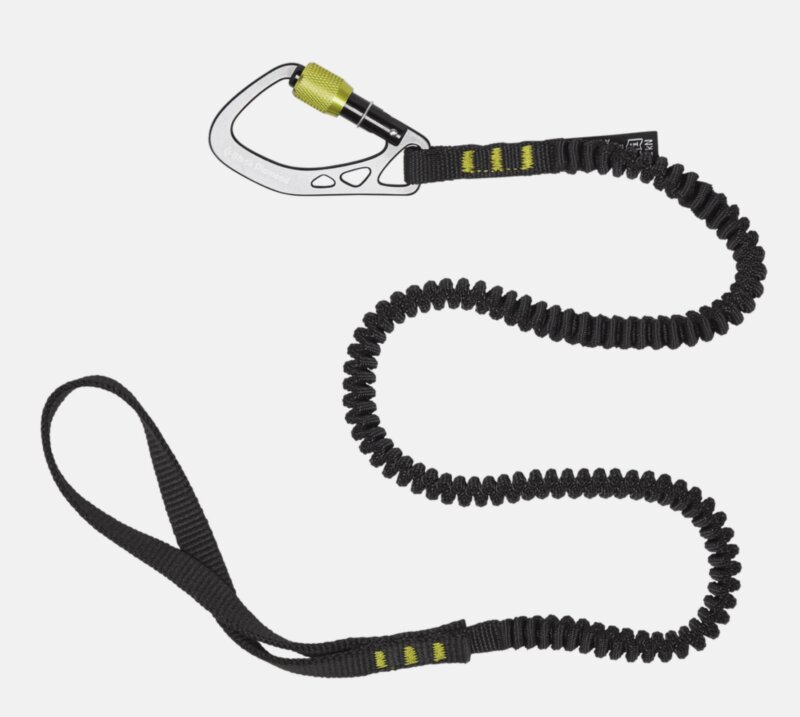
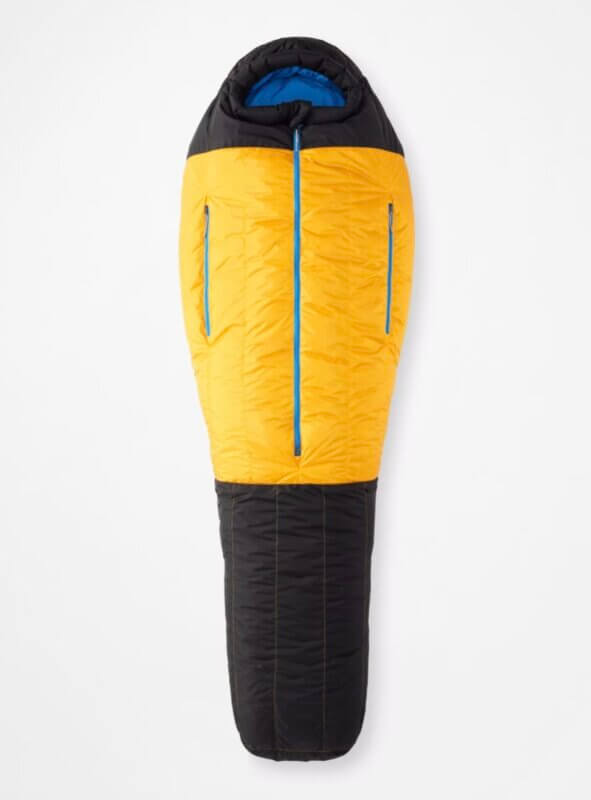
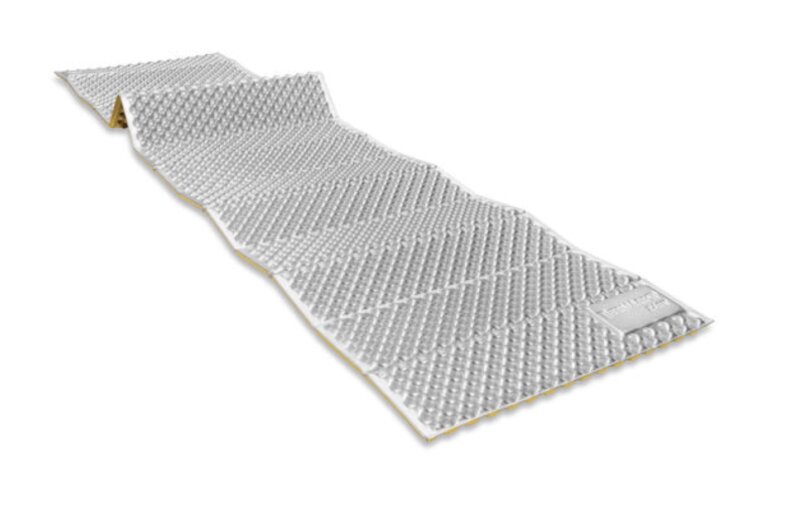
    • Day 21 — Depart for Home

      Depart Anchorage for Home. Please book flights leaving after 1:30pm

      • Headwear and Eyewear

      • Blue AEX 5-Panel

        The perfect hat for warm days on the move. This hat is a lightweight construction and provides ample ventilation to keep your head cool and your face shaded. Leather patch on the front with our classic Alpenglow Expeditions logo. Simple and stylish. Our summer guide's favorite piece of headwear!

        $25.00
      • Beanie

        A comfortable, warm well-fitting hat that covers your ears. Make sure that one of your hats fits under a helmet. Recommended: Eddie Bauer First Slouch Beanie

      • Neck Gaiter (Buff)

        A multi purpose neck gator that can also be worn under your hat. Make sure that it covers as much skin as possible and yet is still comfy. Recommended: Alpenglow Expeditions Buff

      • Balaclava

        We recommend a tight-fitting balaclava that is worn under your hat. Make sure that it covers as much skin as possible, but is comfortable enough to wear for hours. Recommended: Patagonia Balaclava

      • Sunglasses

        Must have dark lenses. Minimal light should come in below, above, or around the sides of the lenses.“Wrap” style is best. Ventilation is important and a retainer strap is very useful (Chums or Croakies). Recommended: Julbo Shield

      • Goggles

        These will be worn on stormy or windy days. Make sure you are getting a snug fit with lenses for bright sun. Ventilation and anti-fog features are desired. Recommended: Smith I/O MAG

      • Hands and Feet

      • Liner Gloves

        These gloves keep the inside of your mitts or other gloves from accumulating sweat on the inside and turning inside out when you take them off, as well as provide additional insulation. Recommended: Black Diamond Lightweight WoolTech Gloves

      • Lightweight Gloves

        All-around gloves for mountaineering, backcountry skiing, and hiking. These gloves (and similar options) are warm, wind-resistant, durable and have a sure grip. You will rarely take these gloves off. They should be snug-fitting, and have some sort of reinforced palm. Recommended: Eddie Bauer Mountain Glove

      • Midweight Gloves

        These gloves should be full GORE-TEX®, and insulated. These will be your main glove for the trip until summit days, or when it gets especially cold. Recommended: Eddie Bauer Guide Glove

      • Big Mountain Mittens

        These mittens should be warm and worn over either a liner glove or windstopper glove. Down mittens are not required. You should choose a pair that allows you to still operate locking carabiners. Recommended: Black Diamond Absolute Mitt

      • Liner Socks (optional)

        A super-thin wicking sock that repels moisture. Liner socks help to reduce the likelihood of blisters. The socks should be thin wool, nylon, or Capilene®. NO COTTON. Recommended: Ice Breaker Hike Liner Crew

      • Hiking Socks

        Your everyday sock, good for day hikes, trekking, and in- town. NO COTTON. Recommended: Patagonia Lightweight Merino Performance Crew Socks

      • Warm Socks

        A wool synthetic blend. Pure rag wool socks are not nearly as effective in wicking moisture or retaining their shape and reducing blisters. NO COTTON. Recommended: Smartwool Mountaineering Extra Heavy Crew Socks

      • Heated Socks

        These are optional, but highly recommended. Bring 2 sets of batteries. Hotronics boot heaters are another option instead of heated socks, but socks are preferred by our guides. Recommended: Sidas Sock Set V2 Uni S-1200

      • Hiking Shoes

        These light to mid-weight shoes are for every day use. The ideal shoe is comfortable to wear for multiple days and scrambles decently on rock. A Gore-tex lined shoe stays drier when hiking in rain or snow. Recommended: La Sportiva TX Guide

      • Mountaineering Boots (6,000m - 7,000m)

        Should be double boots that have a stiff sole and accept a step-in crampon. The boots should be comfortable, have adequate wiggle room for your toes, and your heel should not lift more than 1/8th of an inch when walking. Recommended: La Sportiva G2 Evo Boots

      • Down Booties (optional)

        You’ll love having a warm, comfortable shoe to slip into when tent-bound. Recommended: Western Mountaineering Flash Down Booties

      • Waterproof Gaiters

        GORE-TEX® or Schoeller® calf- high gaiters, insulated supergaiters recommended. *Gaiters not needed if your pants and/or boots have built-in gaiters. Recommended: Outdoor Research Expedition Crocodile Gaiters (required if your boots do not have integrated gaiters)

      • Heavyweight Gloves

        These gloves should be full GORE-TEX®, with a removable fleece liner (so you can take the liner out and dry it at night). These gloves are used at higher altitude and are need to keep your hands dry, and warm. Over the cuff style is desired. Recommended: Black Diamond Guide Glove

      • Upper Body

      • Lightweight Top

        Ultra-light base layer that effectively wicks moisture away from your body and is breathable. Quick-dry is important as well. One light colored shirt is recommended for extremely sunny days. The new wool blends are also an option. Recommended: Eddie Bauer Resolution Short-Sleeve T-Shirt

      • Long Sleeve Base Layer

        A poly-pro mid-layer that you will never take off. Fitted, light- weight and quick drying. Make sure it is long enough to tuck-in and we recommend zipper collars for more ventilation. Recommended: Eddie Bauer Midweight FreeDry® Merino Hybrid Baselayer 1/4-Zip

      • Warm Layer

        A polarguard or fleece jacket. This is your mid layer that will be worn over your baselayer most of the trip. Recommended: Eddie Bauer Cloud Layer Pro 1/4 Zip or Patagonia R1 Jacket

      • Synthetic Top

        A simple, lightweight synthetic jacket. This item is good for layering systems and the Primaloft keeps you warm when wet. Recommended: Eddie Bauer IgniteLite Stretch Reversible

      • Soft Shell Jacket

        While this item isn’t required, we know that those who don’t have one wish they did! More breathable than Gore-tex, these jackets block wind and light precipitation. A windshirt is an option for this layer. Recommended: Eddie Bauer Sandstone

      • Hard Shell Jacket

        A lightweight, waterproof and breathable jacket WITH A HOOD that can withstand extreme weather conditions. Make sure you have pit-zips and if you are using an old jacket, re-waterproof it. Recommended: Eddie Bauer BC Freshline Jacket

      • Down Parka (6-8,000 Meter Peaks)

        A puffy jacket with a hood that will keep you warm during the coldest of conditions. The higher the quality down, the better (800-fill is best). However, be sure the jacket is still lightweight. Recommended: Eddie Bauer Peak XV Down Jacket

      • Lower Body

      • Base Layer Bottoms

        Fitted and quick drying. This piece will be a base-layer that will get you through a wide range of temperatures. Recommended: SmartwoolMen's Intraknit™ Merino 250 Thermal Bottom

      • Expedition-weight Bottoms

        Fitted, light-weight and quick drying. The mid-weight will be a base- layer that will get you through a wide range of temperatures. Bring multiple changes of layers. Recommended:Eddie Bauer Heavyweight Grid Fleece Baselayer Pants

      • Soft Shell Pants

        You will spend most of your days in these pants. Choose Schoeller® or a soft-shell equivalent. Breathable + water-resistant. These pants should have an ankle zip so they will accommodate your mountain boot. Recommended:Eddie Bauer Guide Pro Alpine Pants

      • Hard Shell Pants

        Your waterproof bottom layer for extreme weather days. Make sure you have water-resistant zippers, crampon patches + good pockets. Recommended:Eddie Bauer BC Duraweave Alpine Pants

      • Insulated Pants

        Full-length side zippers are recommended, for throwing on top of all of your layers. This layer is required. Recommended: Black Diamond Stance Belay Pants

      • Technical Equipment

      • Ice Axe Leash

        A waist leash to be used with you ice axe. The leash is designed to help keep your axe attached to you if you drop it while climbing. Please be sure to purchase a waist leash and not a wrist leash.   Recommended: GrivelSpring Leash + Screw Lock

      • General Mountaineering Axe

        One non-technical climbing axe. The tool should be approx. 55cm- 65cm long and comfortable to hold. *Ice axes are also available to rent (for our introductory climbing courses) at no charge from Alpenglow expeditions on a first come, first serve basis. Recommended: Petzl Summit

      • Accessory Cord

        25’ of 6mm nylon accessory cord. This will be used to make prusiks and cordalettes. Recommended: Sterling Ropes

      • Mountaineering Crampons

        Steel crampons with anti-balling plates are required (so that snow does not build-up in the base of your foot). Make sure that crampons have a heel bail. Crampons are available to rent (for our introductory climbing courses) at no charge from Alpenglow Expeditions on a first come, first serve basis. Recommended: Black Diamond Sabretooth Crampons

      • Harness

        Must have belay loop, gear loops and adjustable leg loops so that you can layer up underneath it. Easy to pack, lightweight + comfortable. *Harnesses are also available to rent (for our introductory climbing courses) at no charge from Alpenglow expeditions on a first come, first serve basis. Recommended: Petzl Altitude

      • Locking carabiner (4)

        Lightweight pear-shaped locking carabiner Recommended: Petzl Attache

      • Non-locking carabiner (5)

        Lightweight, non-locking carabiners, wire gate's are best. Recommended: https://www.petzl.com/US/en/Sport/Carabiners-and-quickdraws/ANGE-L 

      • Trekking Pole(s)

        Make sure that they are durable, lightweight + easily adjustable. Recommended:Black Diamond Trailback Trekking Poles

      • Ascender

        Should have large opening for gloved hands, and an easy thumb trigger. Recommended: Petzl Ascension

      • Helmet

        Easily adjustable lightweight helmet that fits with hat and Balaclava. Make sure this is a climbing-specific helmet. *Climbing helmets are also available to rent (for our introductory climbing courses) at no charge from Alpenglow Expeditions on a first come, first serve basis. Recommended: Petzl Meteor Helmet

      • Expedition Equipment

      • Sleeping Bag (-20°)

        Rated to -20º F. Choose an 800+ Fill Premium Goose Down bag. Make certain that the sleeping bag is the right length. DON’T FORGET A COMPRESSION SACK FOR THE SLEEPING BAG. Granite Gear Compression Sack is desired. Recommended: Eddie Bauer Kara Koram with Compression Sack

      • Foam Sleeping Pad

        A foam pad will help protect the inflatable pad from puncture. Recommended: Therm-a-Rest Z-lite

      • Inflatable Sleeping Pad

        72 inch long inflatable pad required. Make sure you also purchase and bring a repair kit + bag for the sleeping pad. Recommended: NeoAir Xtherm

      • Expedition Backpack

        A 75-100 liter climbing pack designed with climber-specific features and an internal frame. The volume you choose can vary depending on your experience packing and gear quality. If opting for a pack smaller than 100 liters, practice packing to be sure you can efficiently use a smaller sized pack. Recommended: AMG™ 105 Backpack

      • Two 1L Nalgene Bottles

        Two 1 Liter Wide Mouth Nalgene bottles. Recommended: Nalgene 1 L wide mouth

      • Optional Items

        • External Battery Packs for phones, and other electronics. Recommended: Anker PowerCore Speed 10000.
        • Travel wallet pouch (waist or neck)
        • Leatherman/ Swiss Army Knife (Recommended: Leatherman Juice C2)
        • Zip lock bags (large size, for organizing small items and waterproofing)
        • Pee Funnel (optional for women) One popular model is the Freshette.
        • Ear Plugs
        • Journal/Cards/Games for personal entertainment
        • Language Phrase Book
        • Camera - Full size DSLRs not recommended as your summit camera.  Sony RX100 is a guide’s favorite. Remember extra SD cards and batteries.
        • Compact Binoculars
        • Sandals (Flip-Flops, Chacos or Tevas)

      • Hydration System (optional)

        Should carry 70-100 ounces. Must be durable and have a reliable closure system. Recommended: MSR Dromlite 2L with Hydration Tube

      • Duffle Bags

        2 Duffle Bags - At least one bag should be extremely durable, waterproof, and big - between 90L and 120L. You should feel comfortable leaving it in a puddle for several hours. Remember dry clothes are hot commodities in the mountains! Large enough to fit everything you own, plus what you anticipate buying. Two duffel bags are necessary to fit all your equipment for travel (we don't recommend checking your backpack, best is to put all gear and backpack into your duffle). Once in country, you can consolidate your gear into one duffel and your backpack. It's common to leave the second duffel with city clothes and other non-necessary items behind in a locked and secure location that your guide will arrange for you. Recommended: Eddie Bauer Maximus Duffel

      • Compressible 1-1.5L Bottle

        Wide mouth compressible 1-1.5 liter bottle. Recommended: Nalgene Flexible Cantene

      • Plastic Bowl, Mug and Spoon

        A lightweight and compact cookware setup. You'll want a plastic bowl, mug and spoon. Recommended Kit: MSR 2 Person Mess Kit

      • Lighters

        2 BIC Lighters

      • Coffee

        While Alpenglow provides hot drink options every morning, it can be nice to have your own on hand any time you need a boost. With hot water always readily available, having instant coffee packets can give you the energy you need after a long day in the mountains! Recommended: Alpine Start Original Blend Instant Coffee

      • Thermos

        A fully insulated thermos is recommended for warm drinks that help with comfort, hydration, and safety on cold days in the mountains.   Recommended: Thermos STAINLESS KING™ DRINK BOTTLE 24OZ

      • Trash Compactor/Contractor Bags

        Heavy plastic garbage bags to use as waterproof pack.stuff sack liners. Trash compactor or contractor bags are made from stronger plastic and perform well in mountain environments. Reusable waterproof pack liners will also work.   Recommended: Husky Trash Bags

      • Caching Stuff Sack

        20-liter stuff sack for caching personal gear on the lower mountain.   Recommended: Sea to Summit EVENT COMPRESSION DRY SACK

      • Miscellaneous Items

      • Miscellaneous Items

        • Passport (with visa, if necessary)
        • 2 luggage locks (TSA compliant)
        • Non-cotton underwear
        • Wag bags, 1 per night camping as to leave no trace
        • Heavy duty garbage bags (at least 4)
        • Stuffsacks: assorted sizes, for organizing your clothes and gear
        • Sunscreen: SPF 30 (or higher)
        • Lip balm with SPF 15 (or higher)
        • Personal first-aid kit (Band-aids, Ibuprofen, Cough Drops, Moleskin, Pepto-bismol, Imodium, Personal Medications)
        • Toiletries
        • 3-4lbs of Snack food (a variety of snack food, some whole food, some bars, some gels)
        • Hand Warmers
        • Face Mask
        • Hand Sanitizer
        • Knife
        • Steripen

      • Optional Items

        • External Battery Packs for phones, and other electronics. Recommended: Anker PowerCore Speed 10000.
        • Travel wallet pouch (waist or neck)
        • Leatherman/ Swiss Army Knife (Recommended: Leatherman Juice C2)
        • Zip lock bags (large size, for organizing small items and waterproofing)
        • Pee Funnel (optional for women) One popular model is the Freshette.
        • Ear Plugs
        • Journal/Cards/Games for personal entertainment
        • Language Phrase Book
        • Camera - Full size DSLRs not recommended as your summit camera.  Sony RX100 is a guide’s favorite. Remember extra SD cards and batteries.
        • Compact Binoculars
        • Sandals (Flip-Flops, Chacos or Tevas)

    • What level of fitness is required?

      Climbers must be in excellent physical shape to join this expedition. This is perhaps the most important aspect of high altitude climbing, and cannot be stressed enough. Regular, challenging exercise fro many months in advance of departure is the only way to gain the necessary level of fitness that is needed on big peaks. We highly recommend a structured training regime with a gym or personal trainer to assist you in preparing for climbing at altitude. Please contact us for more information on physical training.

    • Do I need to purchase Rescue Insurance and Travel Insurance?

      We require Rescue Insurance on all of our international expeditions. Rescue insurance will help cover costs in the event that you need to be rescued off the mountain (Ex: Helicopter/medical evacuation). Travel Insurance (which we strongly recommend) can cover issues that would cause you to cancel your trip in advance, like illness. We recommend Global Rescue for both types of insurance.

      If you do choose Global Rescue, be sure to select the High Altitude Evacuation Add-On that is needed for insurance coverage above 15,000 ft.

    • What sort of experience is required to climb Denali?

      Denali is a difficult mountain that required excellent fitness and technical mountaineering skills. Climbers will need to show adequate skill and experience to join the expedition, including having a firm foundation in  cramponing, fixed rope work, glacier travel systems, and winter camping. We will require climbers to take a Denali prep course or have built the skills necessary independently and pass a screening processes. At the very minimum, climbers should have completed a mountaineering clinic or course and made 1-2 successful summits of other peaks prior to joining the expedition. We built strong teams to help maximize our safety and success on the mountain.

    • What is your cancellation policy?

    • Are Covid vaccinations required?

      Our leadership has made the decision to require all participants to be vaccinated for international travel. This is a safety measure that we have made to not only protect our clients, but also to protect our guide team and the local people in which we interact with during our expeditions. We want to do our utmost to mitigate the risk of Covid disrupting our expeditions, and having our teams vaccinated has become an important part of our risk management system with international travel. Please reach out to us if you have any questions or issues regarding this decision, we’d be happy to hop on a call and discuss this further.

    • What all is included and excluded?

      PRICE INCLUDES

      • Round-trip flight to Kahiltna Glacier Base Camp
      • All group camp supplies, such as tents, stoves, etc.
      • All group climbing gear
      • All meals during expedition (while on the mountain)
      • All guide fees

      PRICE DOES NOT INCLUDE

      • Transportation to Alaska/Talkeetna — expeditions begin in Talkeetna
      • Guide tips
      • Meals & lodging in Talkeetna
      • Some supplemental snacks such as candy bars – see confirmation materials
      • Personal gear (see Gear List)
      • All expenses incurred from in the event of early departure (evacuation fees, transport, extra hotel nights, etc.)
      • Excess baggage charges
      • Personal expenses (i.e., laundry, mail, telecommunications)
      • Charges incurred as a result of delays beyond the control of Alpine Ascents. International weather delays are not uncommon, schedule accordingly.
      • Trip cancellation insurance (highly recommended)
      • The $370.00 park fee, which is paid directly to the National Park ($270.00 park fee for those under 24 years of age)

Logan Talbott

co-owner / chief guide

Logan has been guiding professionally for over a decade in the disciplines of Rock, Alpine and Ski Mountaineering. When not out guiding, Logan spends time in the office helping the team with the day-to-day operations of the business. From one day ascents of El Capitan to big Alpine climbs in the Himalaya, from ski descents on Denali to backyard ski tours in Lake Tahoe, he can’t help but smile when out running around the hills. Logan is an AMGA/IFMGA mountain guide, an Avalanche course leader with AIARE, as well as a wilderness EMT. In addition to guiding, Logan has extensive experience in mountain rescue, having worked for rescue teams in both Yosemite and Denali National Parks, and volunteering locally for Tahoe Nordic SAR. When not out in the hills, he lives in Truckee, CA with his lovely wife Lynette and daughter Maggie.

Guide Certifications
  • AMGA - American Mountain Guide
  • IVBV IFMGA UIAGM - Mountain Guide

Sydney Paez Duncan

Skiing is just part of life growing up in Colorado, so naturally, Sydney has been in love with skiing since she was 3-years-old. At 18 she started her guiding career as a raft guide and became enamored with working in the outdoors.  For years she honed her backcountry skiing skills in France, Idaho, Colorado, and Tahoe, and she is so happy to be able to share her love for human-powered turns with others.  Sydney has worked at Squaw Valley on Ski Patrol for 4 seasons and guiding was a natural progression.  Recently, she was accepted to the AMGA’s Ski Guide track and she is on the path to becoming a certified Ski Guide. Once the skiing dries up in the summers, you can find Sydney guiding trips in the Cascades.

Sydney is an AMGA Assistant Ski Guide.

What others are saying about this trip

Expedition Inquiry Form

  • Have questions about this trip?

    Denali Expedition

Denali Expedition

Inquire for Dates: As one of the renown "7-Summits" and the tallest peak in North America, Denali (20,310'/6,190m) is a classic mountain and a crowning achievement for any alpinist who is fortunate enough to make its summit.