10 Next Steps after your AIARE 1 Avalanche Course

So you just finished an AIARE 1 course. Congrats! Nice work taking a huge step in your avalanche education, and making yourself a much more valuable touring partner and member of the backcountry community. Maybe you’re feeling a little bit intimidated by the awesome power of avalanches, but hopefully, you’re mostly feeling empowered to step into the backcountry with the knowledge and tools to identify avalanche terrain and make good decisions with your partners, however conservative those decisions might be.
What’s next? Here are some steps you can take to build on what you just learned:
1. Use your AIARE field book
Fortunately, doing this means you’re going touring! Your field book is an invaluable resource, and there should be a lot of blank pages left still. Actually filling out a trip plan and recording field observations – even with just a couple quick notes – will cement the process you learned in your AIARE 1 course and better prepare you to…
2. Submit observations to your avalanche center
One of the forecasters for the Sierra Avalanche Center once told me, “If your AIARE students go to the trailhead and they see snow… we want to know that.” Your observations do not have to be super high-level and professional to be valuable, so don’t let that keep you from submitting them. Just thinking about what might be useful to other people and deciding how to convey that information will make you a more skilled observer. And more information helps the forecasters prepare a better forecast, which helps the entire community.
3. Take an AIARE Avalanche Rescue class
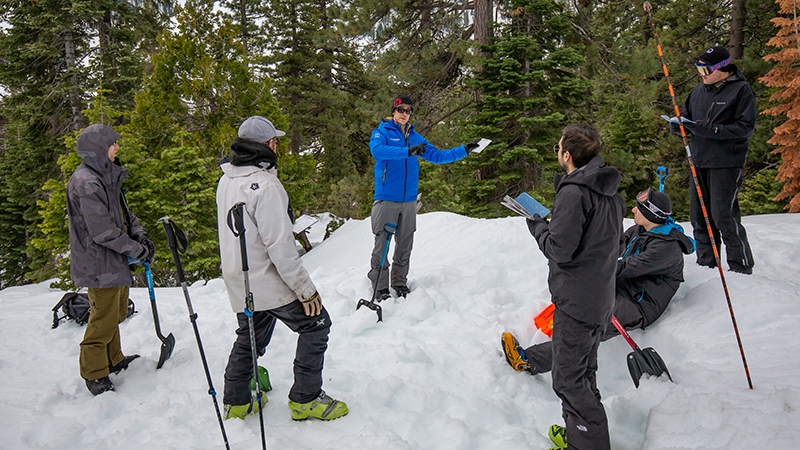
As you probably realized in your AIARE 1, performing avalanche rescue is hard, and it’s a perishable skill even after you’re good at it. Learn up-to-date techniques and get professional feedback every couple of years in a rescue class. Take it together with your backcountry partners. If they need convincing, get them to watch the Rescue at Cherry Bowl videos.
4. Practice rescue with friends
If you’re not taking a rescue class together, practice rescue together on your own. Make it fun: compete for the best times, or bury treats – of the pastry or beverage variety – along with your beacon. Do it in the sand on the beach if there’s no snow. Good partners will be into this.
5. Read the avalanche advisory frequently
Even if you’re not able to make it out touring much, read through the avalanche advisory on a daily basis if you can. You’ll get more comfortable with the terminology you learned in your AIARE 1, and it will give you a better understanding of how the snowpack changes over time with different weather events. Look at the observations being posted by the forecasters and other professionals. You’ll get to see what they are looking for in different conditions, which will help you make more relevant observations when you go out.
6. Take an AIARE 2 course
If you’ve had at least one full season of touring since your AIARE 1 and you’ve completed an AIARE Rescue class, then you might consider signing up for an AIARE 2. You’ll want to feel comfortable with a lot of the skills and concepts from your AIARE 1, like recognizing avalanche terrain and completing a trip plan, as we will build on those in the AIARE 2. We’ll be using the same AIARE Framework, but with the goal of having you facilitate a group of your peers in that process, as opposed to just participating. We’ll talk a lot about uncertainty and margins, along with ways to reduce them when it’s possible. In general, your instructors will be coaching you in your own application of the AIARE Framework, rather than merely introducing it to you.
7. Find a mentor and/or hire a guide
Traveling in the backcountry safely over the long term requires skills that involve nuance and subtlety, and receiving mentorship from a knowledgeable, experienced mentor is invaluable in the process of acquiring those skills. I’m sure most super savvy skiers and riders can tell you stories about at least one person who took them under their wing and was instrumental in their development. I know I can! Finding that person can be hard, though. And while, yes, I am definitely biased, I can tell you that any good ski/splitboard guide will be totally psyched to offer you a mentorship-like experience, involving or coaching you in the trip-planning and decision-making processes for a tour. We can help you go farther, faster, in bigger terrain, and in more complex or less familiar conditions.

8. Take an Intro to Ski Mountaineering course
Maybe you’re feeling really good about touring around the Tahoe area, and you want to step into bigger, more technical terrain. Maybe you have dreams of skiing or riding in the High Sierra, or even in the Andes or the Himalaya. Our one-day intro course is a great start, covering fundamental skills like ice axe and crampon technique, as well as basic rope skills that you might use in steep or glaciated terrain.
9. Try a multi-day tour
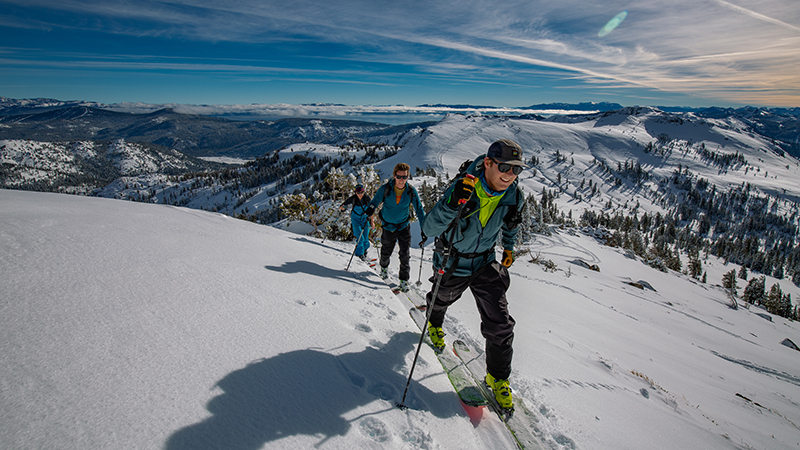
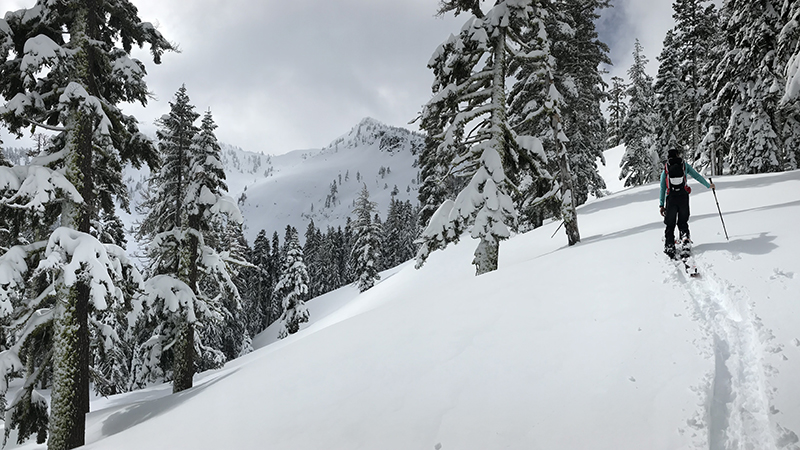
Like ski touring? Like backpacking? Combine the two on an overnight trip! The Sierra Nevada, with its fantastic weather and deep snowpack, is one of the best ranges in the world for multi-day ski touring – especially in the springtime. Explore your favorite areas without the summer crowds, or try traversing the range. With a lightweight kit, there’s a lifetime of exploring to be done!
10. Get the Gear
If you rented equipment during your AIARE 1 course, now is the time to start thinking about building out your kit.
Check out this blog with a couple of our favorite pieces.
Check out this helpful blog for a more advanced list of “guides pack” essentials.

Book a Ski Guide
For information on any of our other expeditions check out our website. For any questions call our office at 877-873-5376 or send us an email info@alpenglowexpeditions.

