How to Use CalTopo: A Guide’s Secret Weapon
Using CalTopo as a Practical Tool for Backcountry Travel
CalTopo is most effective when it is integrated into a repeatable planning and travel system. The goal is not to use every feature, but to understand which tools matter, when to use them, and how they support decision-making before, during, and after a trip. Here we will go over how to use CalTopo and our favorite features.
For skiers, riders, and mountaineers, CalTopo functions best as a terrain analysis and navigation platform rather than a passive map viewer. The sections below outline how to use CalTopo’s most practical tools in a way that supports real backcountry travel.
Recording a Track in the Field
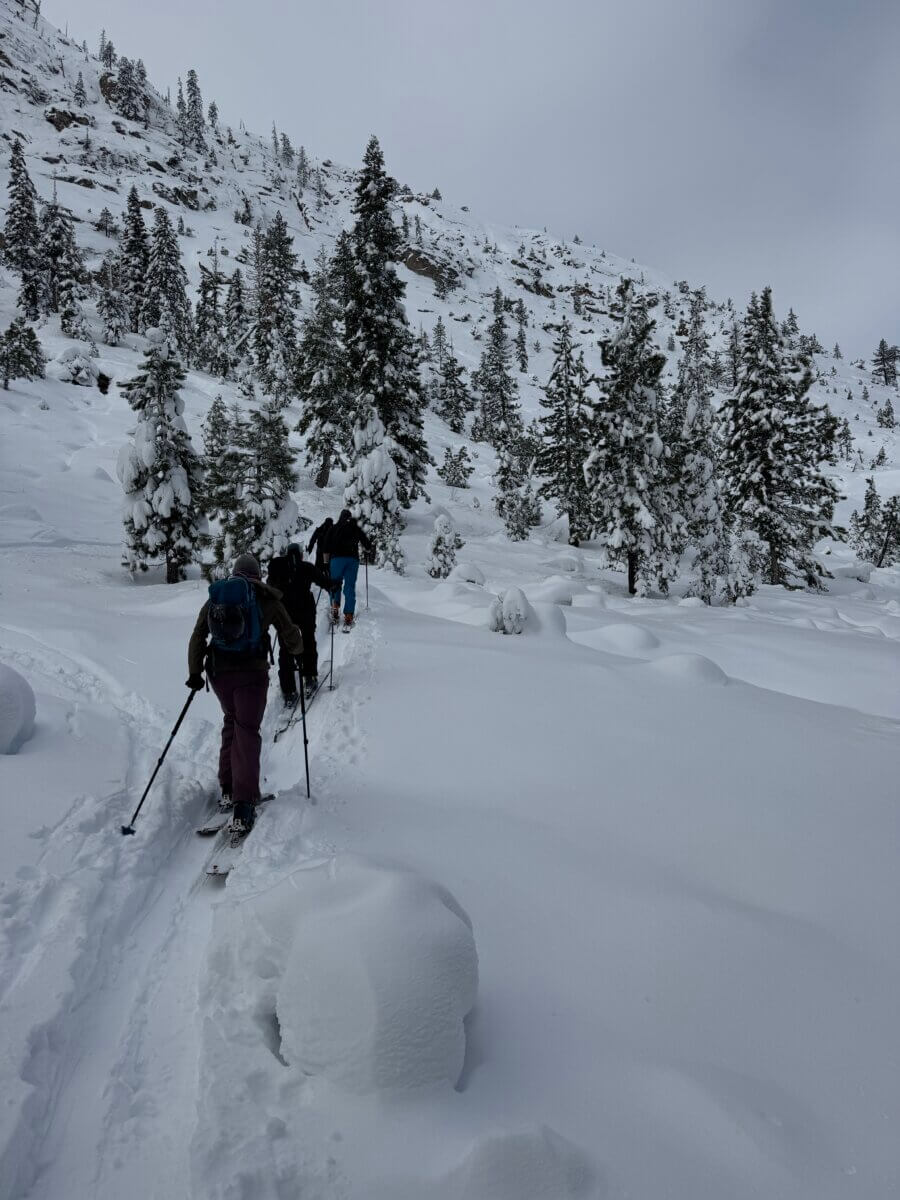
Recording a GPS track should begin at the trailhead. Before starting, confirm that the correct map layers are active and that offline maps are downloaded. Once recording begins, CalTopo logs your movement, elevation gain, and location continuously throughout the day.
During the tour, the recorded track provides a clear reference of where you have already traveled. This is especially valuable in low visibility or complex terrain, where retracing a known-safe ascent line may be the best option. It also helps identify small navigation errors early before they become larger problems.
After the trip, reviewing the recorded track is one of the most valuable learning tools available. Overlaying your line on slope angle shading, ATES, and terrain layers allows you to evaluate how your route choices interact with avalanche terrain. Over time, this builds stronger terrain awareness and more informed planning.
Uploading Tracks for Planning and Review
Uploading GPX tracks into CalTopo allows you to reuse experience from past trips or trusted partners. Uploaded tracks can be saved, organized, and displayed alongside terrain layers to support future planning.
This is particularly useful for repeat objectives. Comparing multiple tracks in the same zone helps clarify how different lines change exposure and consequence. It also allows you to understand why certain routes feel more efficient or safer under specific conditions.
Tracks shared by others should be treated as references, not instructions. They show where someone traveled, not the conditions, decision-making, or group dynamics involved. Use them to understand terrain shape and connectivity, then apply your own judgment.
Pre-Drawing Routes Before a Trip
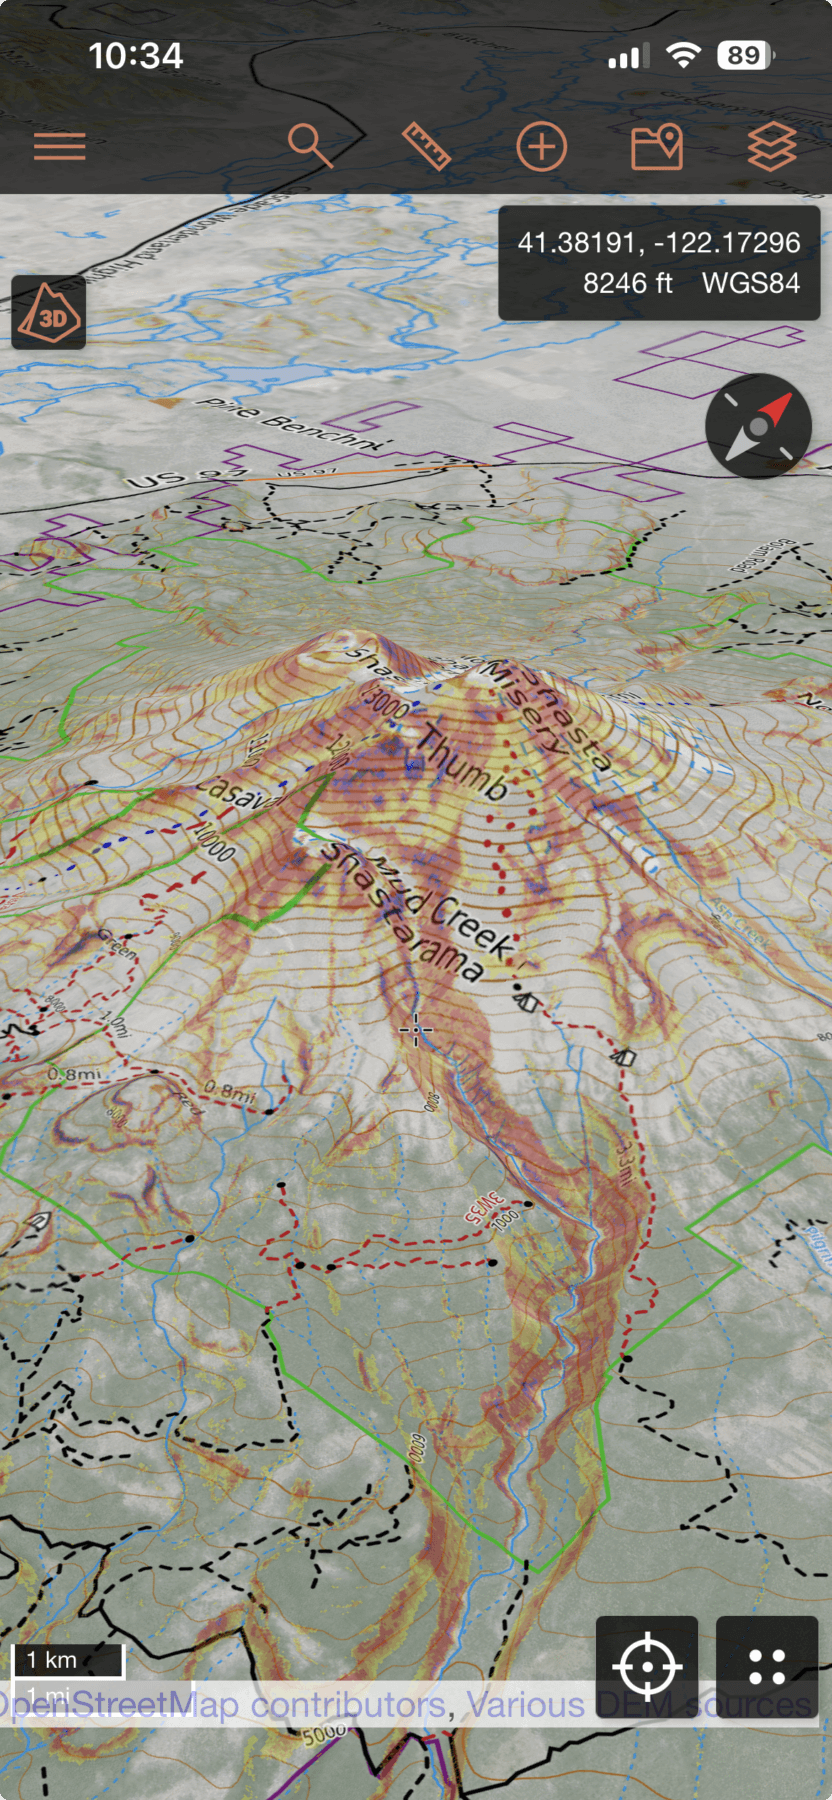
Pre-drawing a route is one of the most effective ways to use CalTopo during trip planning. Begin by selecting an appropriate base map and enabling slope angle shading. Draw a tentative ascent and descent line that favors ridgelines, low-angle terrain, and natural breaks in slope.
As you draw, note where the route intersects steeper terrain or passes beneath overhead hazard. These locations often become decision points in the field. Marking them ahead of time supports clearer communication and reduces rushed choices later.
A pre-drawn route should remain flexible. Conditions, weather, and group factors may require changes. The value lies in the planning process, not rigid execution.
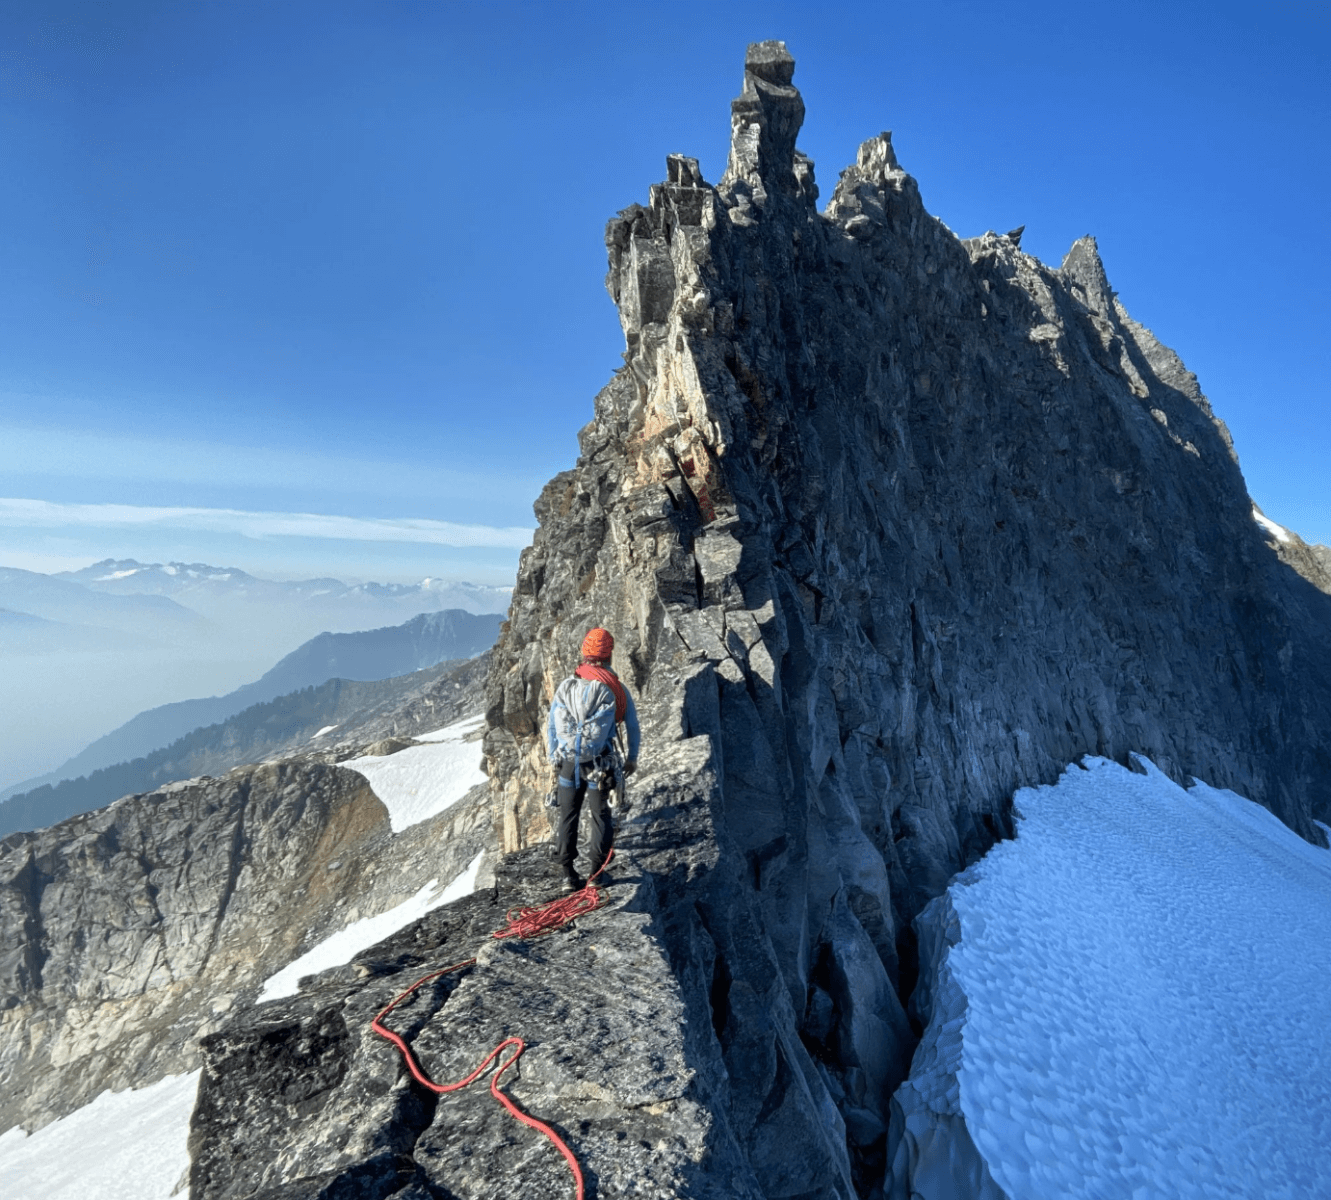
Using LiDAR to Identify Terrain Features and Hazards
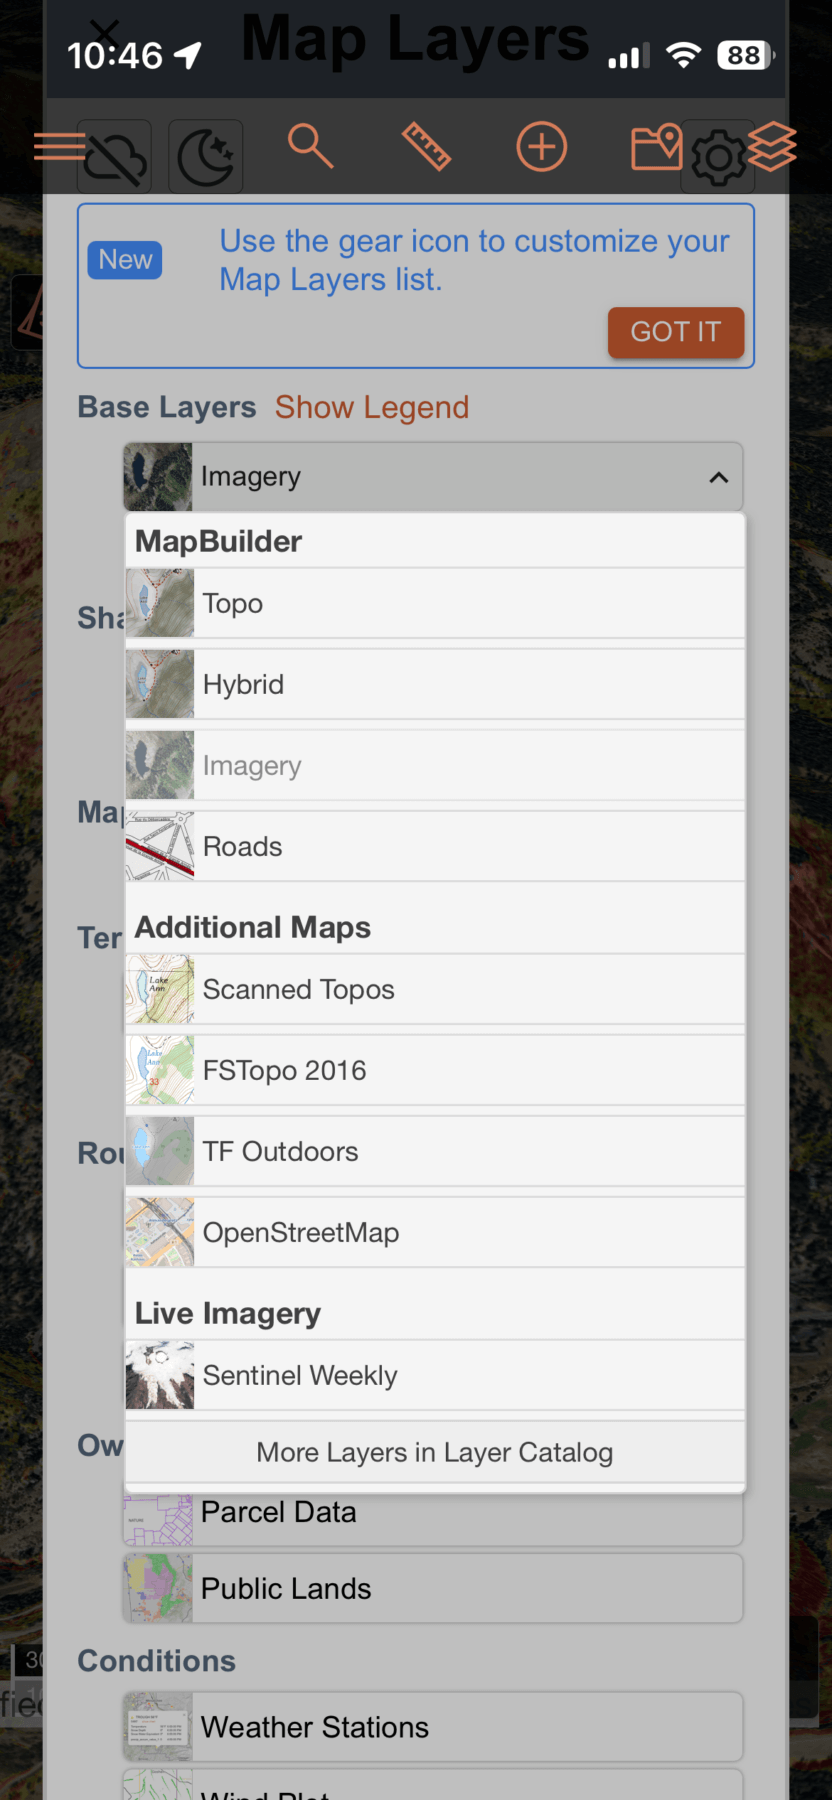
LiDAR imagery reveals the underlying shape of the land by removing vegetation and surface texture. To use it effectively, toggle the LiDAR layer on and off while zoomed into your area of interest.
In glaciated terrain, LiDAR can help identify depressions, sagging features, and subtle breaks in slope that may indicate crevasses or weak snow bridges. While LiDAR cannot confirm whether a crevasse is open or filled, it highlights areas where spacing, roped travel, or conservative routing may be appropriate.
In non-glaciated terrain, LiDAR is useful for identifying cliff bands, rollovers, and terrain traps that are not always obvious in satellite imagery. It is especially valuable when planning routes in unfamiliar or complex alpine zones.
Using Sentinel Satellite Imagery to Assess Snow Coverage
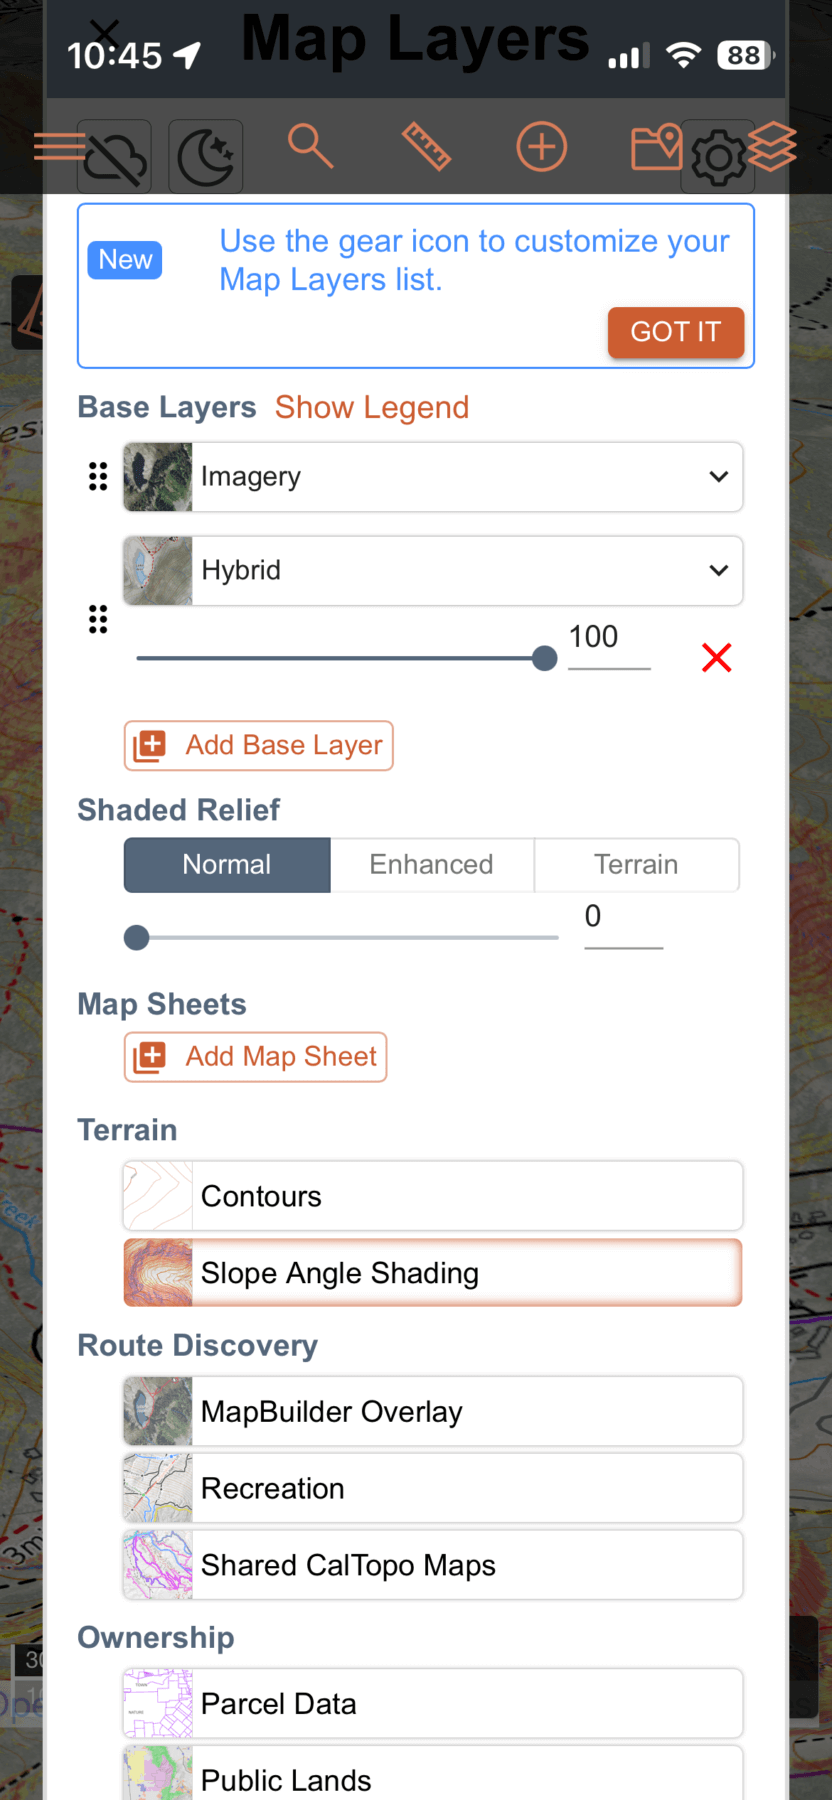
Sentinel satellite imagery provides relatively current visual data of snow coverage and surface conditions. To use it effectively, zoom out first to identify broader patterns, then zoom in to evaluate specific aspects and elevations.
Sentinel imagery is most useful for identifying wind-scoured ridges, thin coverage zones, and uneven snow distribution. This is particularly valuable during early season, dry spells, or spring conditions when coverage varies widely.
Cloud cover and lighting can affect image clarity, so Sentinel imagery should be treated as contextual information rather than confirmation. When clear, it provides strong support for objective selection and route planning.
Using “Photo at GPS” to Document Conditions and Hazards
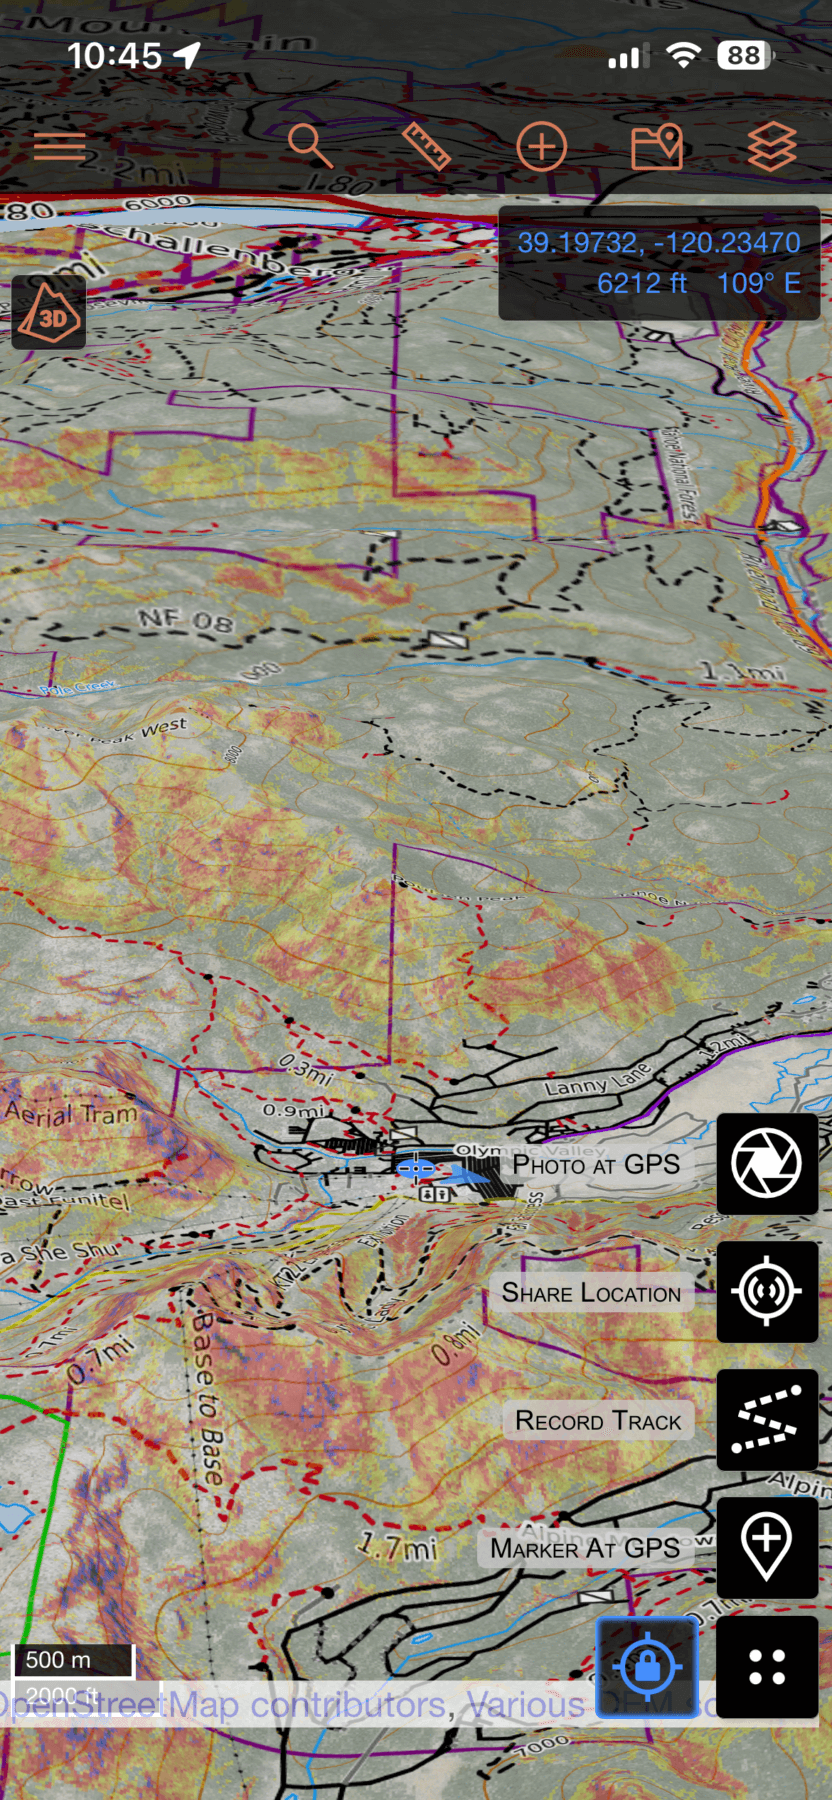
The “Photo at GPS” feature allows you to take a photo that is automatically geotagged and placed on your map at the exact location it was taken. This feature is especially useful for documenting conditions, hazards, and terrain features in real time.
In the field, “Photo at GPS” can be used to record avalanche activity, crown lines, shooting cracks, crevasse locations, or key terrain transitions. Each photo becomes a visual waypoint that can be referenced later in the day or during future trips or uploaded to your local Avalanche Forecasting Center, like Sierra Avalanche Center, with accurate location data.
After the trip, these photos provide valuable context when reviewing tracks and routes. Seeing exactly where a photo was taken helps reinforce terrain recognition and supports learning over time. For guides and educators, Photo at GPS is also useful for documenting teaching points and conditions across a season.
Using Share Location for Group Awareness and Safety
The Share Location function allows you to send your real-time location to selected contacts for a defined period of time. When enabled, others can see your position on a map as long as your device has service or satellite connectivity, depending on setup.
This feature is most useful for logistics and safety rather than navigation. It allows partners, office staff, or emergency contacts to understand where you are if plans change or communication is delayed. It can also support coordination between groups traveling in the same zone.
Share Location should not be relied upon as an emergency system. Battery life, connectivity, and environmental conditions can all affect reliability. It is best used as an added layer of awareness, not a substitute for communication plans or emergency preparedness.
Using CalTopo in the Field
In the field, CalTopo works best as a reference tool rather than a constant focus. Before leaving home, confirm that all maps and layers are downloaded for offline use and that your device is fully charged.
Use CalTopo to confirm location, verify terrain features, and reference planned routes when needed. Avoid excessive screen use and prioritize observation, communication, and terrain awareness as primary inputs.
How We Teach CalTopo
We teach CalTopo as part of a broader decision-making framework. Instruction focuses on how to apply specific tools with intention and how to recognize their limitations. Students learn to connect digital planning with real terrain and real consequences.
The objective is not mastery of an app, but competence in using digital tools to support sound decisions.
CalTopo becomes most valuable when it is used deliberately. Recording tracks, uploading routes, drawing plans, using LiDAR and Sentinel imagery, documenting conditions with Photo at GPS, and sharing location all support better preparation and awareness.The strength of the platform comes from how it is integrated with avalanche education, experience, and judgment.
Learn with Us!
If you want hands-on instruction using CalTopo in real terrain, we cover these tools in our avalanche education and backcountry courses. Instruction focuses on practical application, terrain interpretation, and decision-making.
View upcoming courses or reach out to find the right fit for your season.
Good decisions start before you leave the trailhead.