Snow Pits: 101
Digging a snow pit is one of the best tools backcountry travelers use to better understand avalanche conditions
It’s also the most misunderstood.
A snow pit is not about getting a green light. It’s about gathering information, identifying red flags, and adding context to the bigger picture. Used correctly, it can help confirm concerns you already have. Used incorrectly, it can give a false sense of security.
This blog follows best practices taught by our guides in our AIARE courses. These courses are written by AIARE (American Institute for Avalanche Research and Education), whose curriculum forms the foundation of modern avalanche education in North America.
First Things First: When (and Why) to Dig a Snow Pit
According to AIARE, snow pits are most useful when:
You already have a specific question about the snowpack
You’re trying to confirm the presence, depth, or reactivity of a known weak layer
You’re choosing between terrain options that differ in consequence
A pit should never override weather observations, avalanche forecasts, or obvious red flags like recent avalanches, whumphing, or cracking. If those exist, you already have your answer.
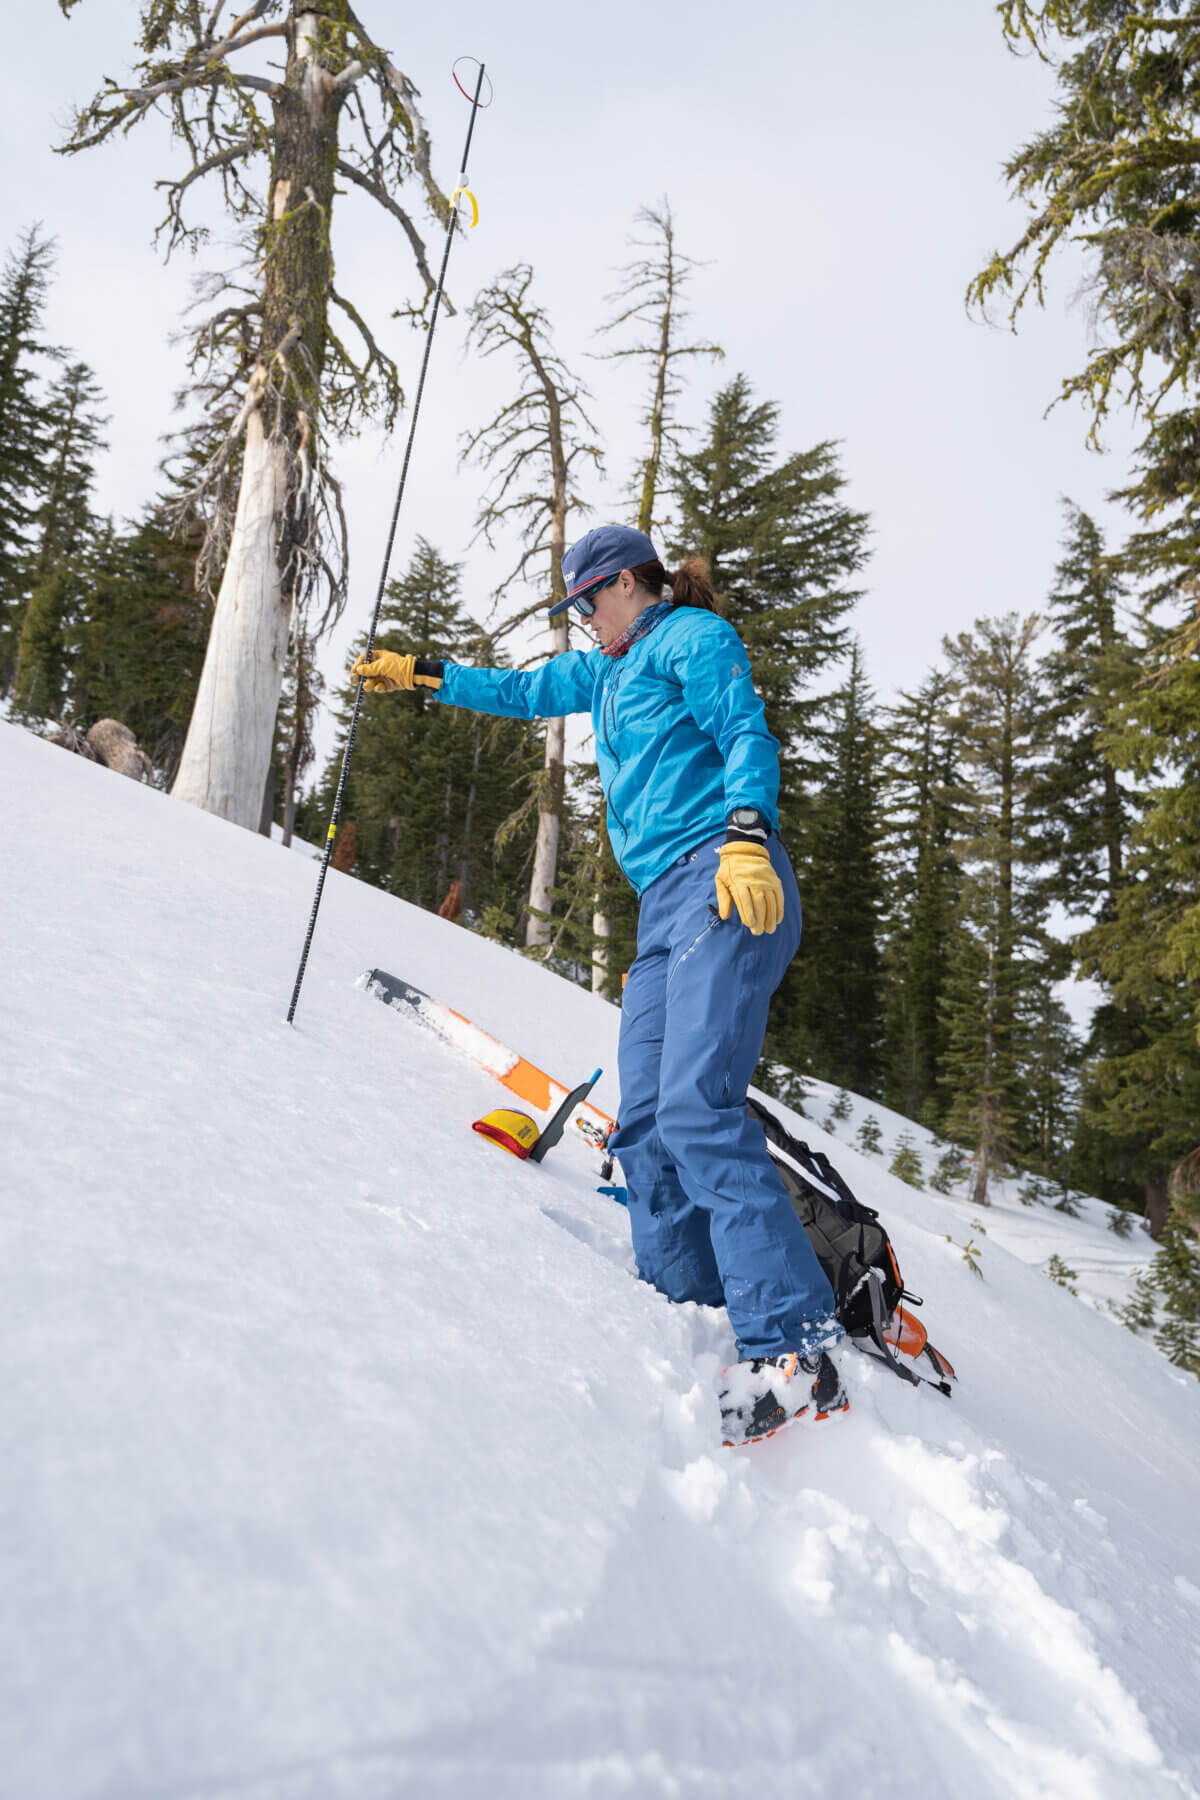
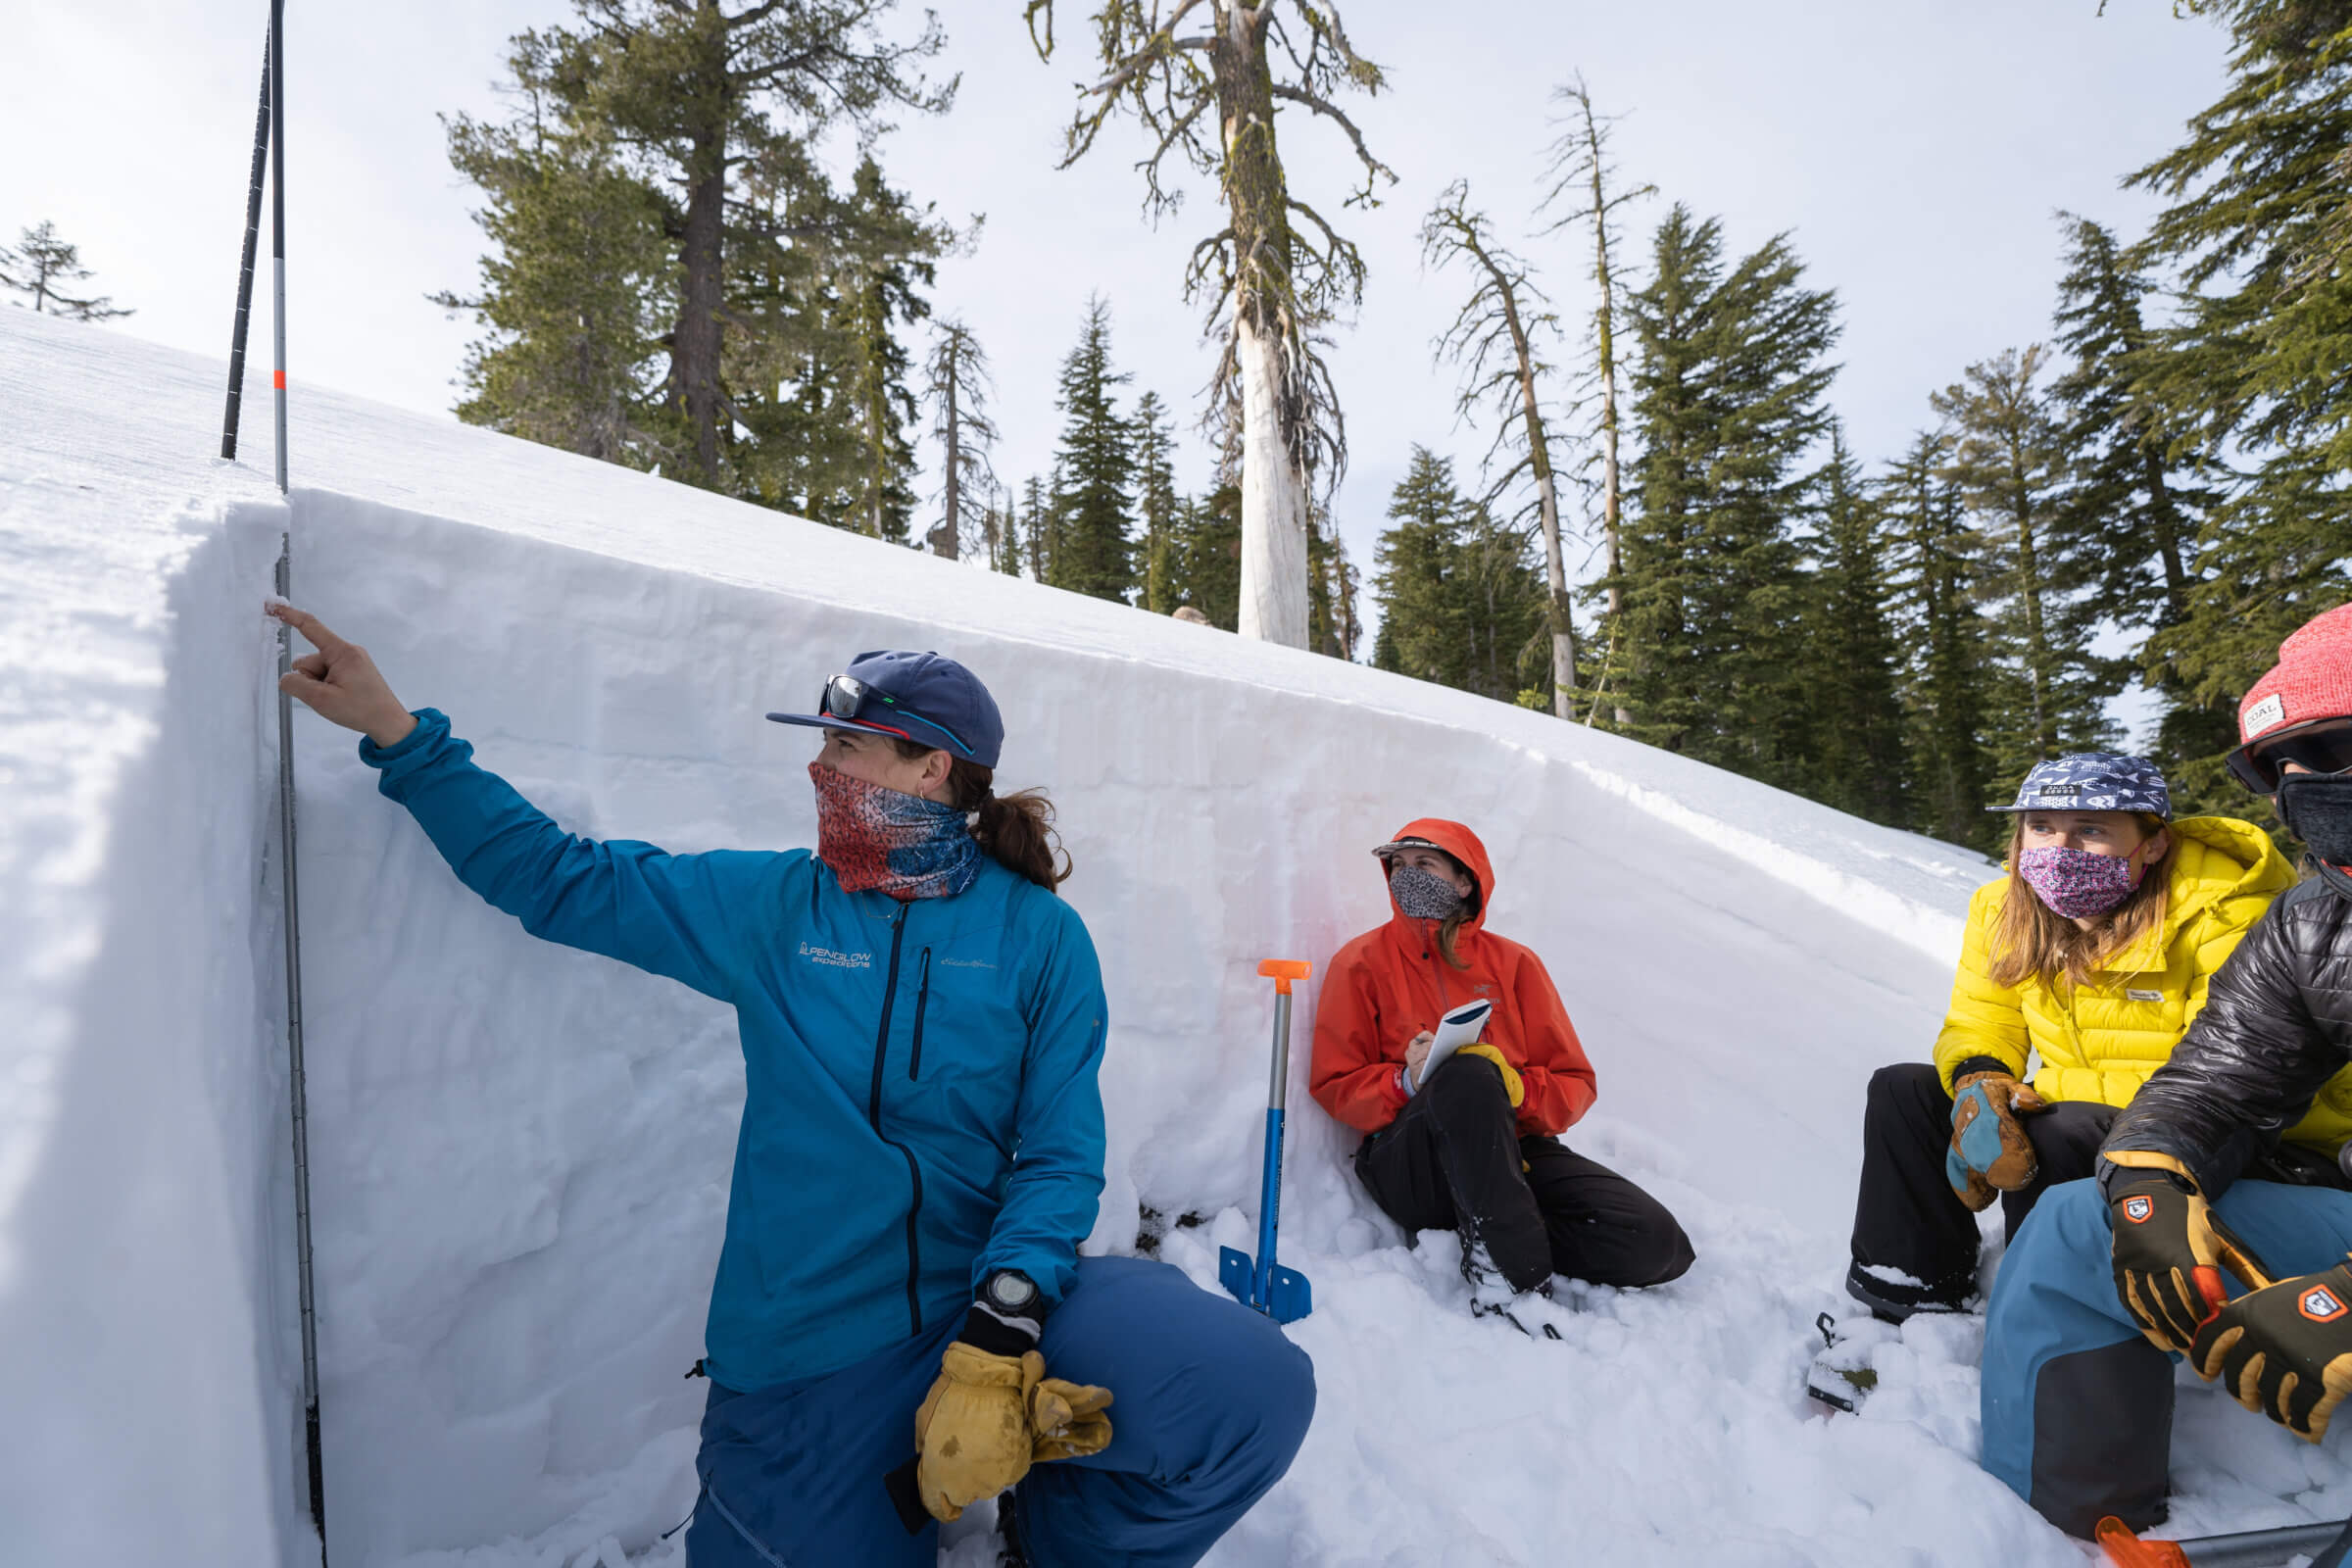
Step 1: Choose the Right Location
Where you dig matters as much as what you dig.
AIARE recommends choosing a location that is:
On a representative slope (similar elevation, aspect, and angle to where you want to ski or ride)
Safe from overhead hazard
Ideally, around 30–35 degrees in slope angle
Avoid digging in:
Low-angle meadows
Heavily wind-scoured areas
Terrain traps
Places influenced by trees, rocks, or solar warming that don’t match your objective
The goal is to sample the snowpack you actually plan to travel on, not the most convenient spot.
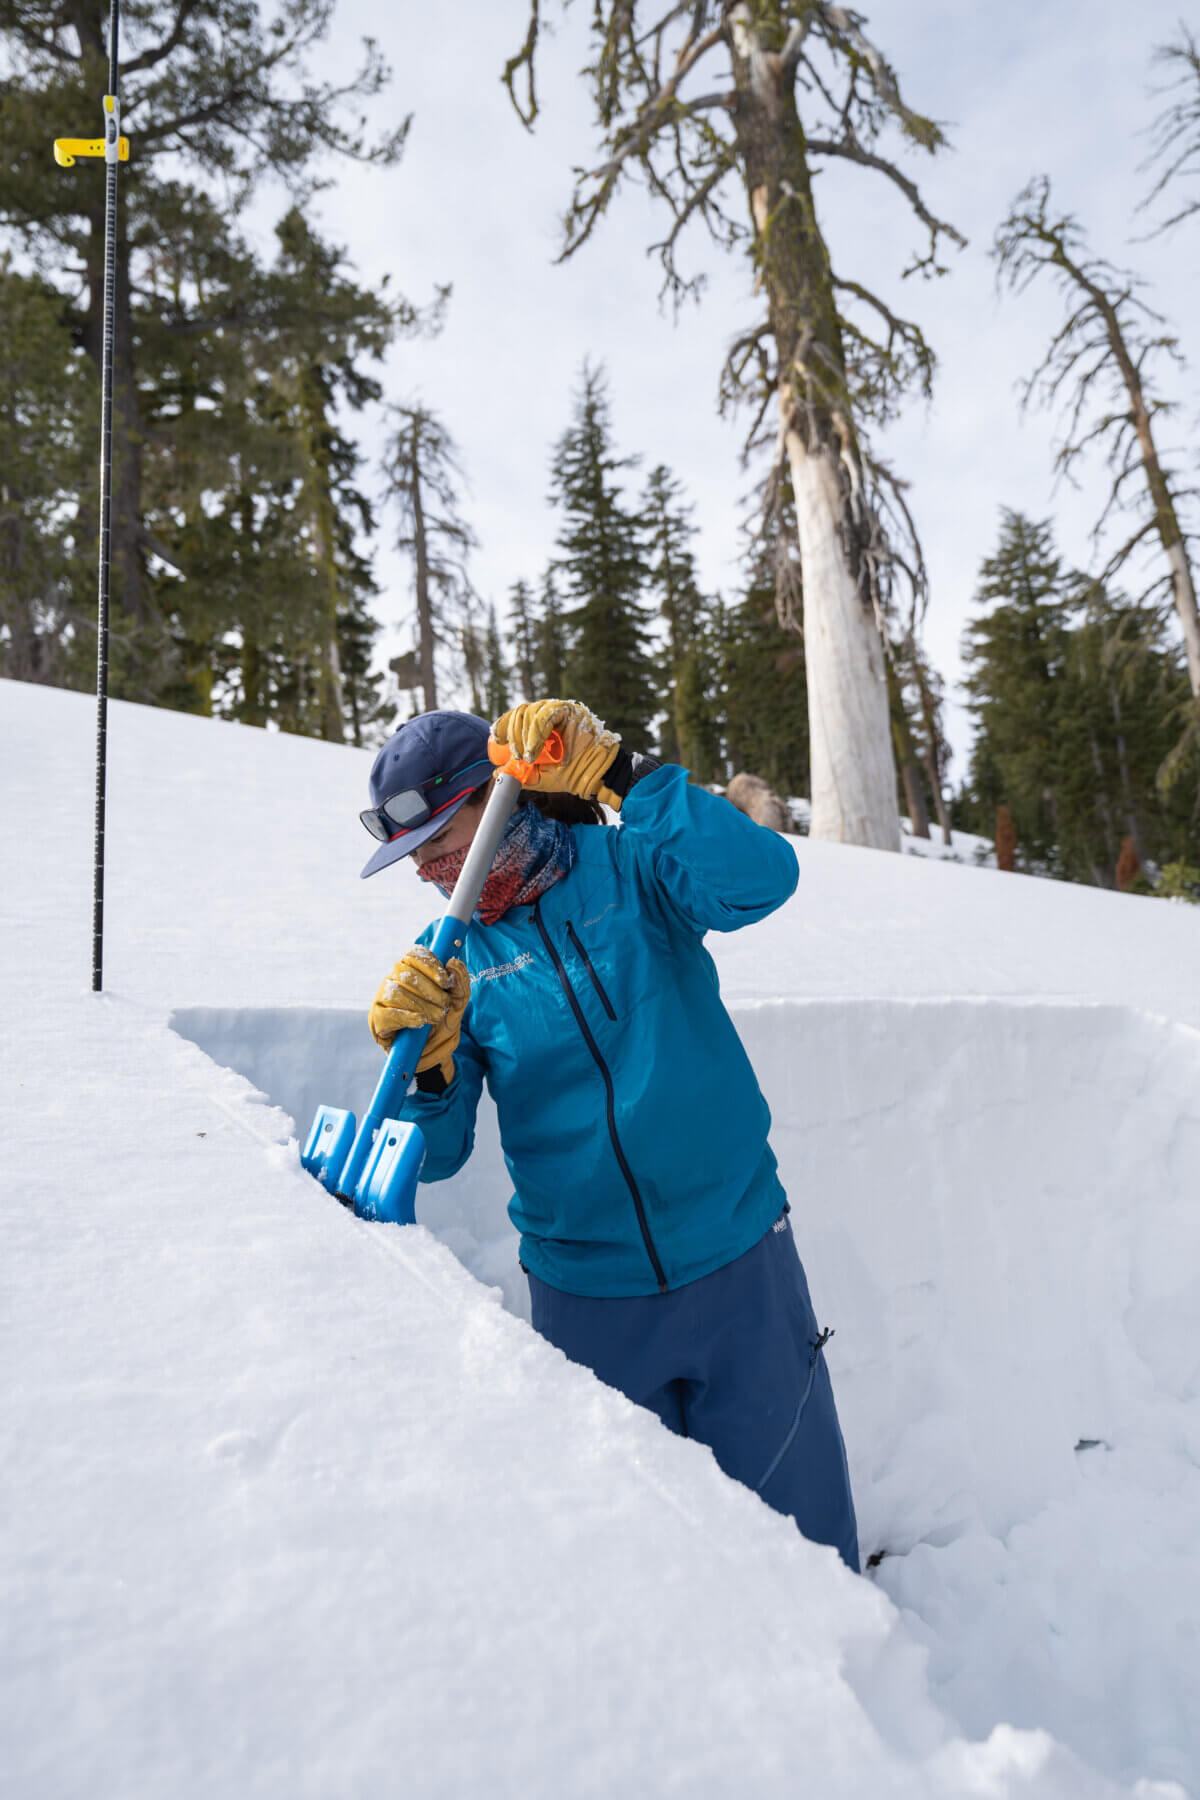
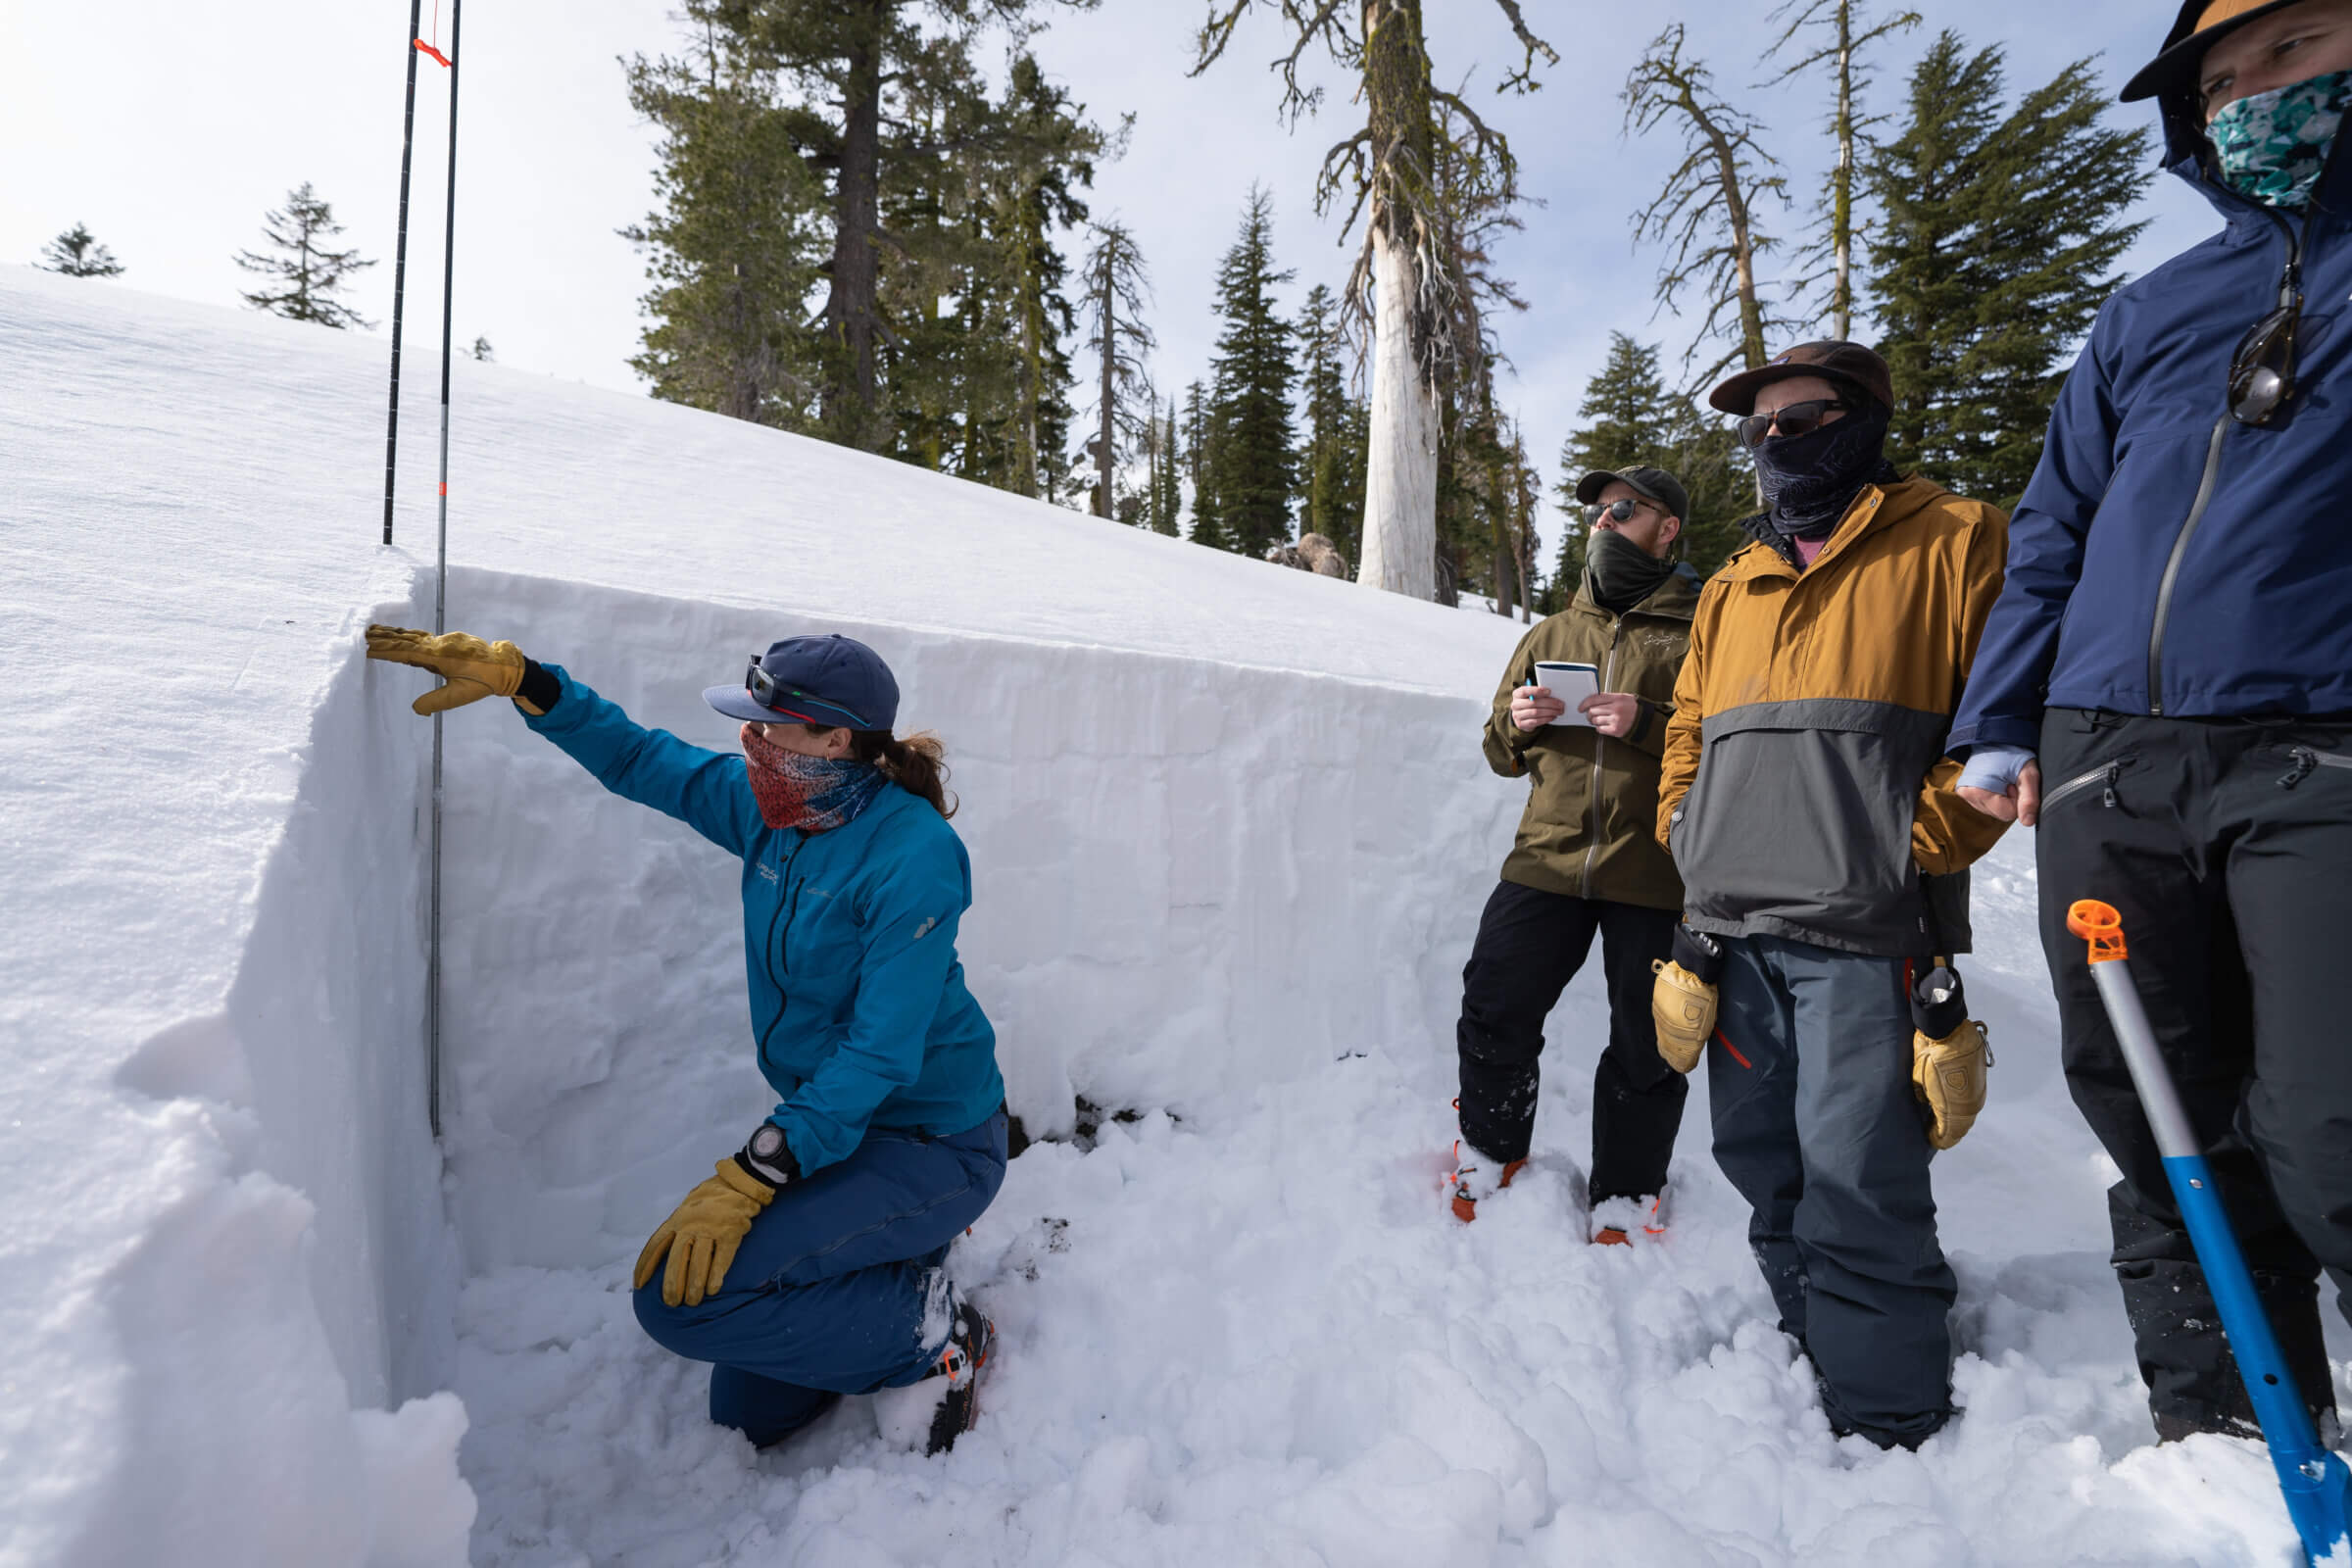
Step 2: Dig a Clean, Vertical Pit Wall
Dig down to the depth needed to answer your question.
Often that means:
To the ground in shallow snowpacks
To the depth of a suspected weak layer in deeper ones
Once dug:
Smooth the pit wall with your shovel
Keep it vertical
Minimize stepping or collapsing snow near the pit
A clean wall makes it much easier to see layering, hardness changes, and weak interfaces.
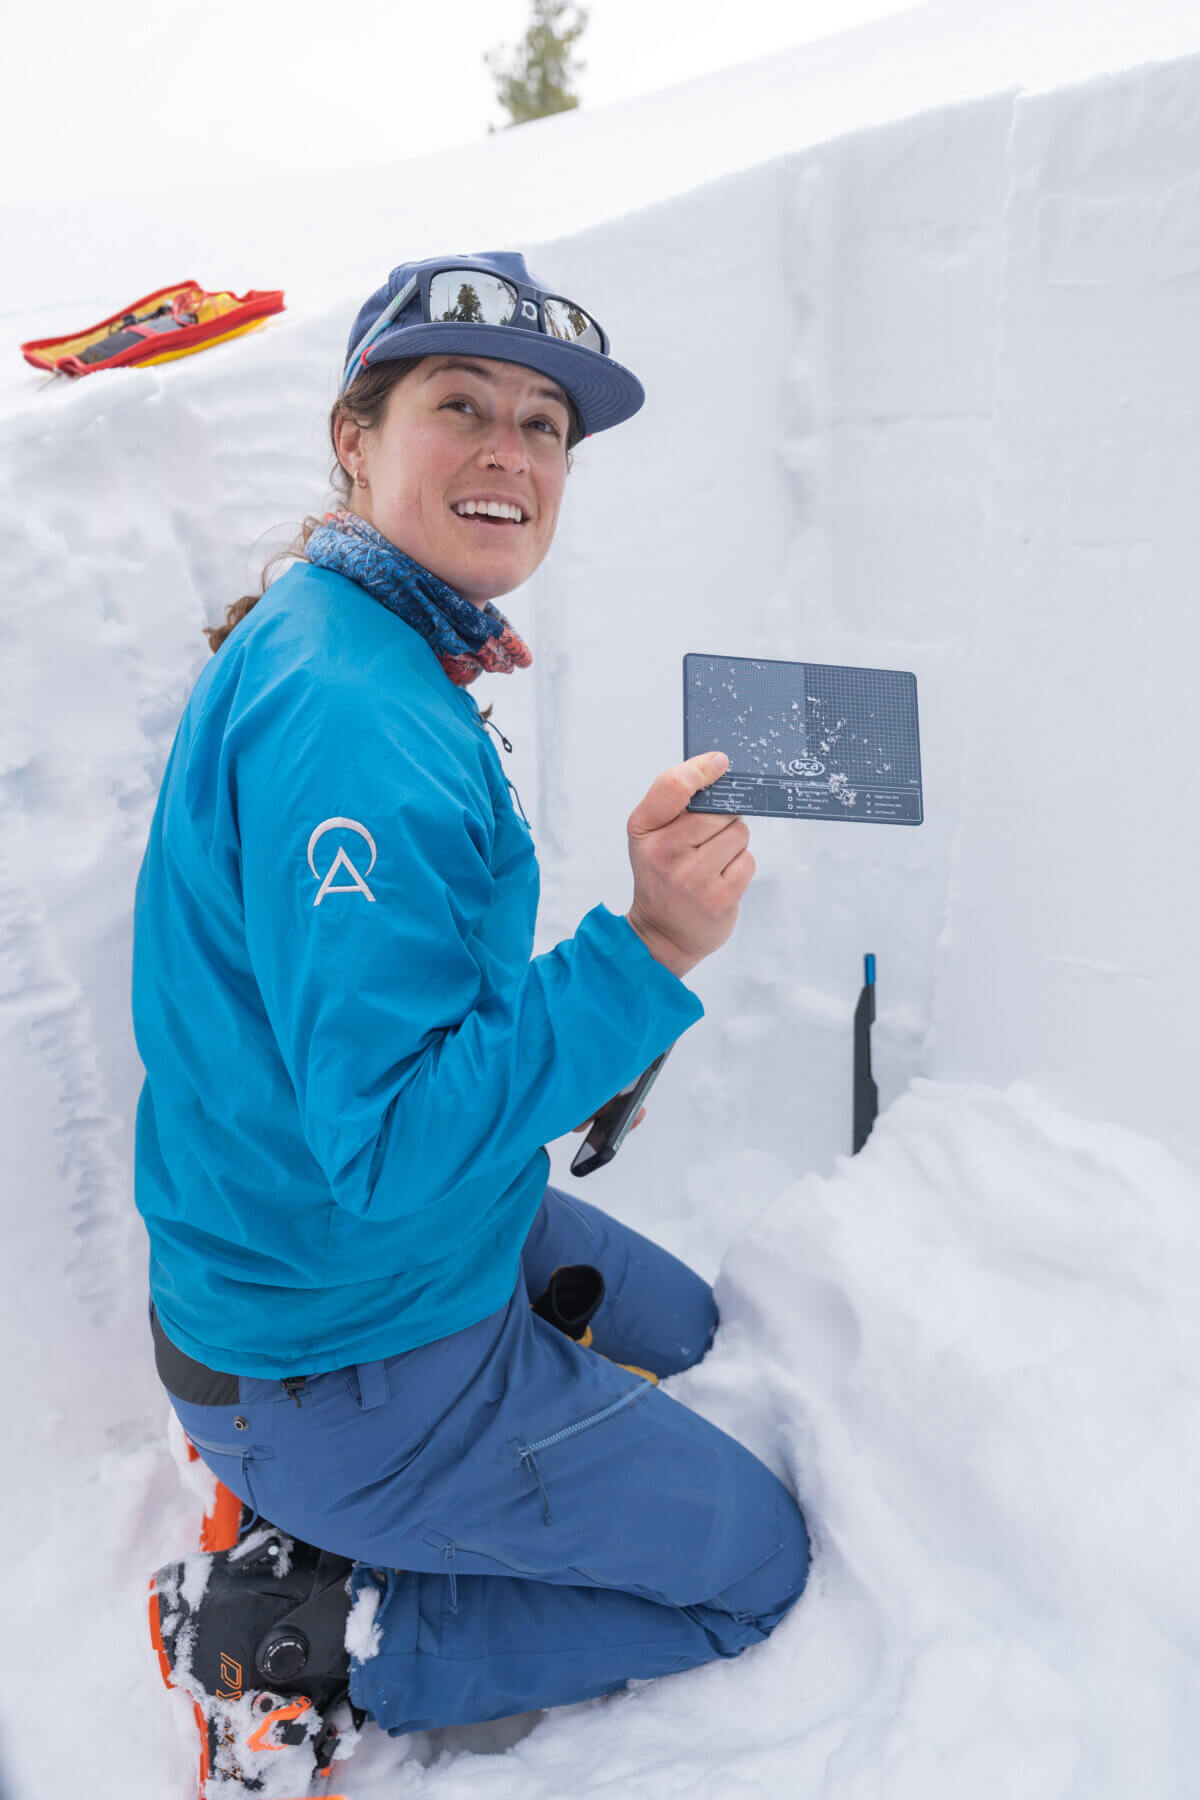
Step 3: Identify Snowpack Structure
Before jumping into tests, spend time just observing.
Look for:
Layering: How many distinct layers are there?
Hardness changes: Soft over hard, or hard over soft?
Grain types: Faceted crystals, rounding grains, crusts
Persistent weak layers: Facets or depth hoar are especially concerning
AIARE emphasizes that structure often matters more than test results. A classic red flag is a cohesive slab sitting on top of weak, sugary snow.
This step takes skill built by practice and education. Learn more about identifying snowpack structure with us in an AIARE 1, AIARE 1 Refresher, AIARE 2 or Private day of Backcountry Skiing.
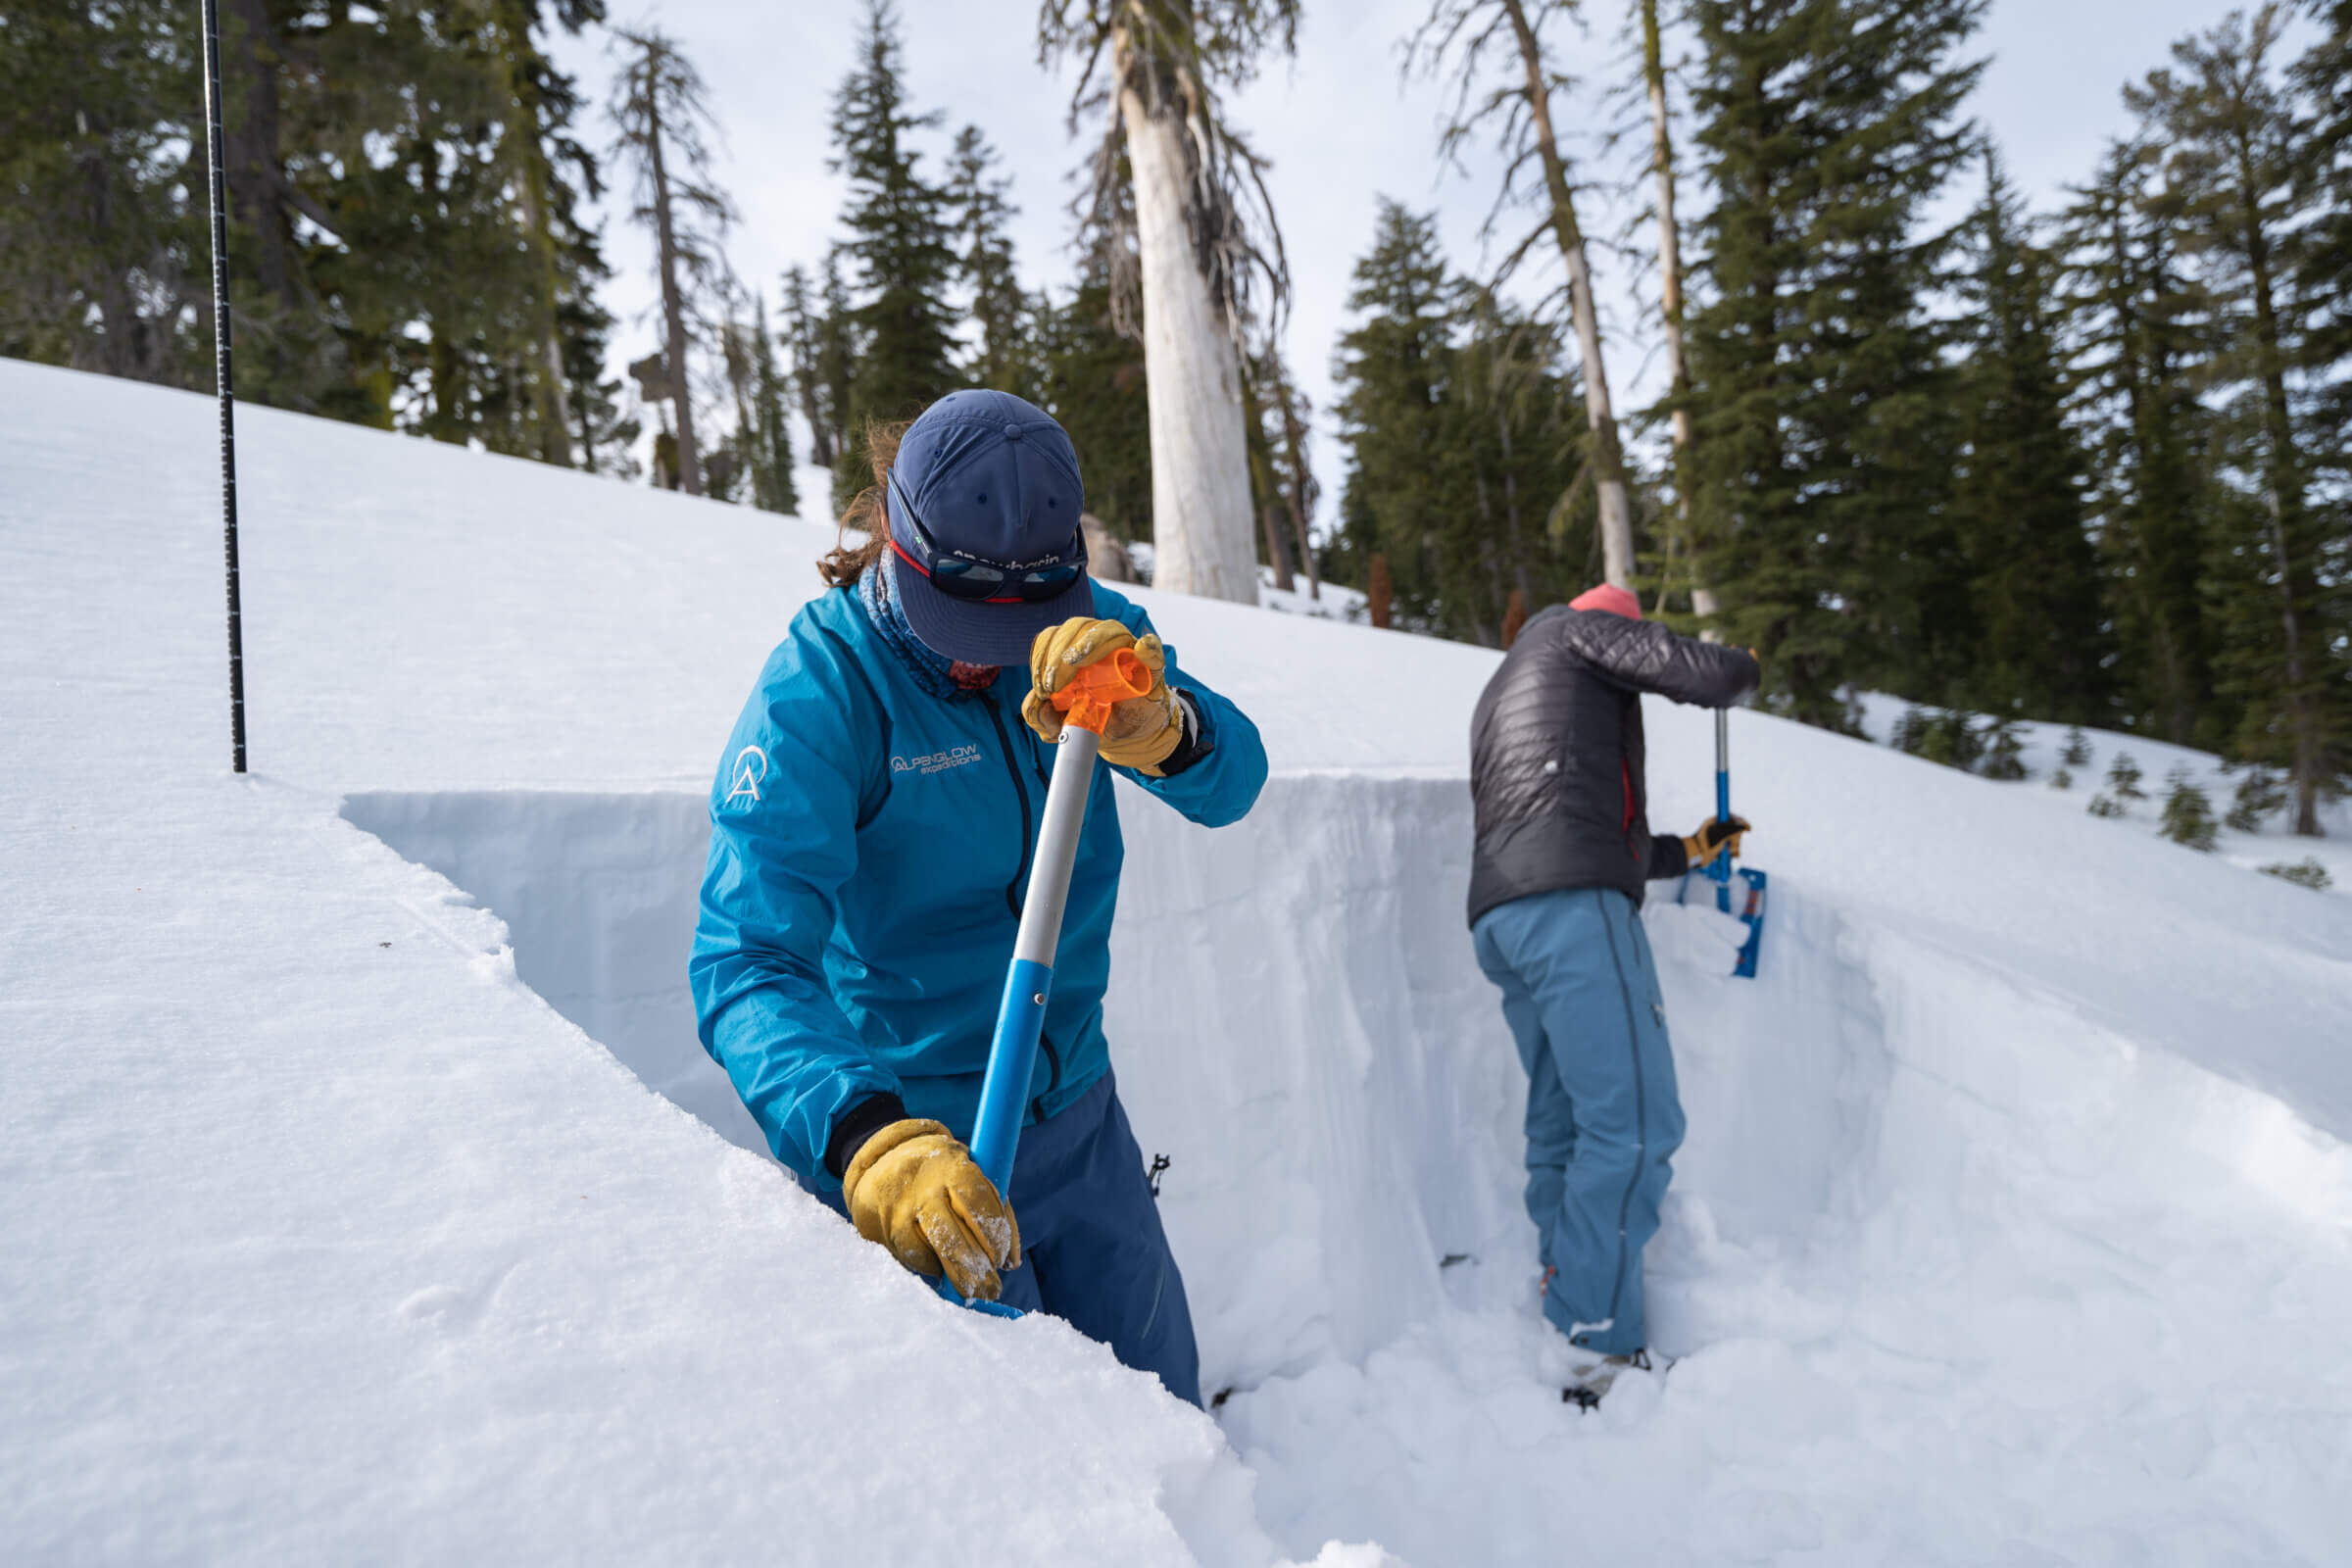
Step 4: Perform Stability Tests (With Purpose)
Stability tests are tools, not verdicts.
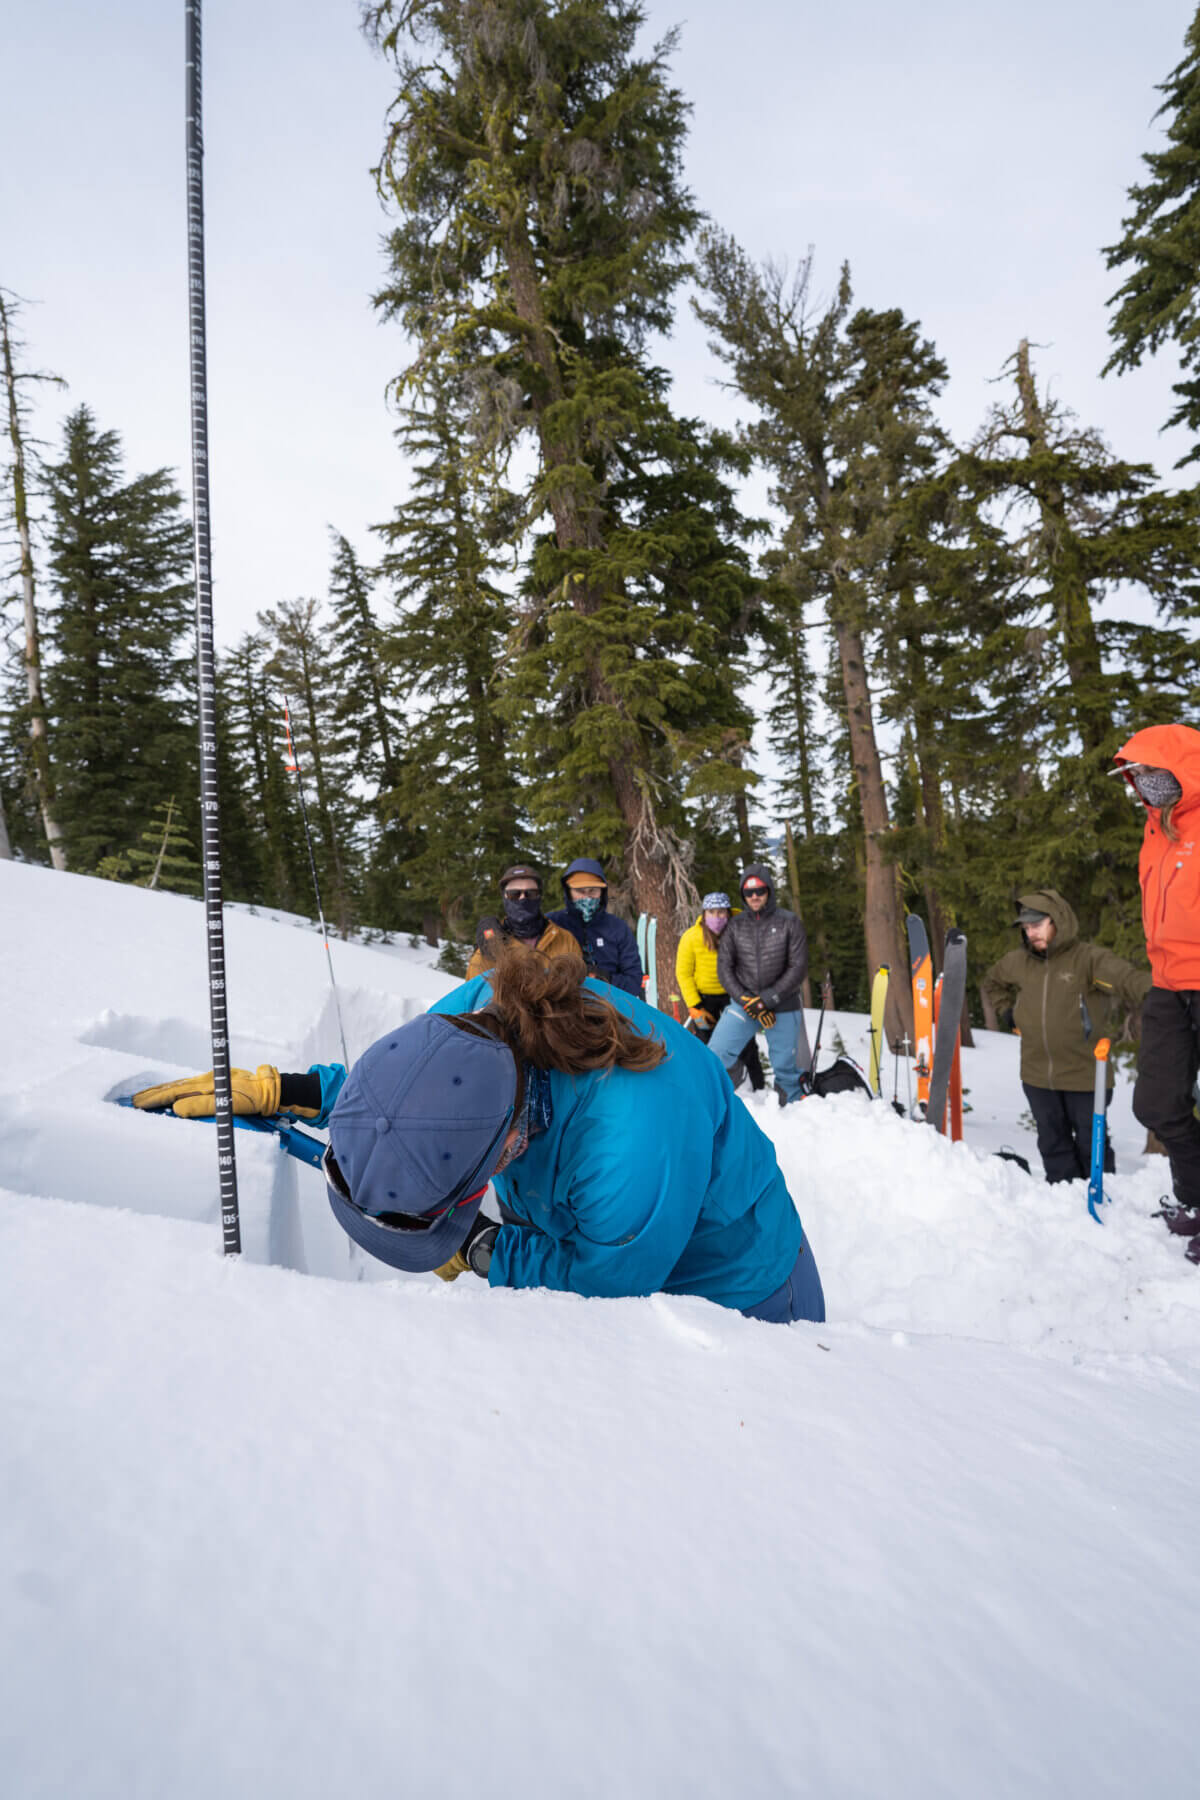
AIARE teaches several, but two are especially common.
Compression Test (CT)
Isolates a small column of snow
Applies increasing taps from the wrist, elbow, and then shoulder
Helps assess how easily a layer fails
Pay attention to:
Low numbers (easy to trigger)
Sudden planar fractures
Failures on persistent weak layers
Extended Column Test (ECT)
Tests fracture propagation, not just failure
More representative of real avalanche behavior
An ECT that propagates across the column (ECTP) is a major red flag, especially if it fails easily.
AIARE stresses that no test result means “safe.” Tests only add information.
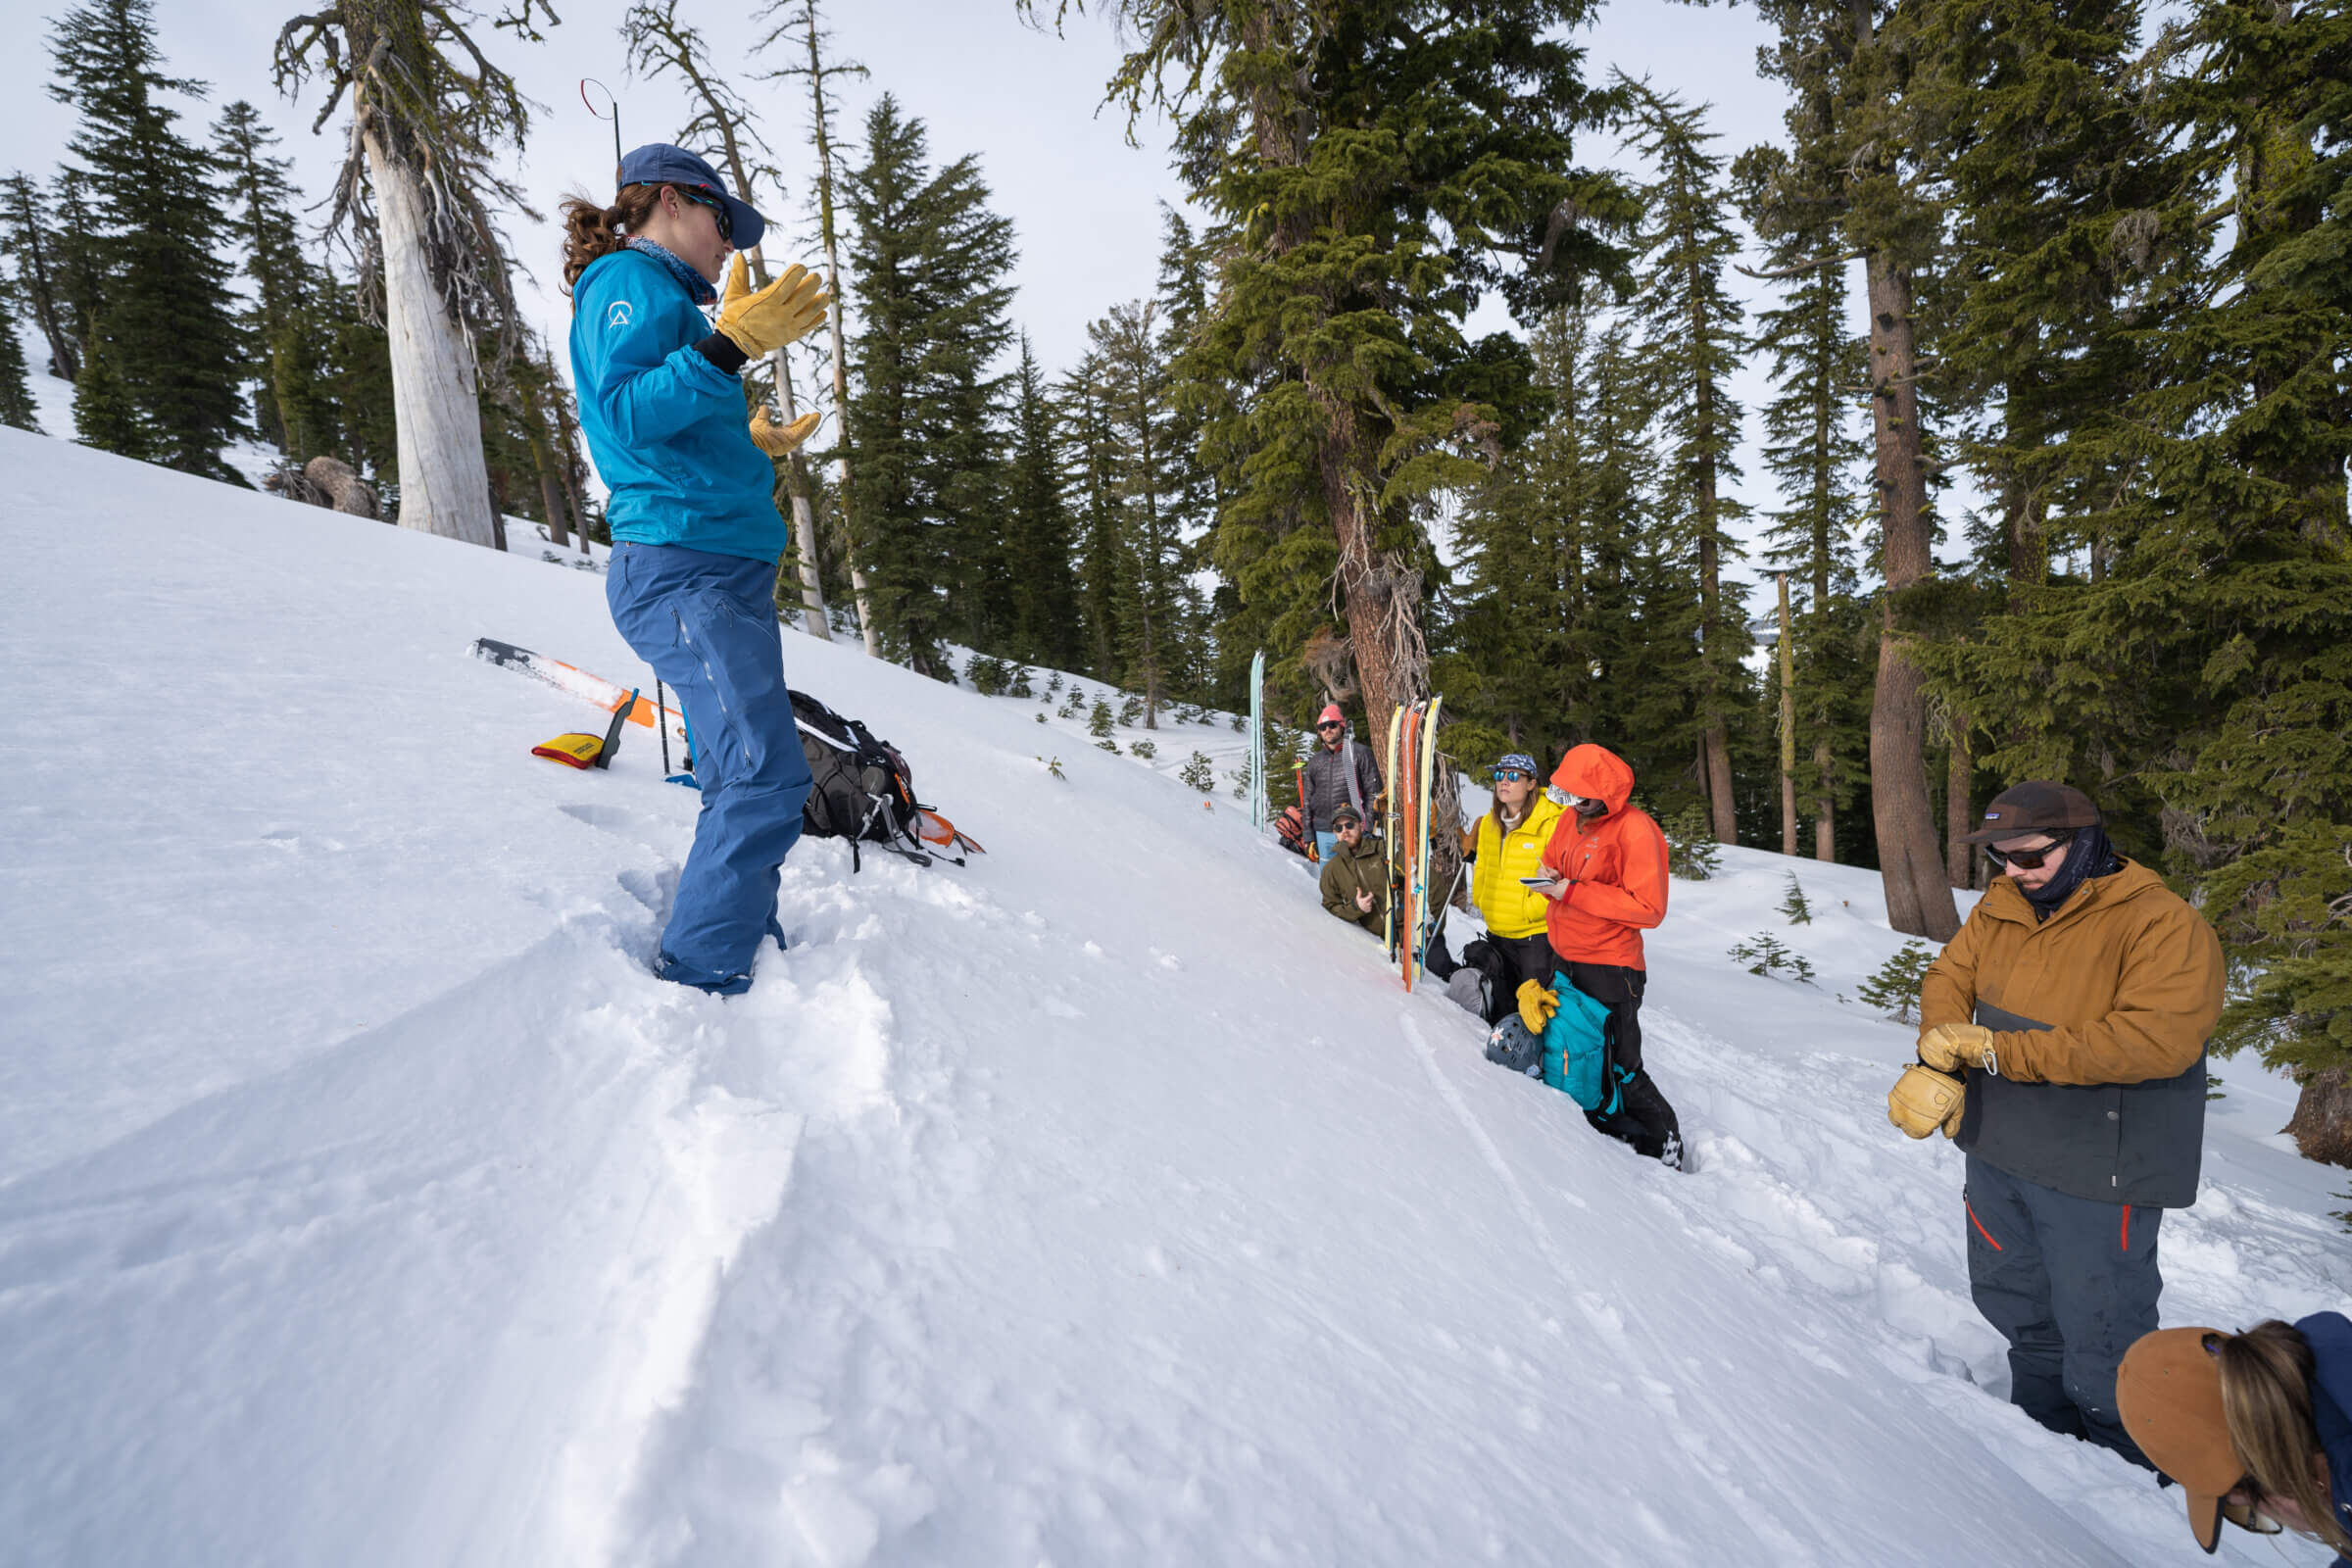
Step 5: Put the Pit Back Into the Big Picture
This is where many people go wrong.
AIARE’s decision-making framework emphasizes:
Weather trends (recent snow, wind, warming)
Avalanche forecast problems
Terrain consequences
Group communication and human factors
Ask yourself:
Does this pit confirm or contradict what I already suspected?
If it contradicts, why?
What happens if I’m wrong here?
If a pit result seems “good” but everything else feels off, trust the bigger pattern.
Common Snow Pit Mistakes (According to AIARE)
Digging after committing to a line
Cherry-picking results that support the plan
Digging in non-representative terrain
Treating one pit as proof of stability
Ignoring obvious red flags because the pit “looked fine”
A snow pit is a conversation with the snowpack, not a permission slip.
The Bottom Line
Snow pits are valuable when used correctly:
They help you identify problems, not eliminate them
They work best when paired with forecasting, observation, and conservative terrain choices
They should support decisions, not justify risky ones
AIARE teaches that avalanche safety is about patterns, not single data points. A well-dug snow pit can sharpen your understanding, but the responsibility to choose appropriate terrain always remains.
If you want to truly learn how to dig, interpret, and apply snow pit data, formal avalanche education and ongoing practice are essential.
The snowpack doesn’t owe us certainty. Our job is to listen carefully anyway.
If you want to learn how to dig a snow pit correctly and learn about safe travel in the backcountry, an AIARE course is the way to go! Book a 2-Day Hybrid AIARE with AMGA-certified guides.