Ecuador Ring of Fire Ski Expedition
Ecuador Ring of Fire Ski Expedition
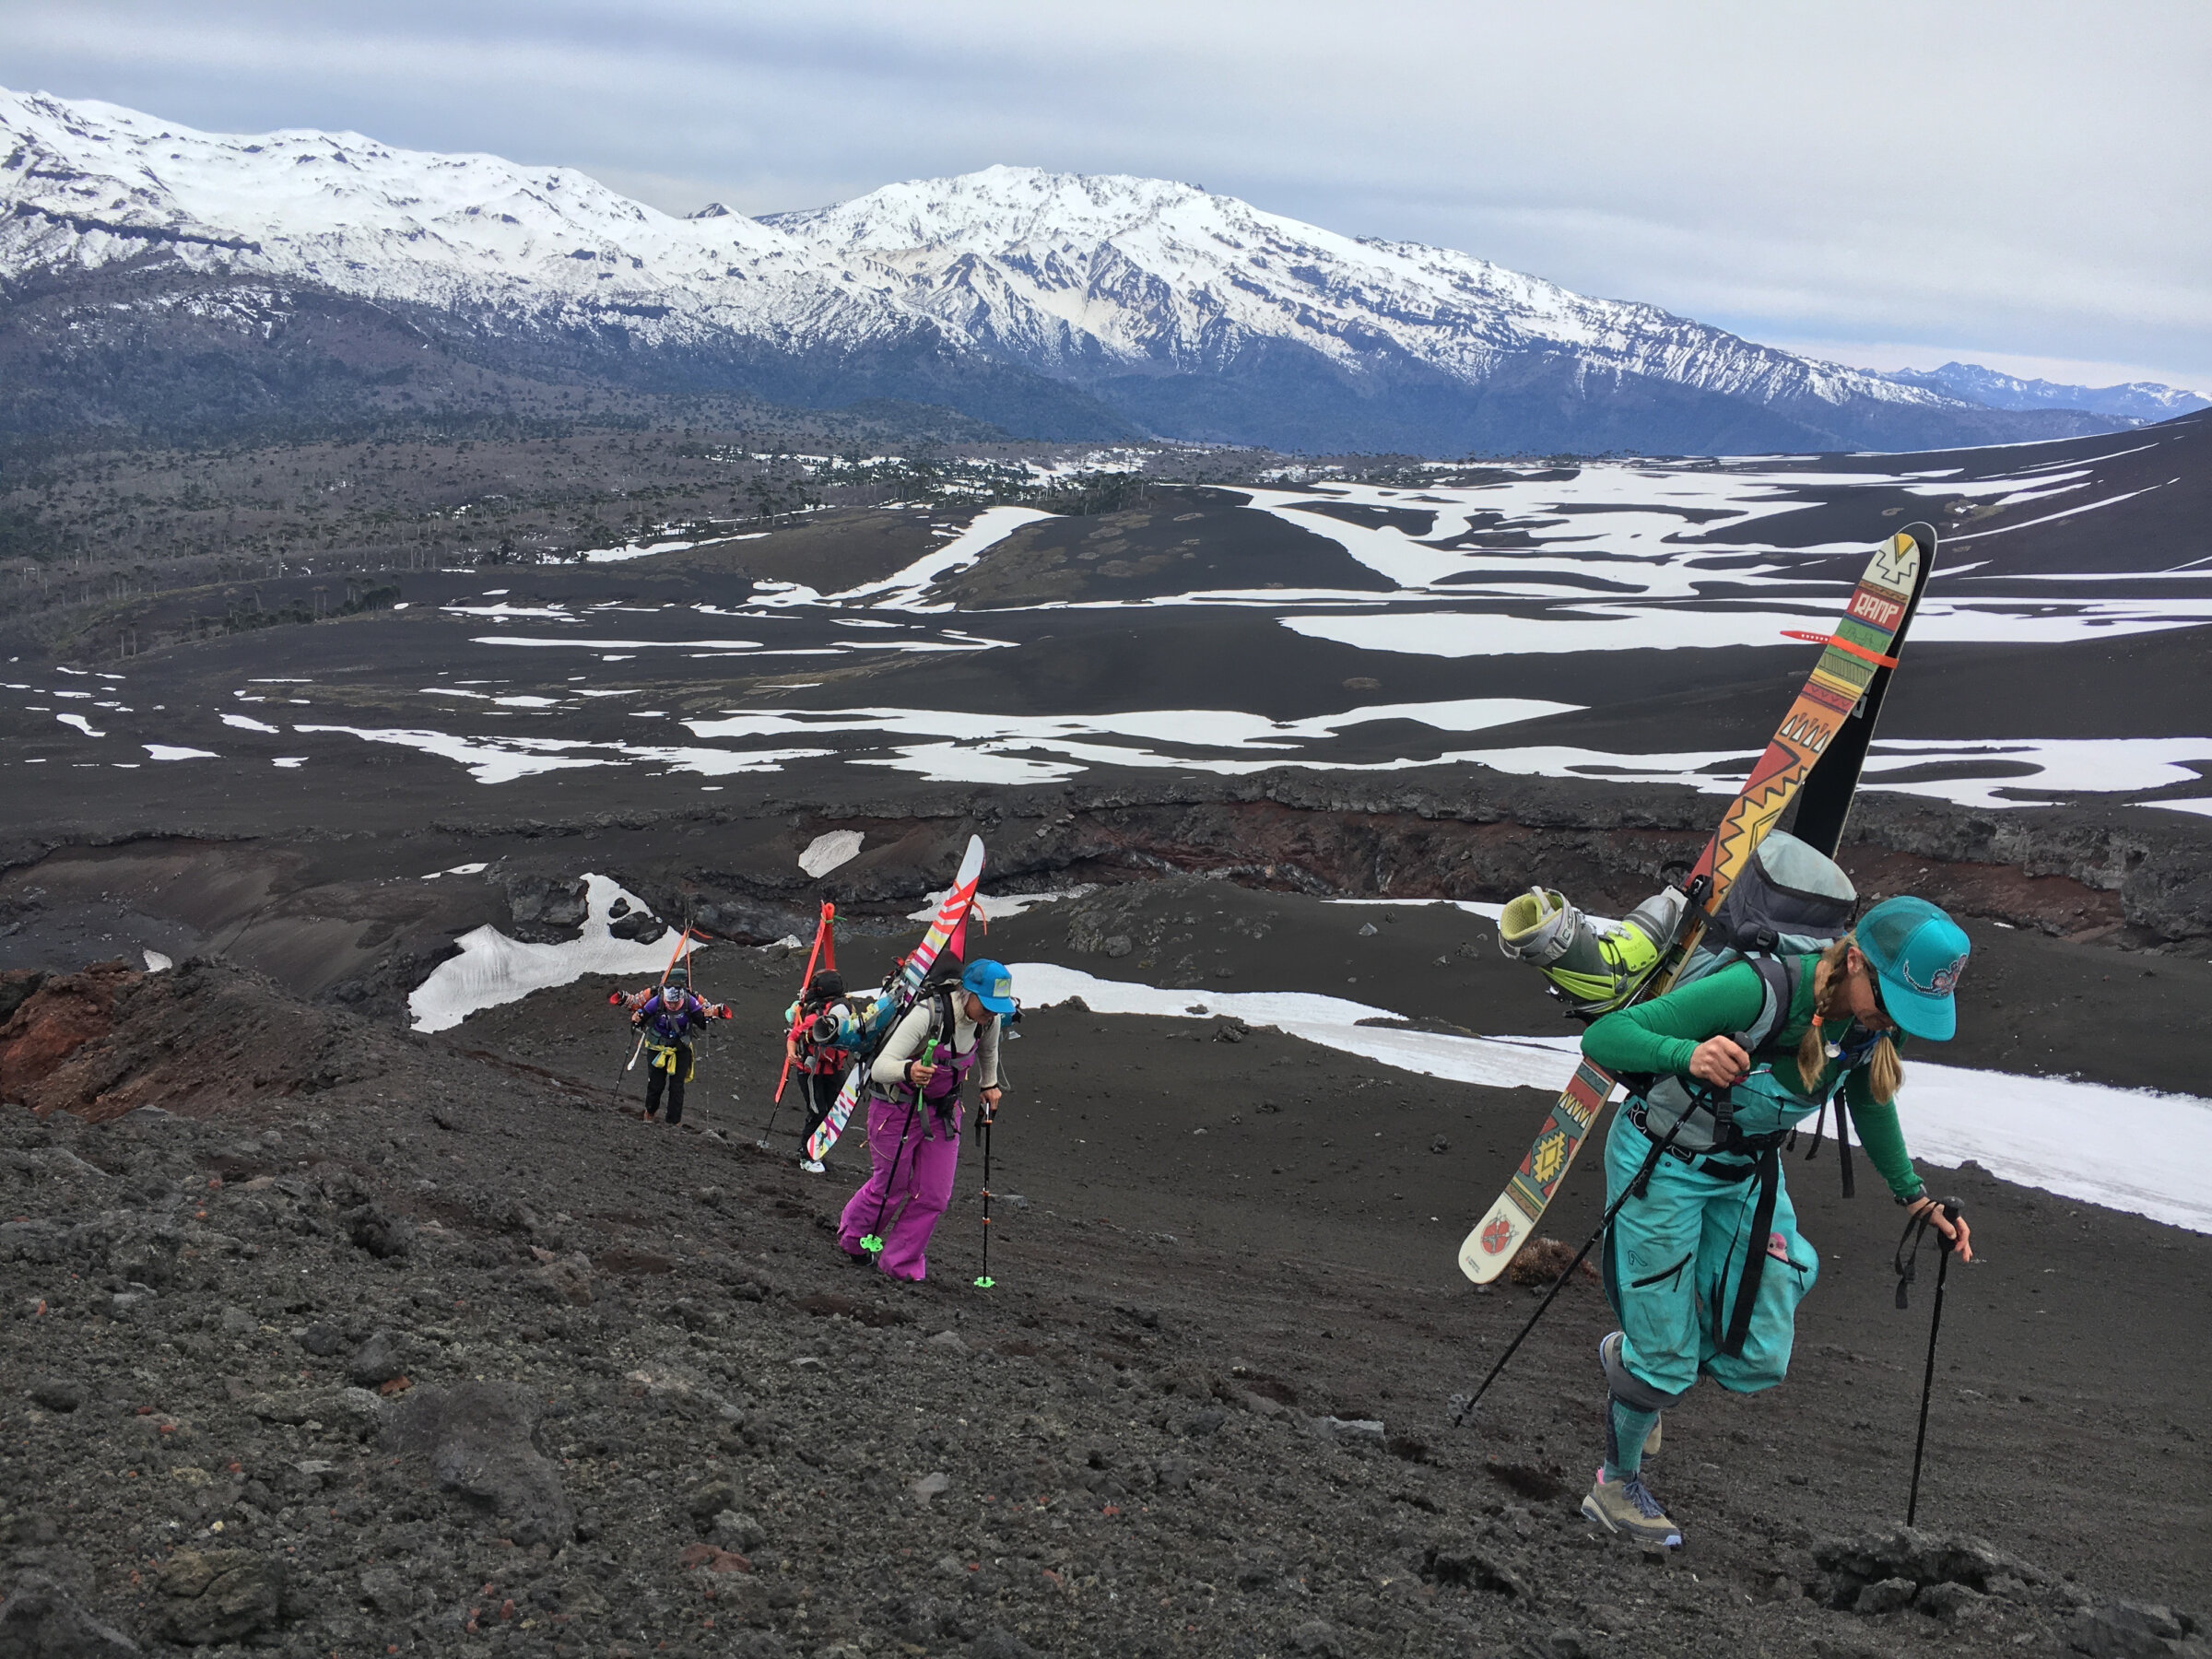
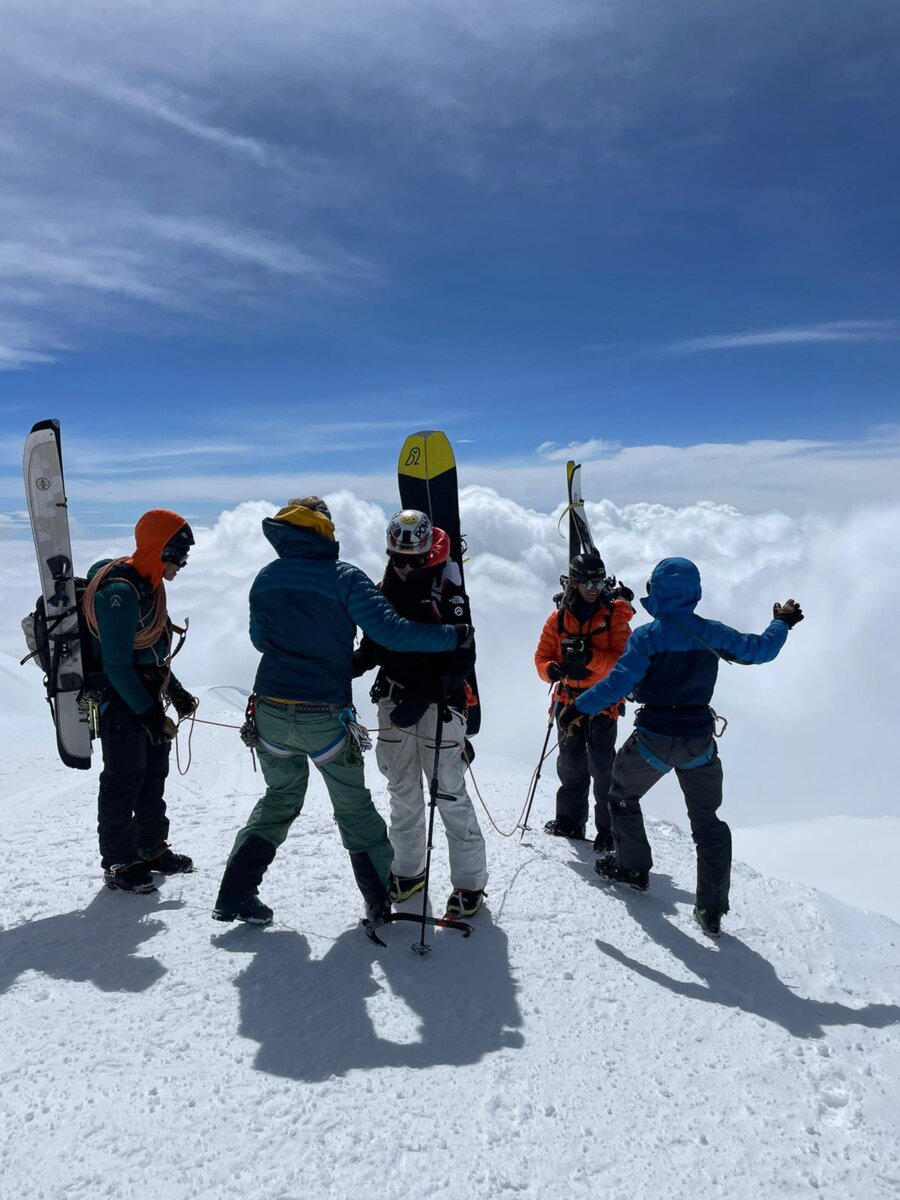
Ecuador’s Ring Of Fire is the perfect place to ski 5,000m and 6,000m peaks.
Alpenglow is thrilled to be offering the Ring of Fire Ski Expedition. Our high altitude guides are also big mountain ski mountaineers, and the combination of their expertise and high-end logistics that have been a priority of Alpenglow’s for over a decade has us uniquely positioned as the first guide service to offer international, high altitude ski expeditions. We created this program as a perfect segue for backcountry skiers looking to gain the skills that will enable them to ski higher and more technical mountains. Learn ski mountaineering skills on high altitude peaks with our professional guides.
Ecuador’s Ring of Fire Itinerary
Take a deep dive into our itinerary for the Ring Of Fire ski expedition.
- Day 1
- Arrival
Arrive into Quito (9,500 feet/2,896 meters) in the evening. Our guides will pick you up and bring you to our hotel, a local family-run place close to excellent restaurants and the tourist center of the city.
Sleeping Elevation: 9,300’
Lodging: San Jose De Puembo
Meals: None - Day 2
- Explore and Organize
Explore the colonial section of Quito. This historical city is famous for its beautiful churches, president’s palace, and ever-present views of the glaciated peaks that surround it. After touring for half the day, we spend the afternoon preparing for our acclimatization climb on Pichincha, practicing fixed line techniques, and organizing all our ski and climbing gear.
Distance Covered: 2-4 miles
Moving Hours: 4-5 hours
Sleeping Elevation: 9,300’
Lodging: San Jose De Puembo
Meals: Breakfast - Day 3
- Acclimatization Hike
Our first acclimatization hike. We ride the telepherique from the center of the city to 14,000 feet (4,267 meters) on Rucu Pichincha. Two hours of hiking brings us to the rock ridge, which we climb, conditions permitting to Pichincha’s 15,700-foot (4,785 meter) summit. This climb is a proud peak on its own and it is also important acclimatization for bigger peaks.
Distance Covered: 6 miles
Moving Hours: 4-5 hours
Elevation Gain/Loss: +/- 2,400’
Sleeping Elevation: 9,300’
Lodging: San Jose De Puembo
Meals: Breakfast - Day 4
- Move to Otovalo
Leaving Quito behind, you head north towards the town of Otavalo and the ancient stratovolcano known as Mojanda. Towering above the lake that fills the old crater of Mojanda lies the craggy summit Fuya Fuya (4,263m/13,986ft). This marks another wildly beautiful acclimatization hike on our path to the glaciated giants to come. Descending down to the famous textile town of Otavalo, you will be treated to historic luxury at the 18th century Hacienda Pinsaqui.
Distance Covered: 2.5 miles
Moving Hours: 2 hr drive, 2-3 hr hike
Elevation Gain/Loss: +/- 1,500’
Sleeping Elevation: 8,300’
Lodging: Hacienda Pinsaqui
Meals: Breakfast - Day 5
- Drive to Cayambe and skills practice
You are now ready to head to the bigger mountains. Driving east from Otavalo, you will wind up the lower flanks of the massive Cayambe (5,790m/18,996ft). The rugged stone edifice of the Refugio perched on the ridge will give you shelter and warmth during the days to come. After settling into our bunk rooms, you will spend the afternoon up on the glacier learning about the fundamentals of footwork, balance and other techniques needed to climb these big peaks. You’ll be welcomed back to the refugio with hot drinks and fantastic food prepared by the wonderful staff.
Distance Covered: 1.5 miles hiking, 2.5 hours driving
Moving Hours: 1-2 hours hiking
Elevation Gain/Loss: +/-800’ (hiking), +6,850 (driving)
Sleeping Elevation: 15,150’
Lodging: Refugio Ruales-Oleas-Berge
Meals: Breakfast, Lunch & Dinner - Day 6
- Skills day on the Glacier
We spend the morning reviewing the skill set that we will need for climbing and skiing Cayambe. This day includes instruction on crevasse rescue, advanced glacier travel, and ski touring techniques. We spend the afternoon resting, hydrating, eating, and getting to bed early for the summit of Cayambe.
Distance Covered: 2-3 miles
Moving Hours: 2 hours hiking
Elevation Gain/Loss: +/-1,000’
Sleeping Elevation: 15,150’
Lodging: Refugio Ruales-Oleas-Berge
Meal: Breakfast, Lunch & Dinner - Day 7
- Summit day, return to Otavalo
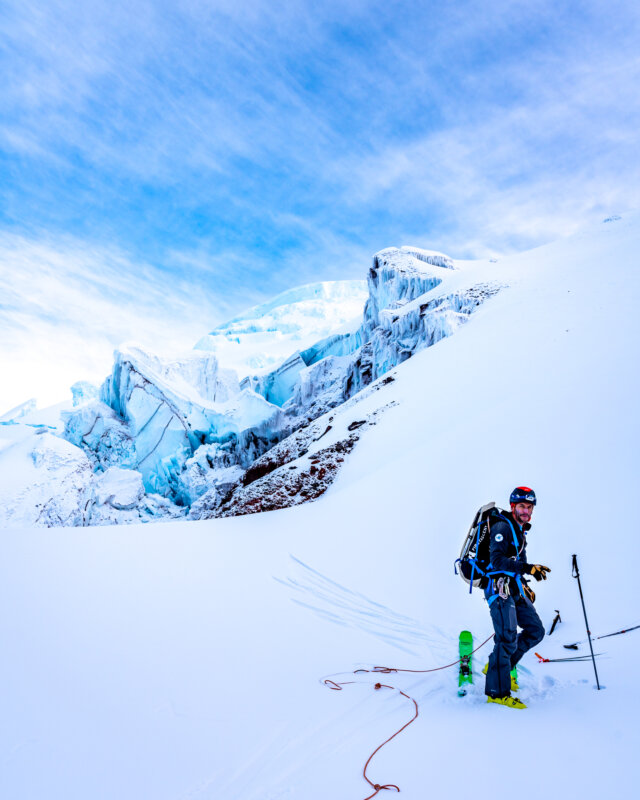
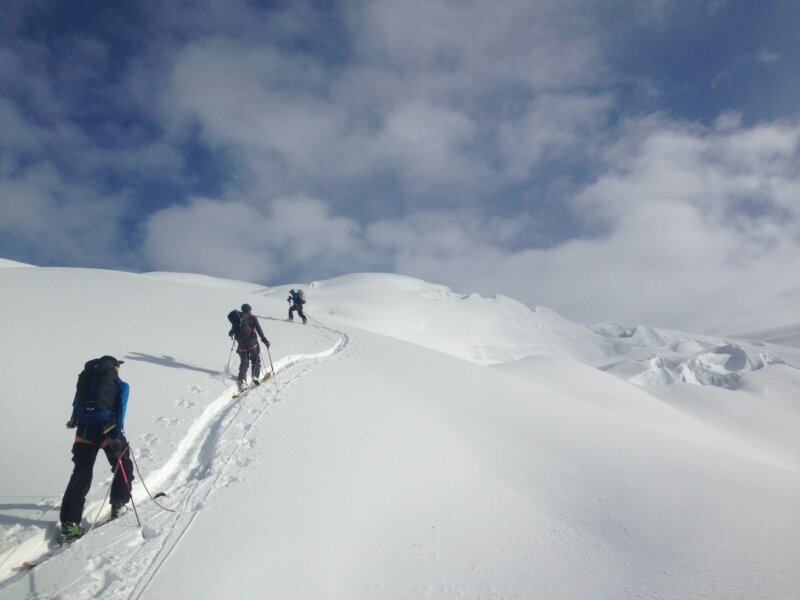
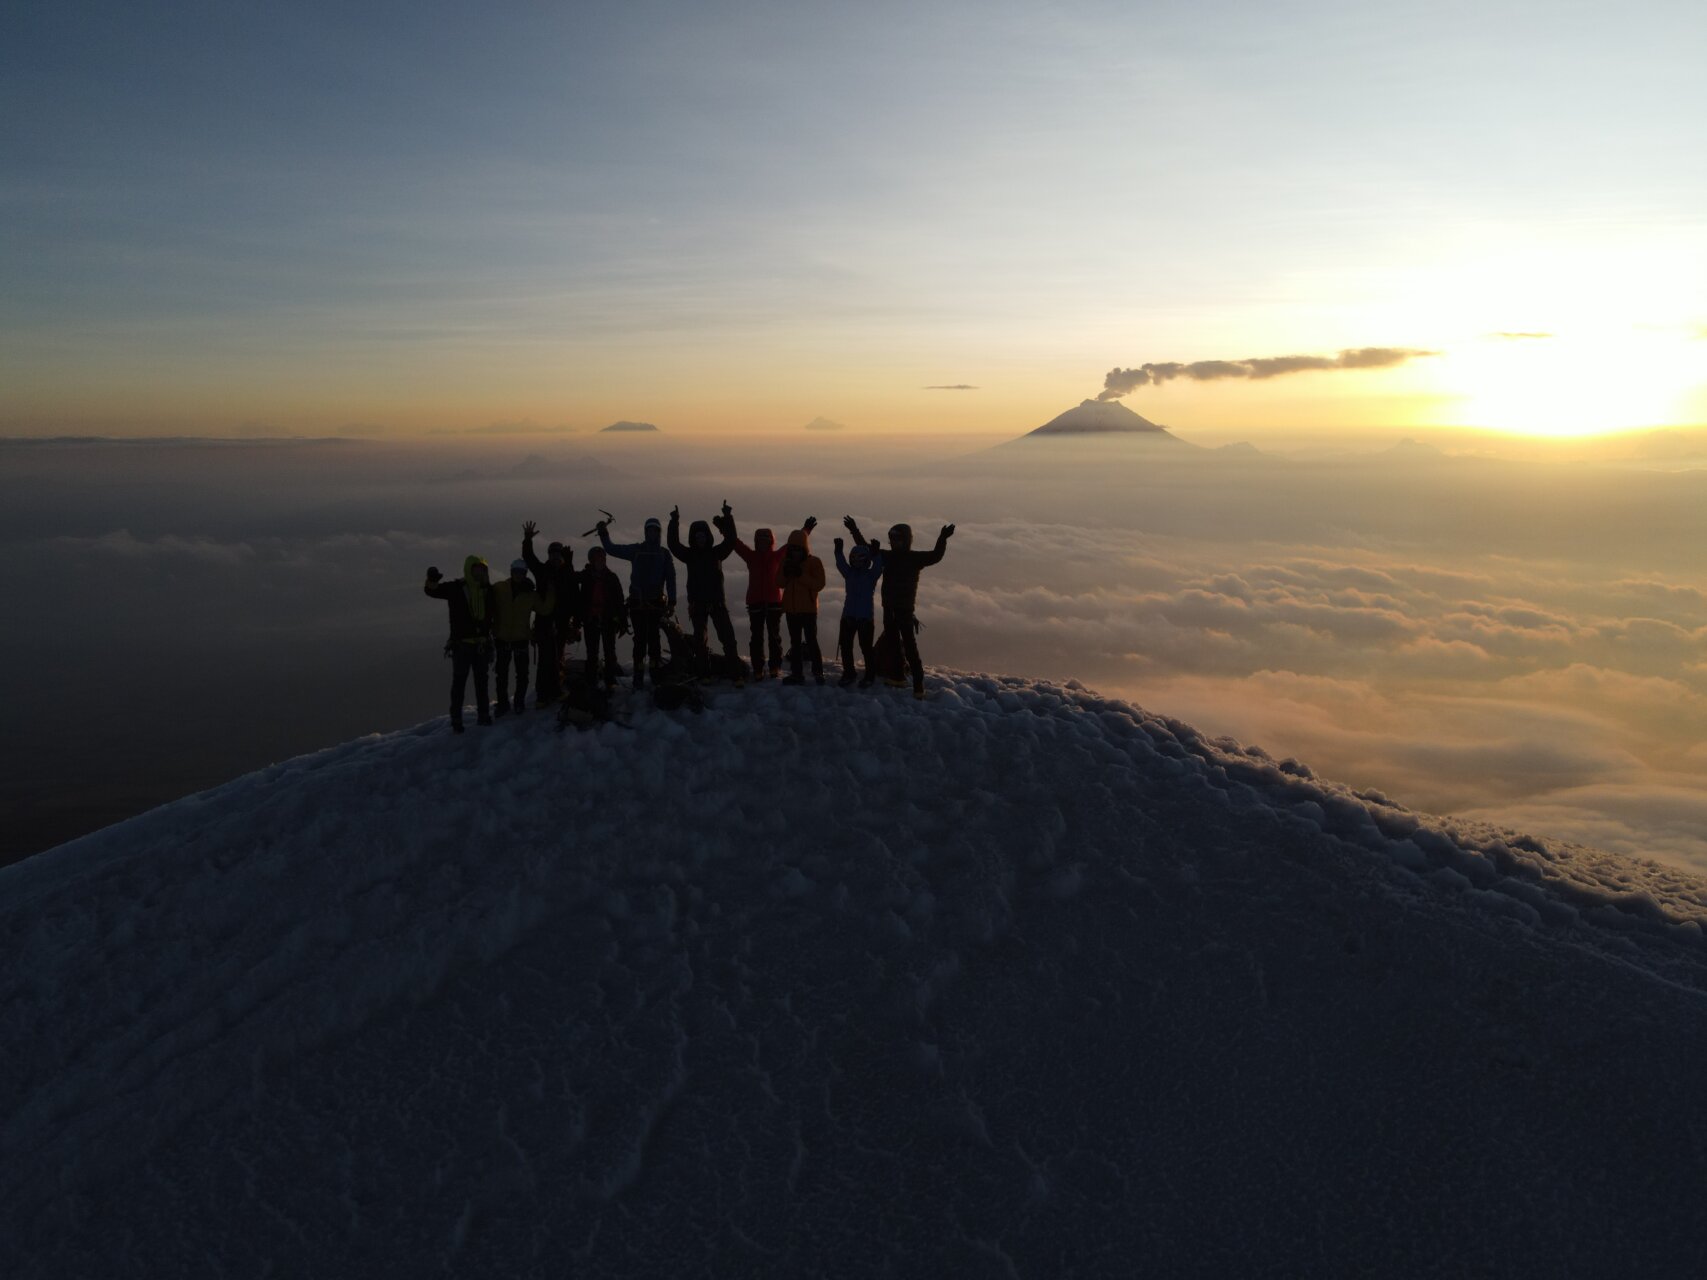
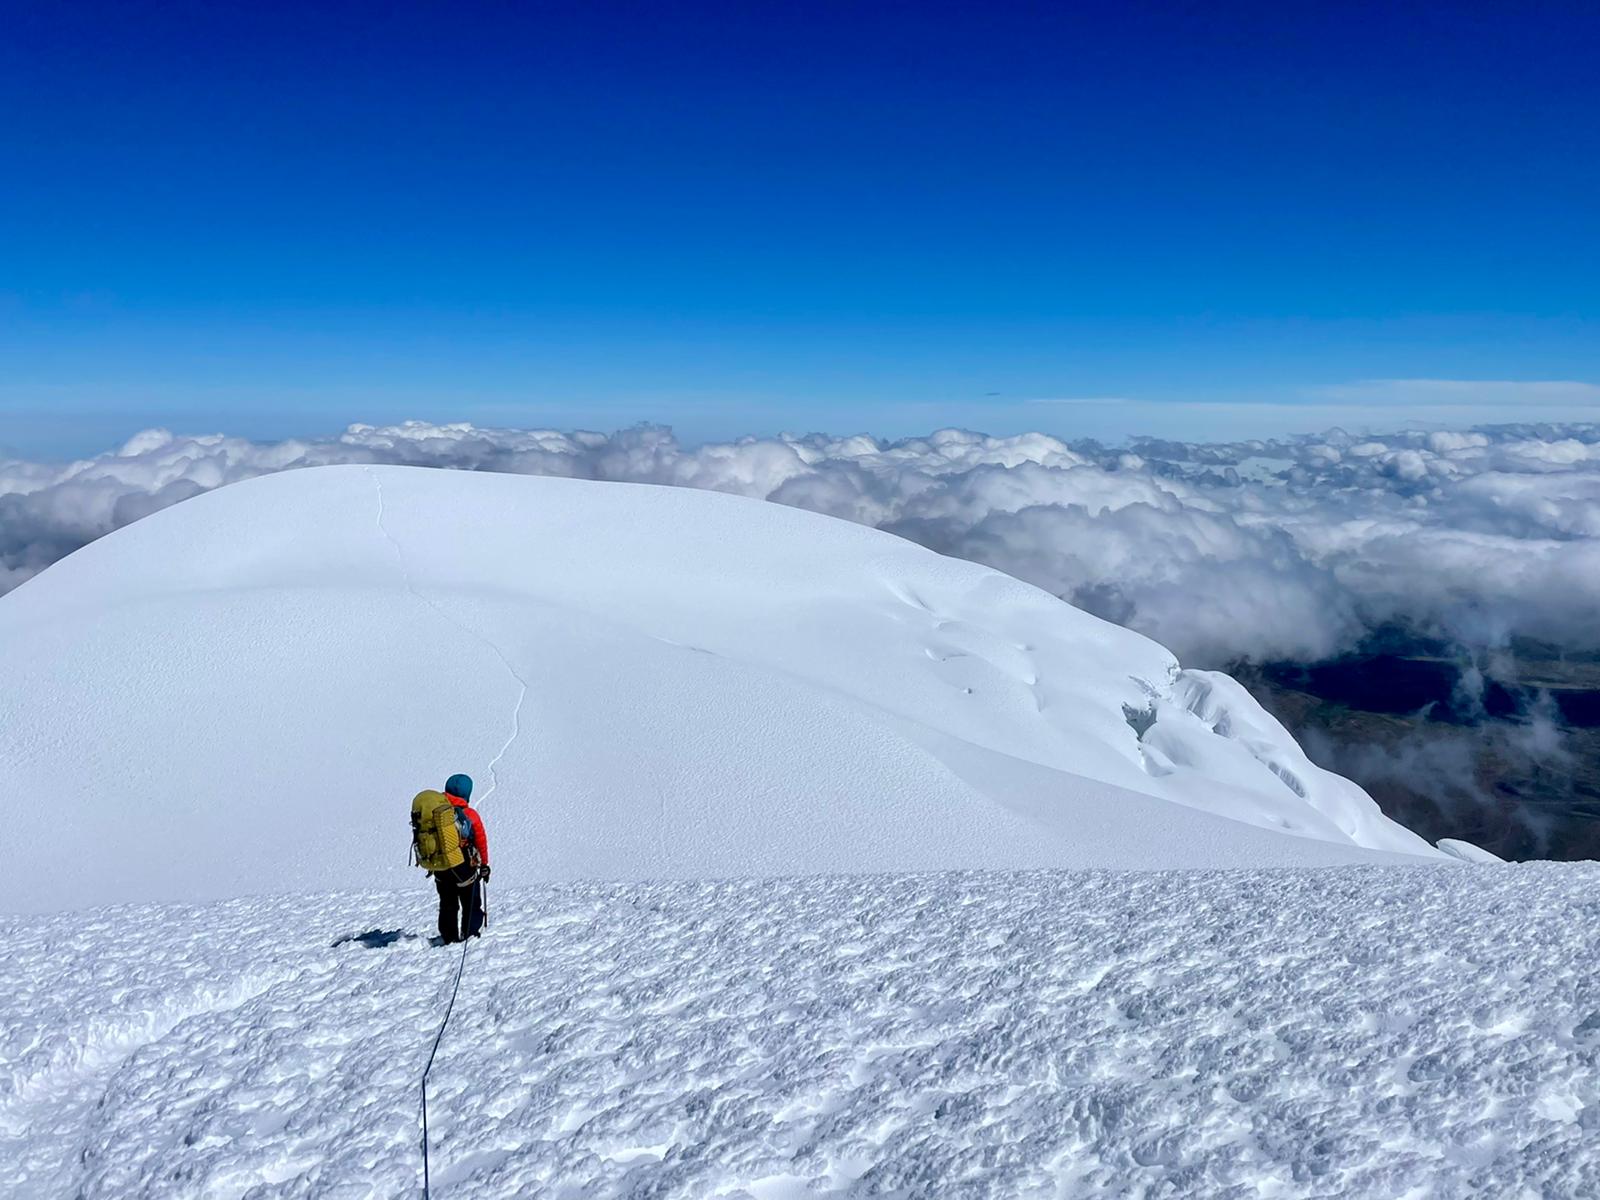
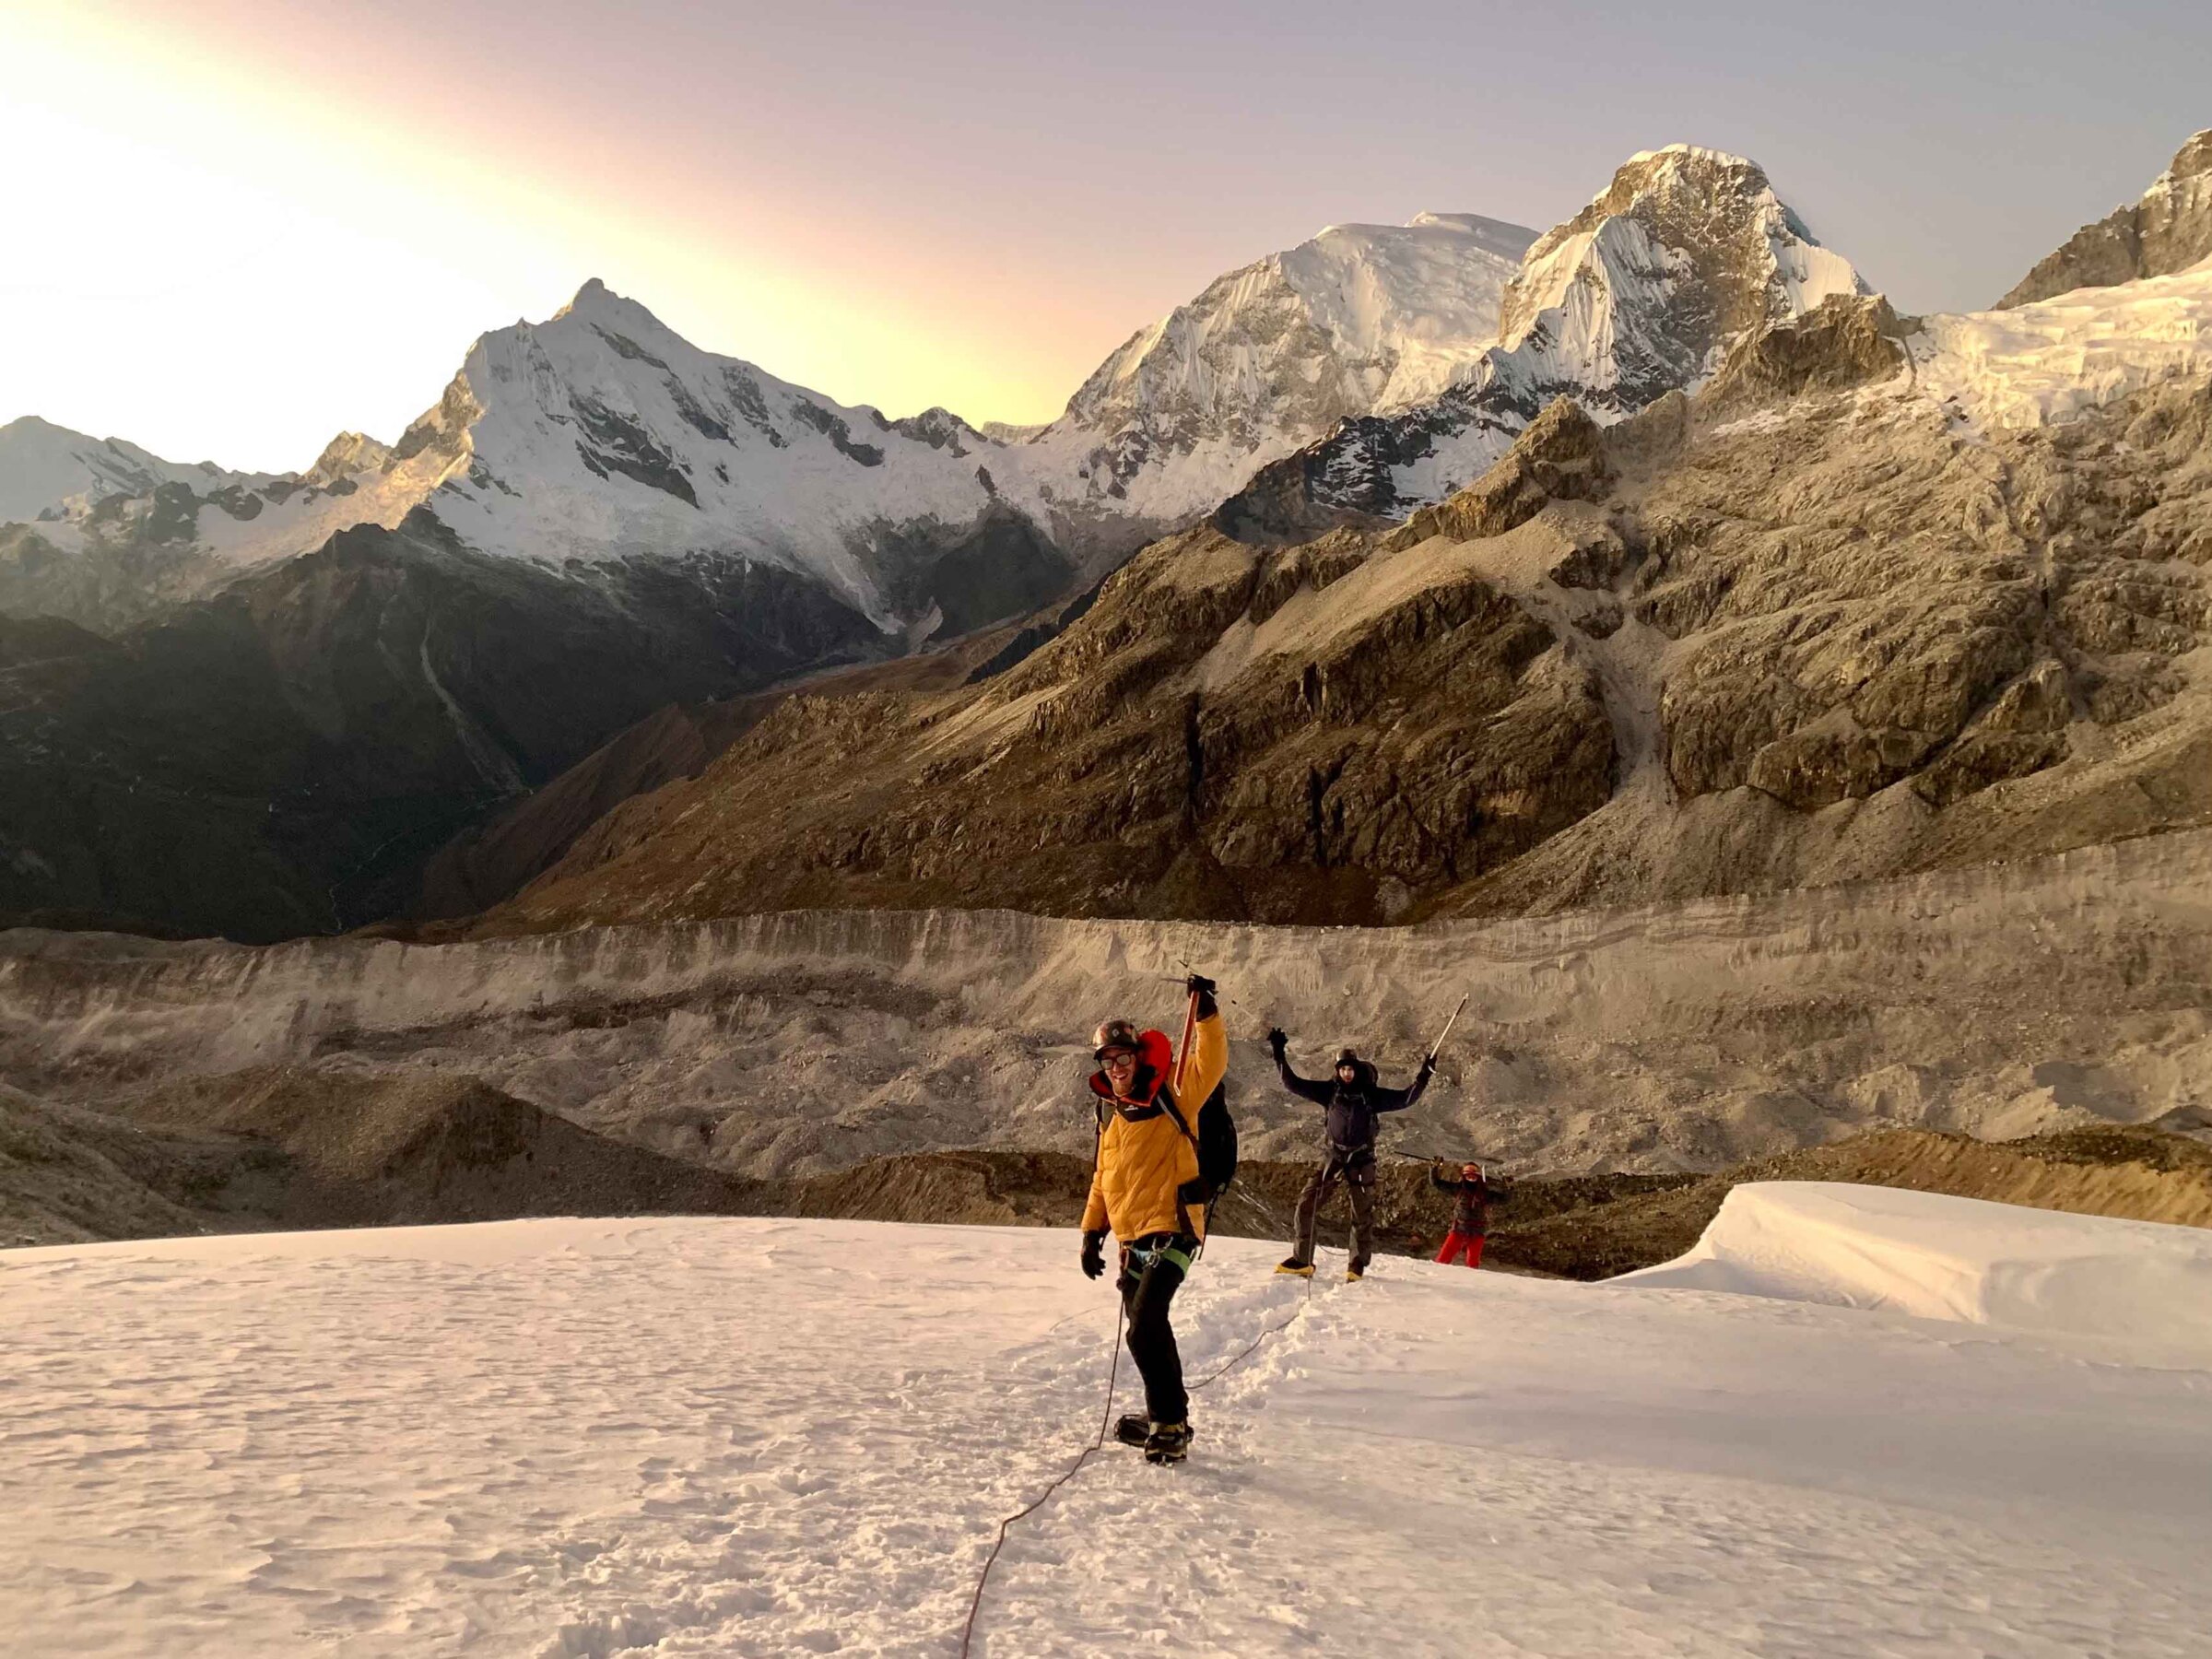
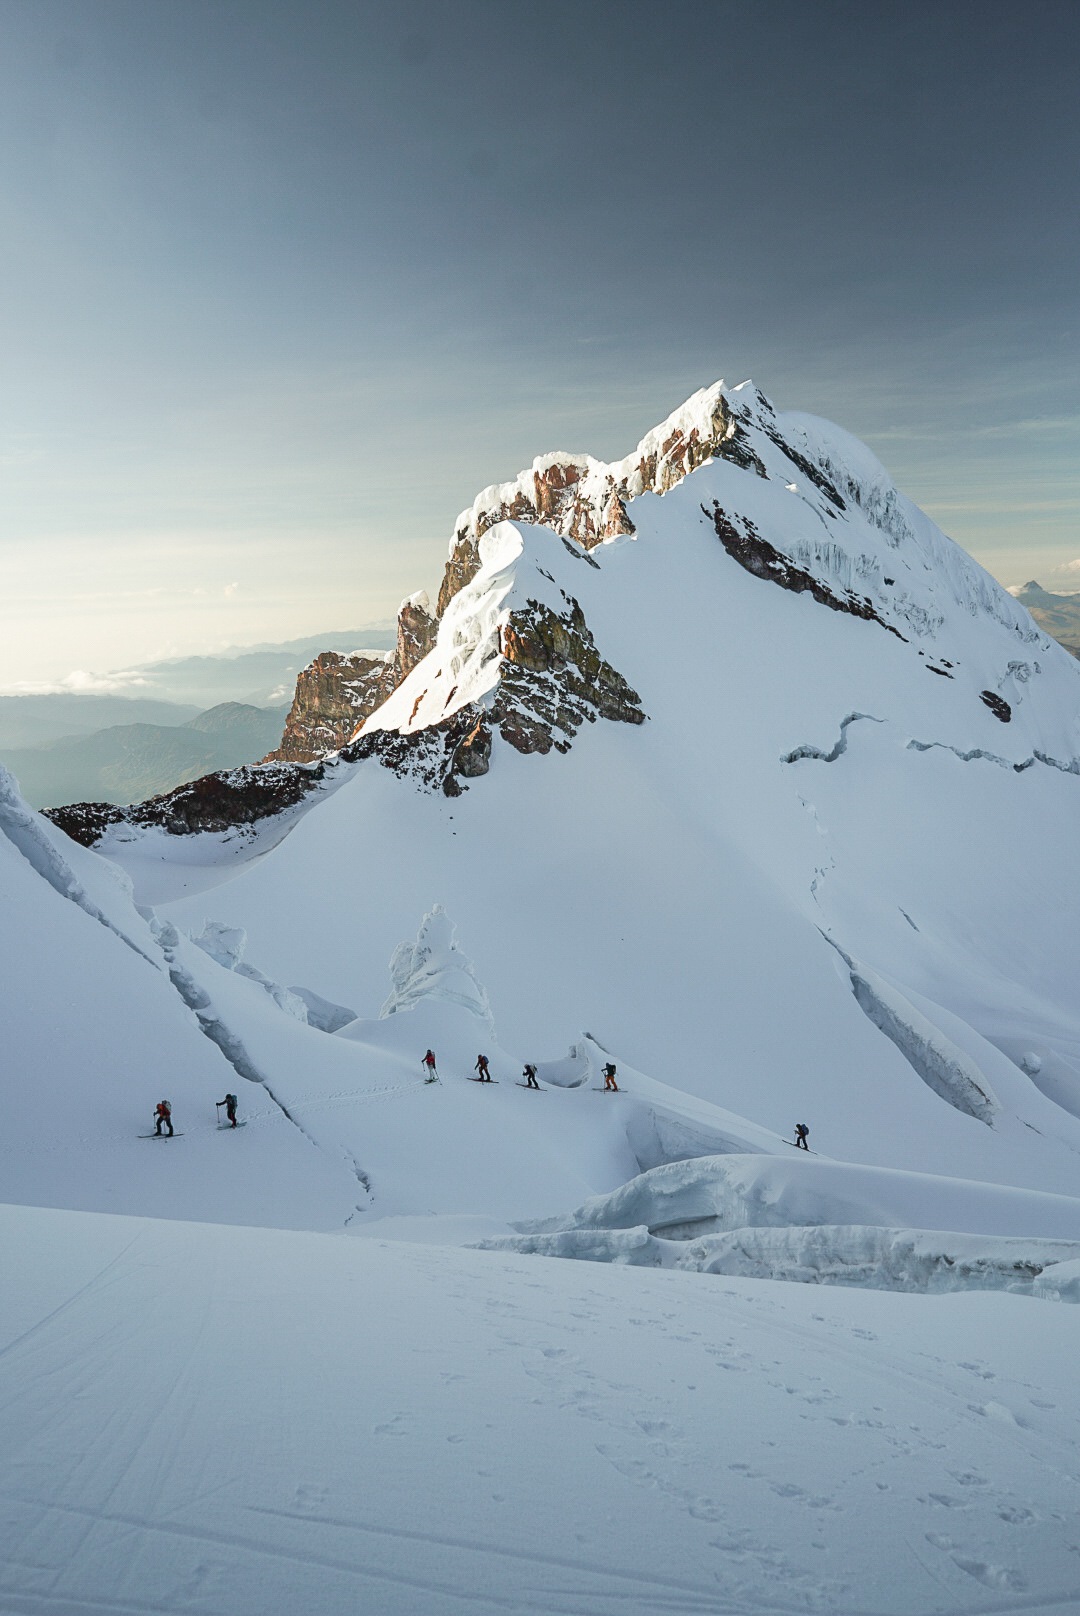
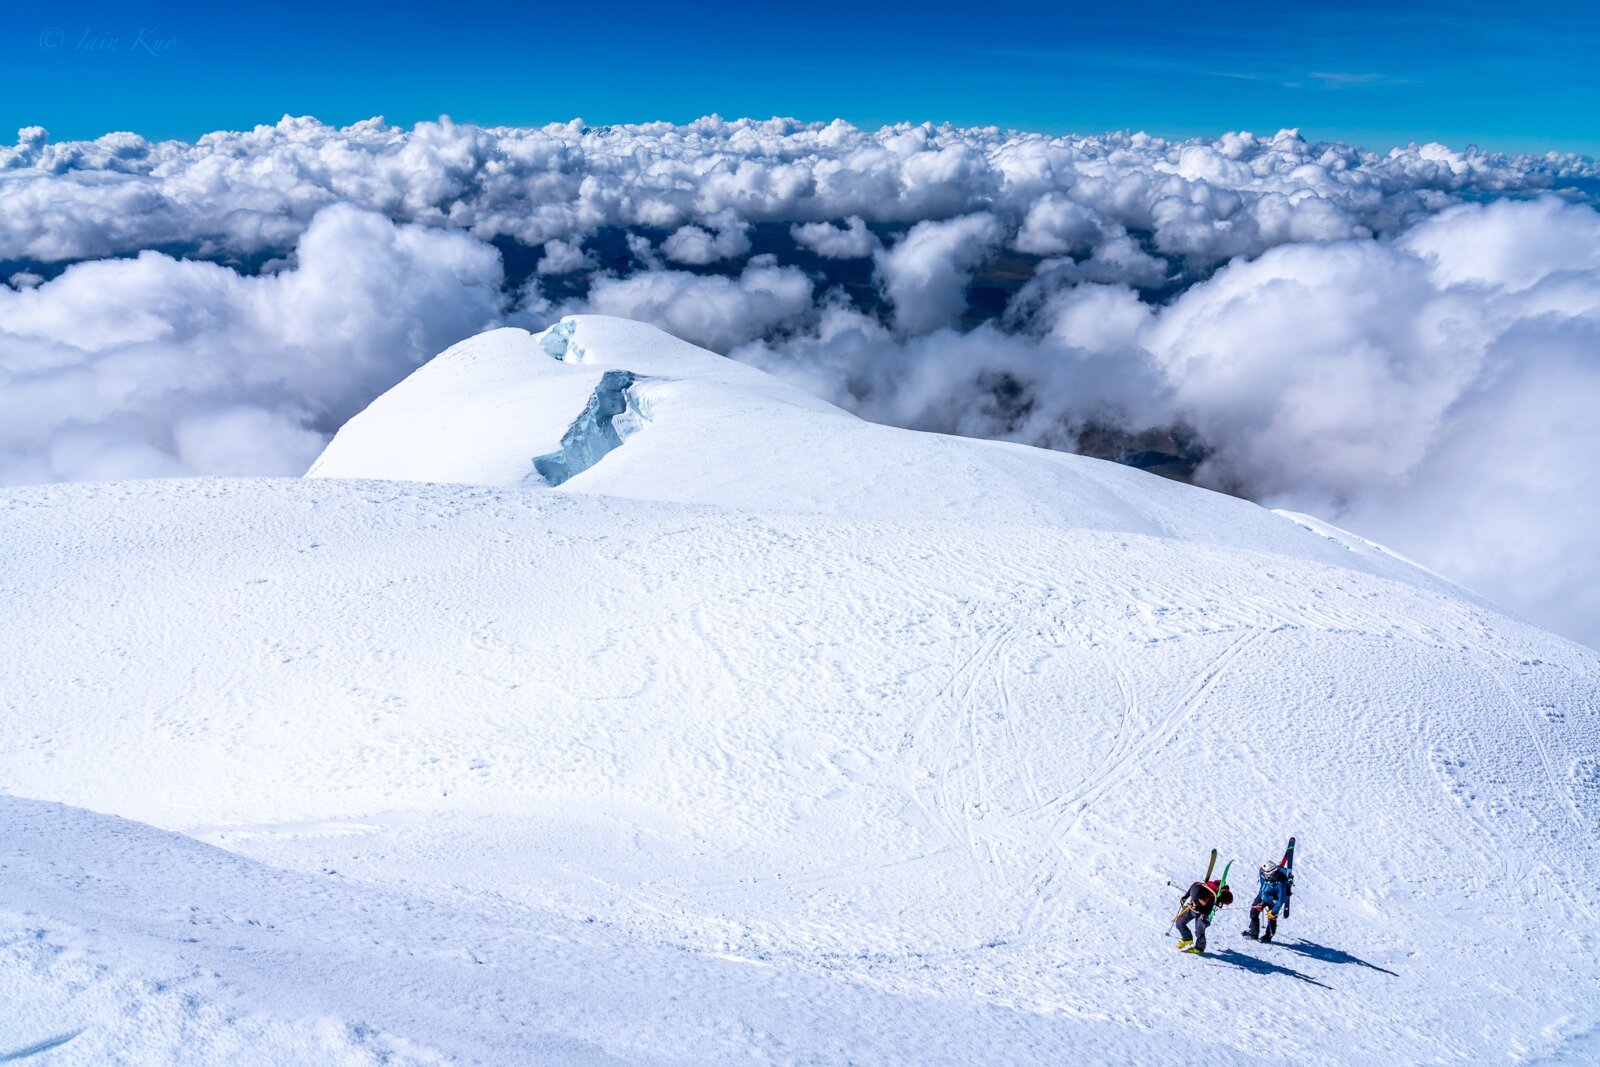
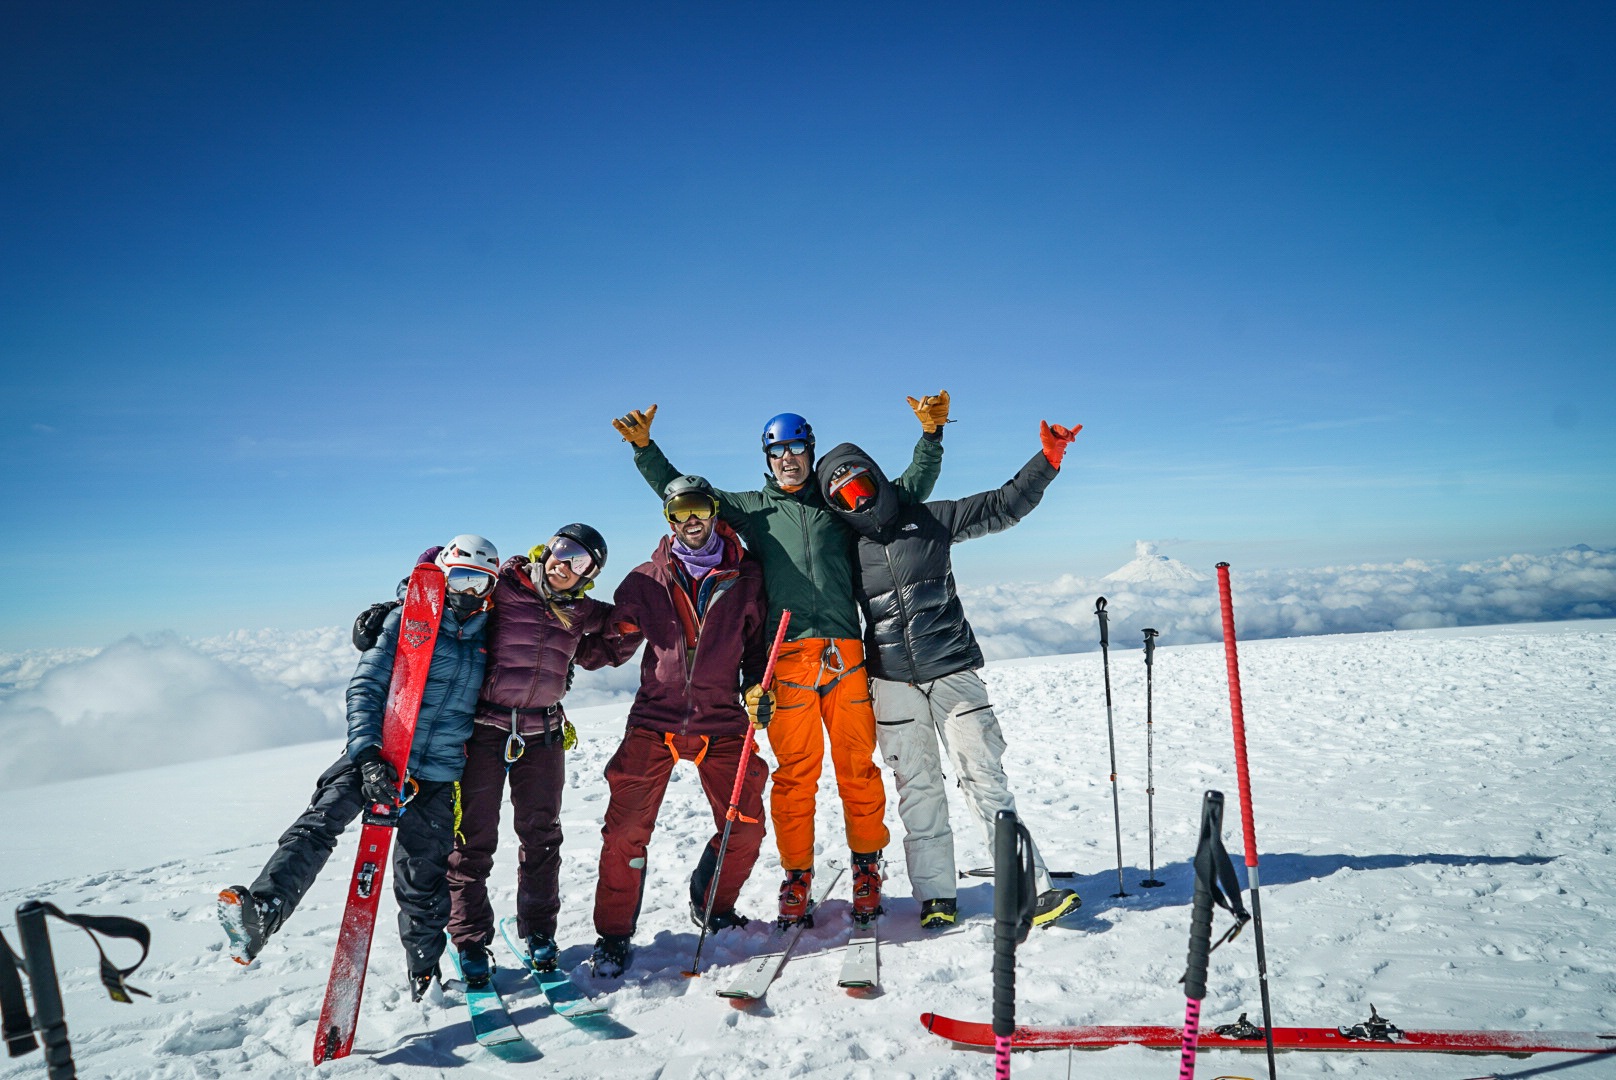
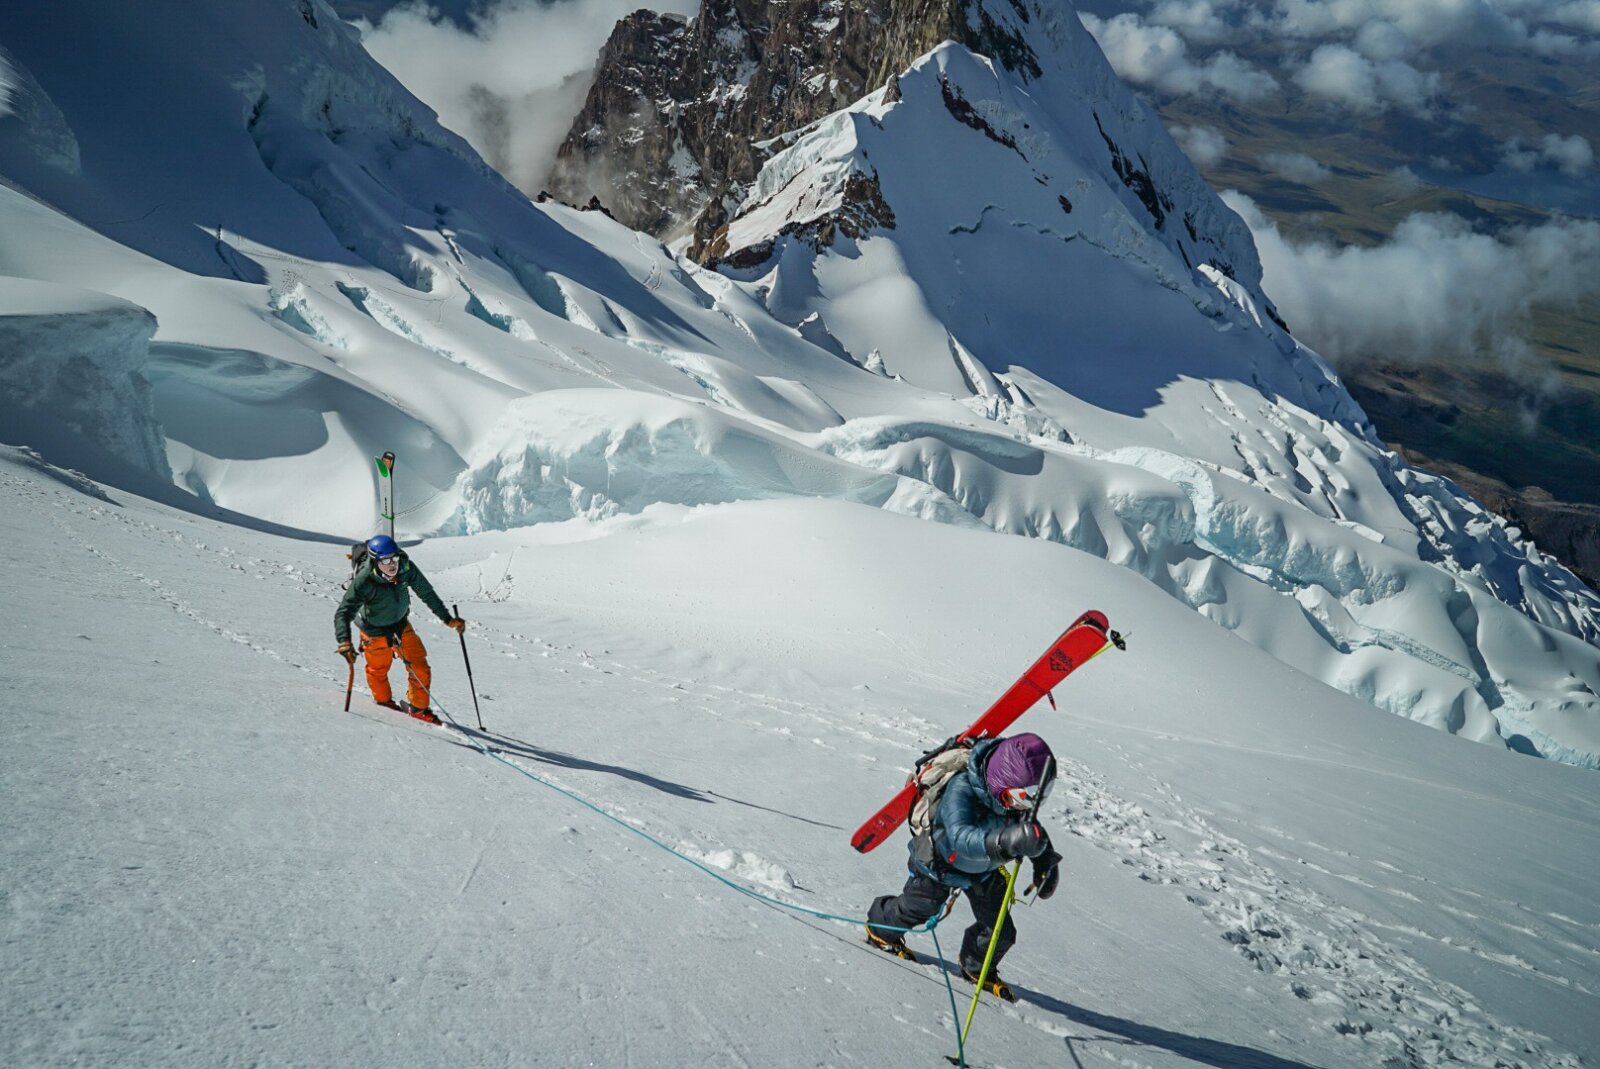
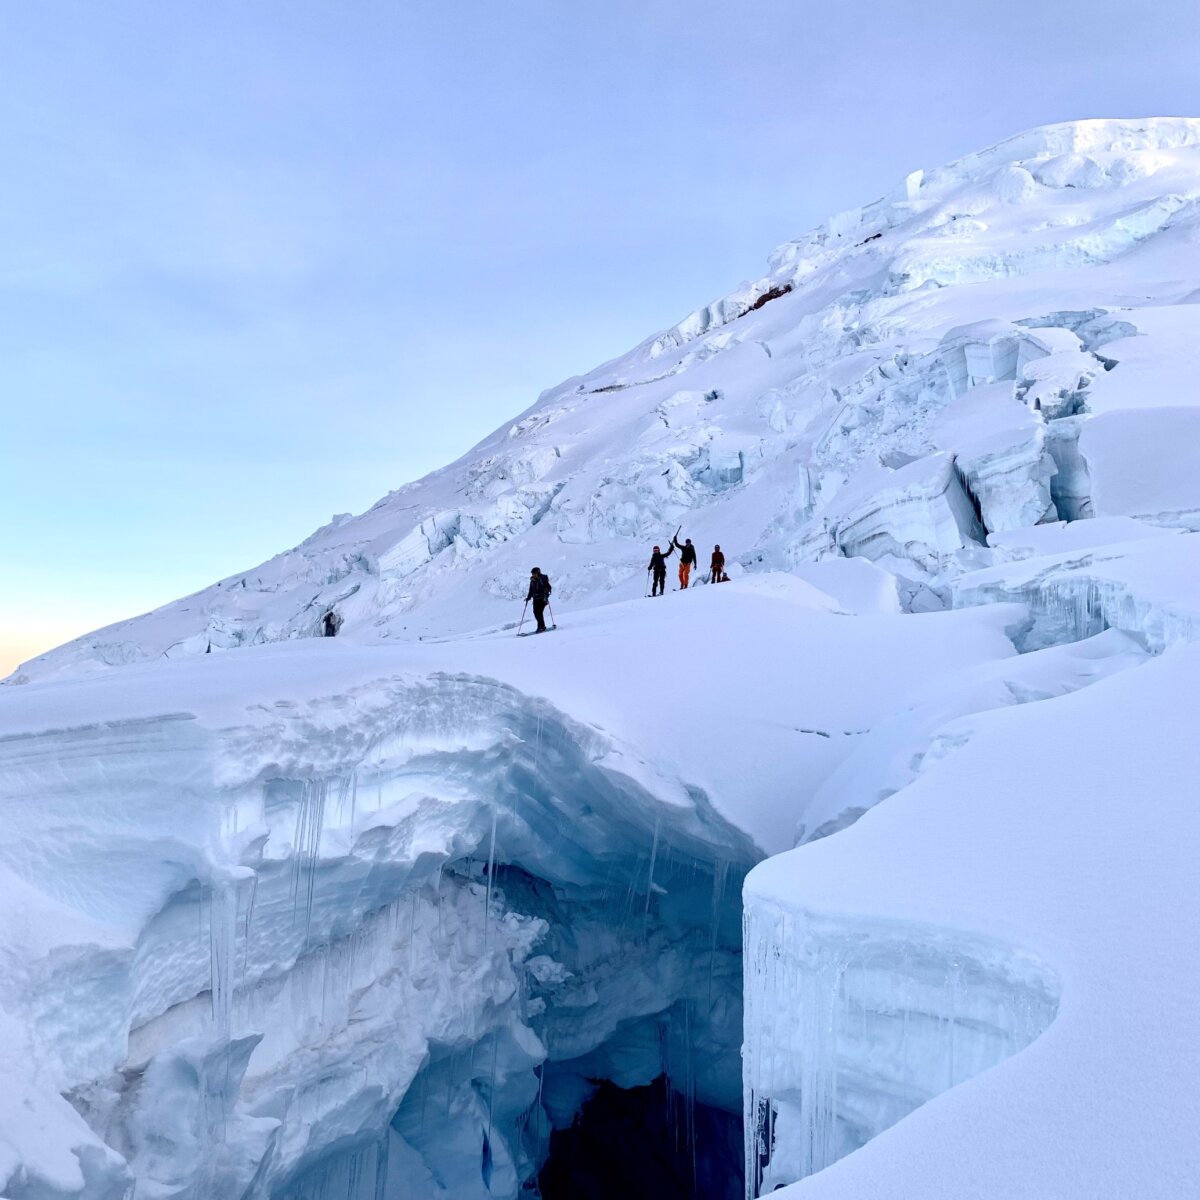
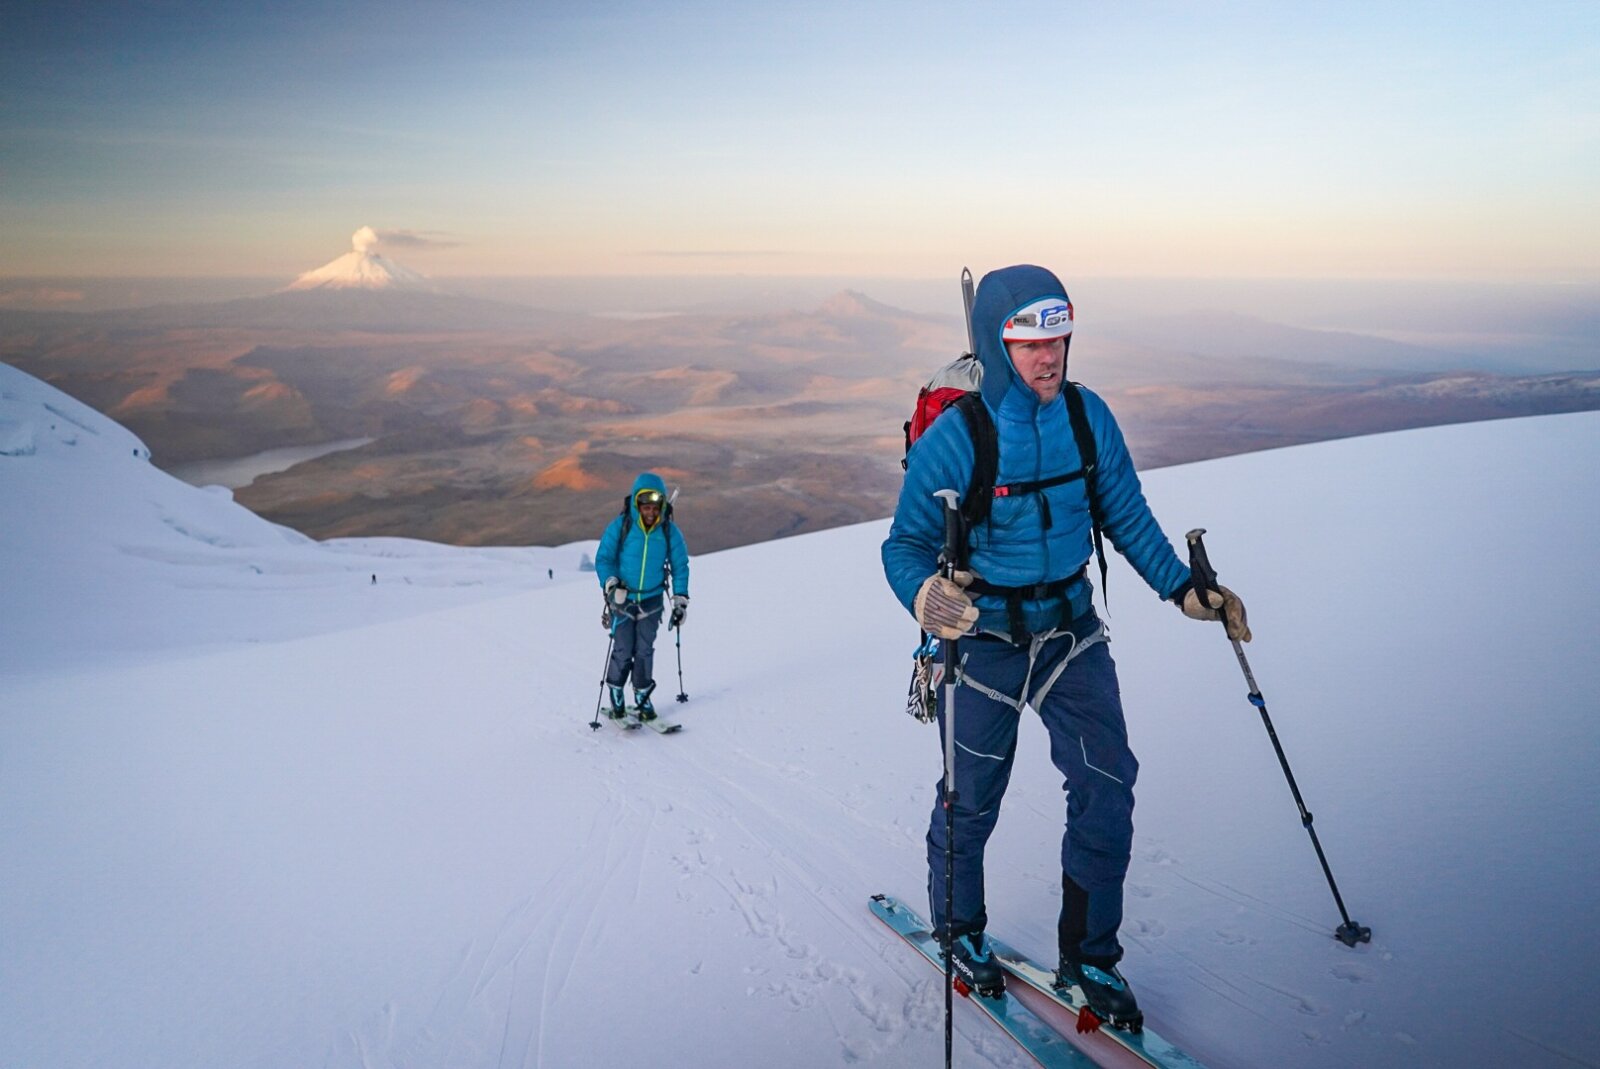
Your training and preparation are ready to be put to the test. After an early wakeup and hot drinks and snacks (typically around midnight), you’ll find yourself moving up the rock steps and onto the vast glaciers above. The rhythmic crunching of crampons, the sway of the rope, the first inklings of morning light from high above the clouds are all classic aspects of mountaineering, and will frame the first several hours of your climb. Pushing higher still, the glacier becomes complex and challenging, your team will navigate around huge crevasses and drop offs on your way to the top. Cresting just shy of 19,000ft (5,790m/18,996ft), the summit of Cayambe is a proud achievement and offers commanding views of the surrounding mountains. Off to the south, you can make out the glaciated summits of Cotopaxi, Antisana and Chimborazo. The ski line typically follows the climbing route, and arcs through crevasse and along sweeping glaciers. After the wild descent back to the refugio, you’ll head back down to Otavalo and the welcoming gardens of the Hacienda Pinsaqui.
Distance Covered: 5 miles
Moving Hours: 7-11 hours
Elevation Gain/Loss: +/-3,800’, (climbing), -6,850′ (driving)
Sleeping Elevation: 8,300’
Lodging: Hacienda Pinsaqui
Meals: Breakfast & Lunch - Day 8
- Recovery Day
After a casual morning and tasty breakfast we depart the Hacienda and head back to Quito. No visit to Otavalo is complete without a stop at the famed Saturday market. Otavalo is renowned for its colorful textiles, and the kaleidoscope of vivid color at the Saturday market is the place to see them. You’ll see a vast number of different vendors selling everything from textiles and clothing to spices and other foods. This is a fantastic place to find a few keepsakes from your time in Ecuador. After you’ve seen the sights and sounds of the market, it’s time to return to Quito and your flight home. For those staying on for the extension, the fun is only getting started!
Distance Covered: Varies
Moving Hours: Varies
Elevation Gain/Loss: +1,000’
Sleeping Elevation: 9,300’
Lodging: San Jose De Puembo
Meals: Breakfast - Day 9
- Fly home or drive to Cotopaxi
Any remaining Cayambe-only team members depart Quito for home. After breakfast, climbers staying on for the extension head up to the flanks of Cotopaxi and prepare for their climb in the coming days.
Distance Covered: 3.5 hours driving or flight home
Elevation Gain/Loss: +3,000’ (driving)
Sleeping Elevation: 12,300’
Lodging: Tambopaxi Lodge
Meals: Breakfast, Lunch & Dinner - Day 10
- Skills Day
Waking up in the beautiful Tambopaxi lodge, you’ll be treated to incredible views of Cotopaxi rising across the valley. Today you’ll hike up the flanks of Cotopaxi and receive training in more advanced climbing and rescue techniques and ideas. Returning for an early dinner and warm bed, it’s time to climb the second big peak of the trip.
Distance Covered: 3 miles
Moving Hours: 3-5 hours
Elevation Gain/Loss: +/- 1500’
Sleeping Elevation: 12,300’
Lodging: Tambopaxi Lodge
Meals: Breakfast, Lunch & Dinner - Day 11
- Summit Day
Waking up around 1am, you’ll have some hot drinks and snacks and set out for the summit of Cotopaxi. This climb will use all the skills you learned on Cayambe as we travel on snow and ice up to the rim of the volcano. The final section of climbing will be the most difficult before you are rewarded with a stunning summit. Like Cayambe, the ski descent typically follows the ascent route. After the massive ski descent you’ll find yourself driving to the beautiful Hacienda La Cienega.
Distance Covered: 6 miles
Moving Hours: 8-12 hours
Elevation Gain/Loss: +/- 4000’
Sleeping Elevation: 9,800’
Lodging: Hacienda la Cienega
Meals: Breakfast & Lunch - Day 12
- Drive to Chimborazo
After a morning of breakfast at Hacienda La Cienega, we drive south to a wilderness lodge below Chimborazo called the Chimborazo Lodge. The lodge is owned by one of Ecuador’s original mountain guides – his stories, home, and excellent food will prepare us for our final climb.
Moving Hours: 2-3 hours (driving)
Sleeping Elevation: 12,950’
Lodging: Chimborazo Lodge
Meals: Breakfast, Lunch & Dinner - Day 13
- Move to High Camp
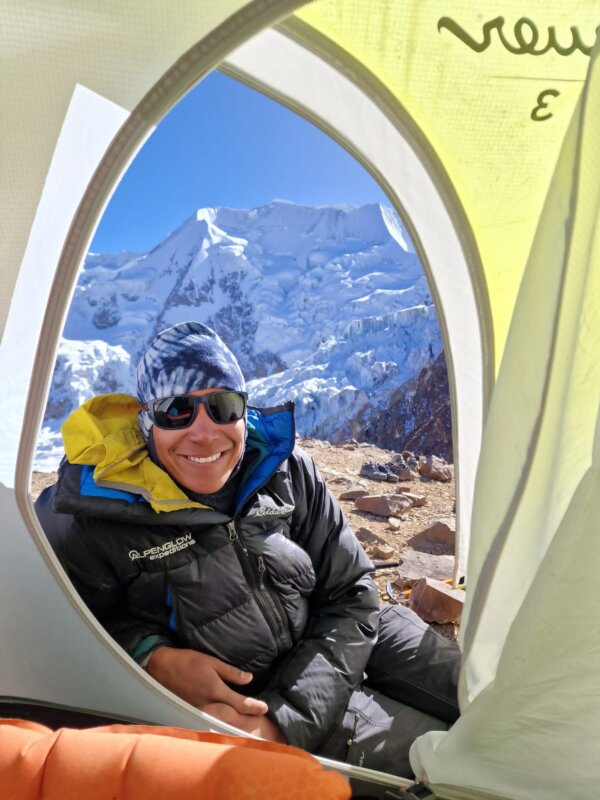
Today we’ll move to the El Castillo camp at the base of Chimborazo’s glacier, 2 hours hike from the car. This camp is perched high on the mountain, and gets its name from “El Castillo”, the castle-like rock formation adjacent to the camp. From camp, you will see the glaciated route to the summit rise up in front of you, giving the team plenty of time to scout a good ski descent for the next day.
Distance Covered: 1.5 miles
Moving Hours: 2 hours
Elevation Gain/Loss: +2,150’ Sleeping Elevation. 18,050’
Lodging: Castillo Camp
Meals: Breakfast, Lunch & Dinner - Day 14
- Summit Day
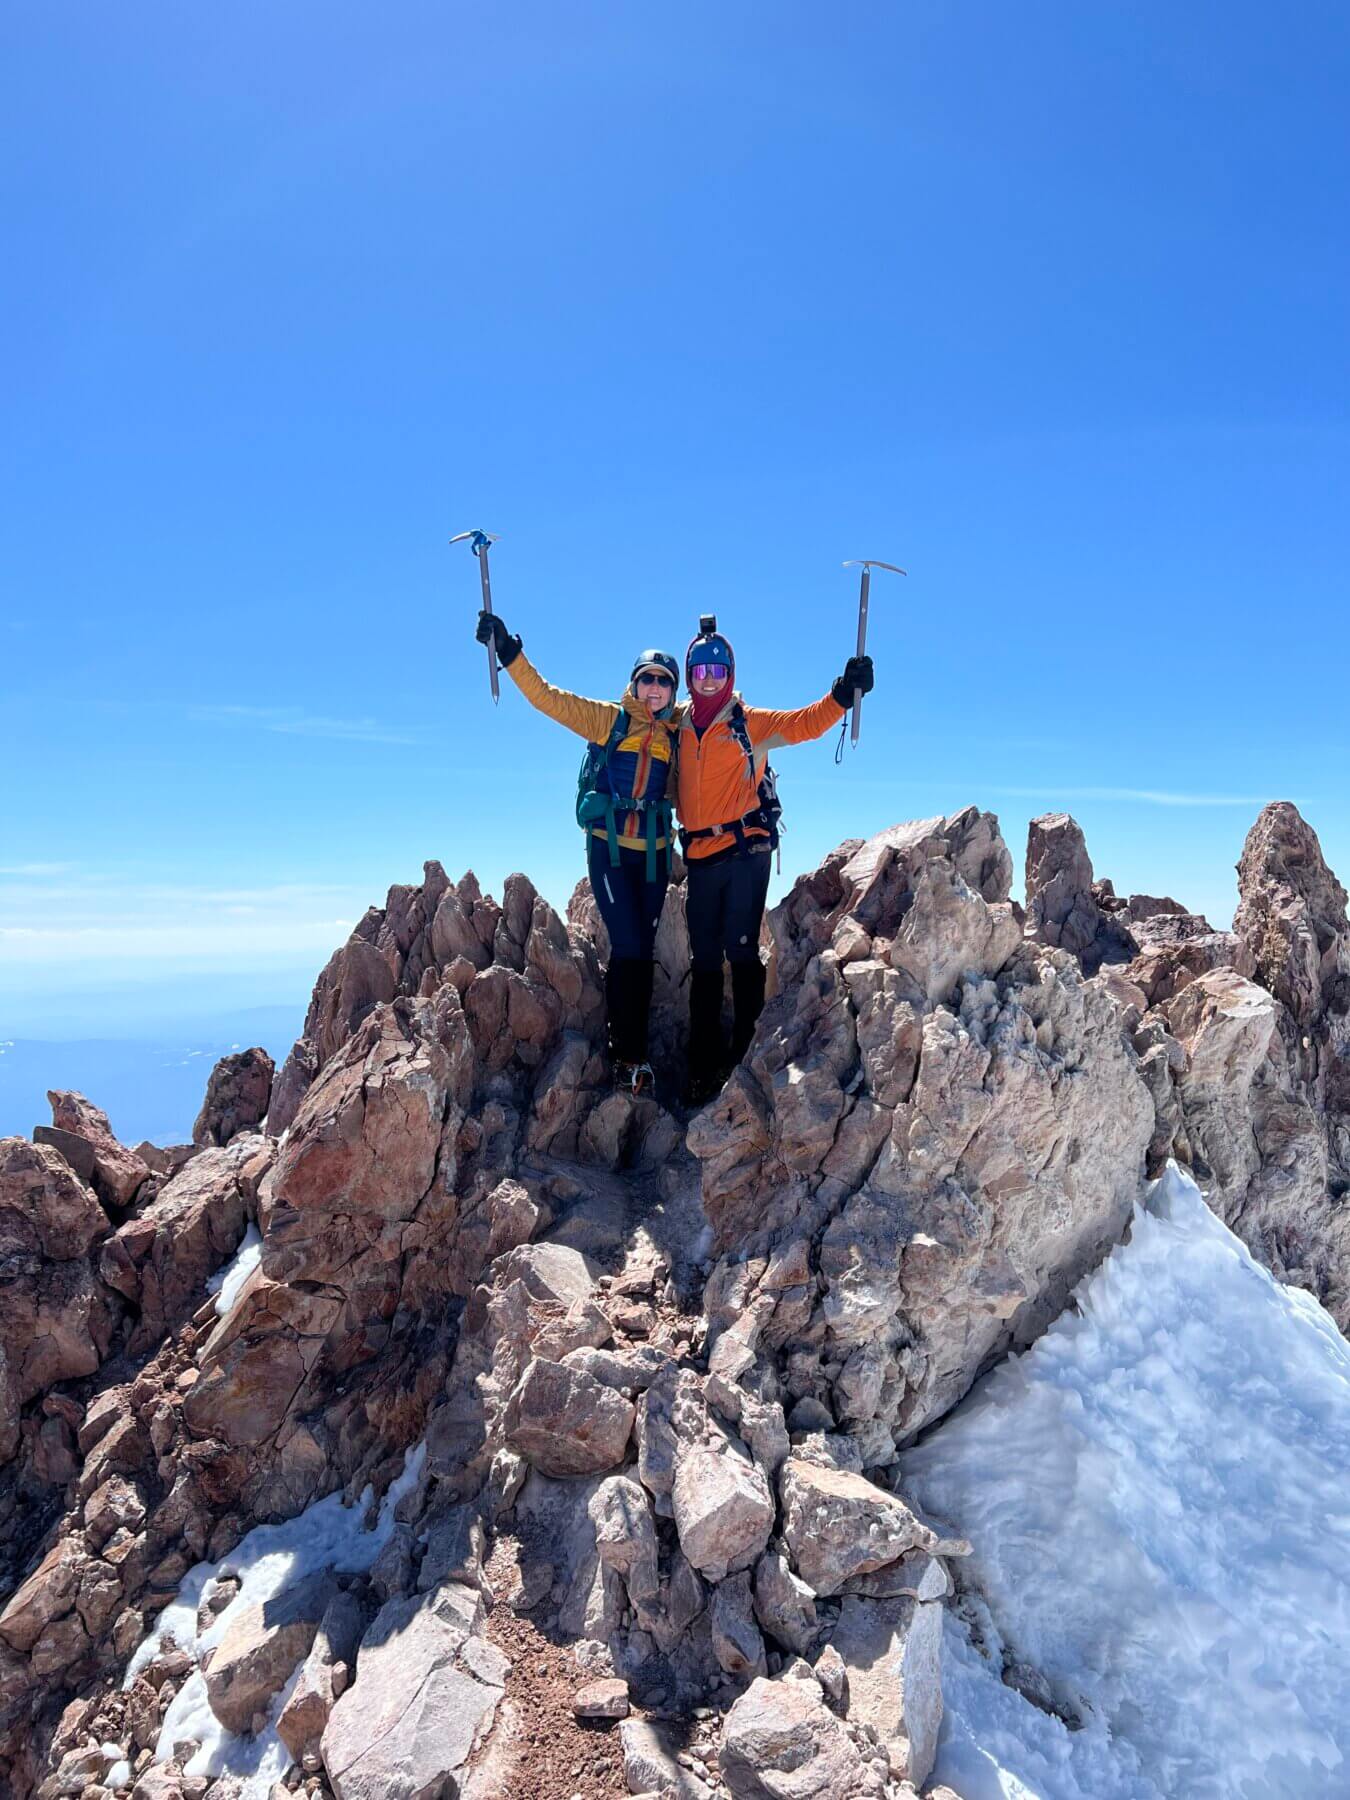
Your final, and most challenging, climb. The route quickly climbs the glacier, on which the ice is often broken by many crevasses as well as almost vertical ice steps. Eventually you will reach the Castillo ridge and follow it over moderate ground to the summit. After taking photos and enjoying the views from the tallest point in Ecuador, it’s time to click into your skis for the highest ski descent in the country. Evening finds the team back in Quito for a final celebration dinner.
Distance Covered: 3 miles
Moving Hours: 10-14 hours
Elevation Gain/Loss: +2,550, -4,700’
Sleeping Elevation: 9,300’
Lodging: San Jose Del Puembo
Meals: Breakfast, Lunch - Day 15
- Weather Day
We’ve built in an extra day for potential weather delays.
- Day 16
- Head home
Fly home from Quito.